Build a Porch GateLike We Did for Our Family's Porch"Dad, if you have some spare time, would you build a porch gate for us?"That's what our son said when we visited California recently. You can keep the windows and doors wide open without the need for screens when you live in southern California. Tom and our daughter-in-love Heidi, wanted to be able to open their front door to capture the cool ocean breezes but they have a dog, Cisco. So, Mary and I set out to build a picket fence gate that would allow Cisco to spend time on the porch without the worry of him running off. This project took a little head scratching because I wanted to make it a temporary structure that could be removed easily yet be durable. This is more than a dog gate; the picket fence and gate added a lot of warmth and appeal to their small front porch. Heidi painted the structure to match the color of the existing porch hand rails. 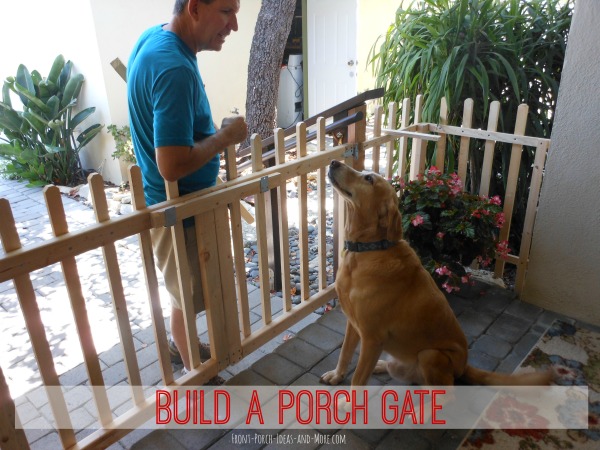

Our grand dog Cisco will enjoy having the freedom to enjoy the front porch with his new porch gate. We hope you enjoy the basic steps we outline here for building the picket fence and gate. Build the Porch Gate OverviewPlanning ConsiderationsBefore you begin such a project, take time to analyze your options for the location and operation of your porch gate. Here are a few things I took under consideration before I started:
Materials for the Porch Gate
Let's Get StartedStep 1I needed to stabilize the structure but didn't want to pour concrete for posts, etc. I also wanted to minimize attaching the structure to their home.So I chose to secure two 2x4's cut to length to the newel posts as shown below. I attached them using 2 deck screws into each of the 2x4s. This also extended the picket fence closer to the porch floor prohibiting Cisco from trying to crawl under the fence. 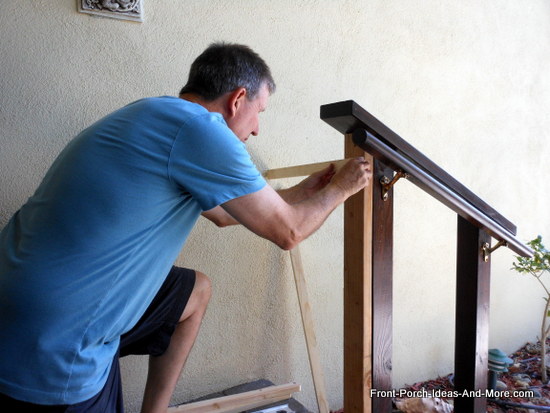
Step 2I then attached a 1x2 inch top rail for the picket fence to the 2x4 as shown below. I used a level to ensure it was level to the ground. Placement of this top rail will dictate the height of your picket fence, i.e., it will be used to mark the locations of the other top rails for the fence.I wanted the picket fence to be 36 inches above the floor of the porch. I measured 32" from the top of the porch floor on the 2x4 and then placed and secured the top rail accordingly and as shown below. Placing it 32 inches from the floor allows for a 36 inch picket (which will be 4 inches higher than the top rail). 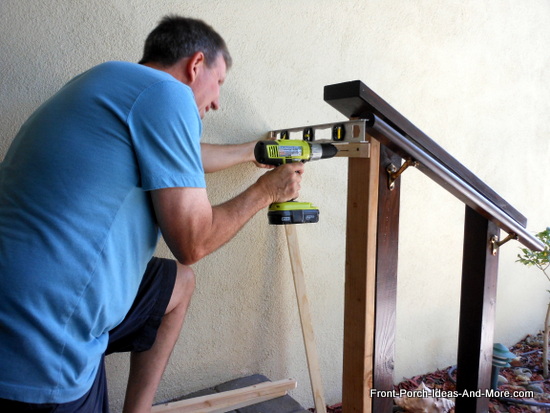
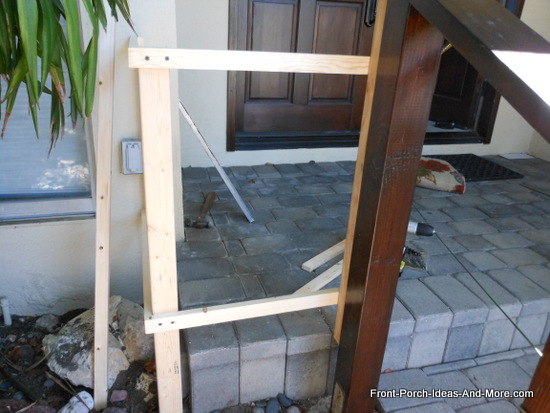
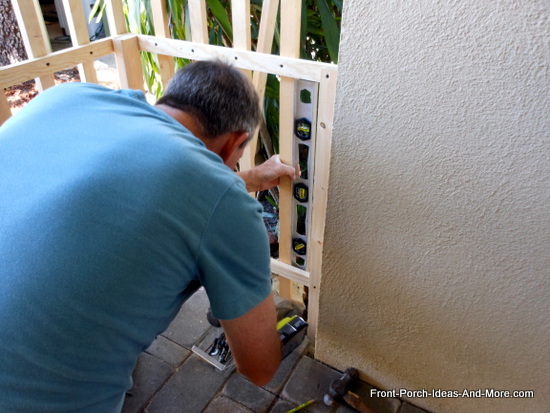
NOTE: Once I secured the top rail I placed a longer 1x2 next to the house (not shown). This 1x2 was approximately 48 inches long so that I could drive one end into the ground so that only 4 inches extended above the top rail. By doing so I was able to provide sufficient stability to the fence. Step 3Next, I attached a bottom rail. I positioned the bottom rail so as to allow for the pickets to extend a few inches below it.I then attached the pickets as shown below. I used deck screws to secure the pickets (one on top, one on bottom) to the pickets leaving a 3 1/2 inch space between them. (You should not exceed 4 inches). Use a level to ensure the pickets are aligned correctly. 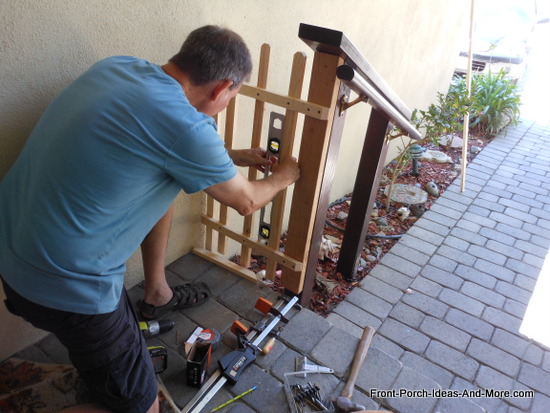
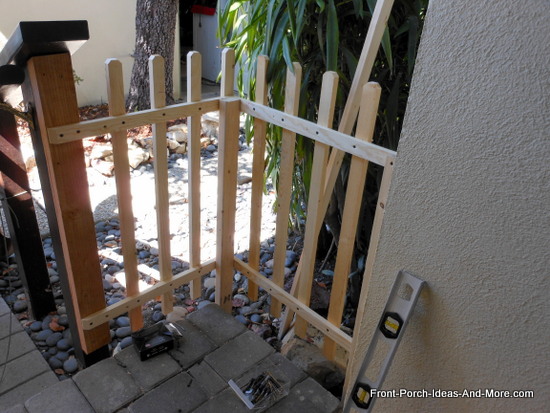
Step 4For the other side of the picket fence, I needed a way to stabilize the structure. Instead of attaching it directly to the home or pouring concrete, I used a 2x2 post as a corner post as shown below.I cut it to 48 inches, located the corner position, and pounded it into the ground. Likewise, I used a 1x2 (48 inches long) for the other corner post as shown. I then attached top rails and bottom rails to the corner posts as shown. I mitered the top and bottom rails as these will be exposed to view. 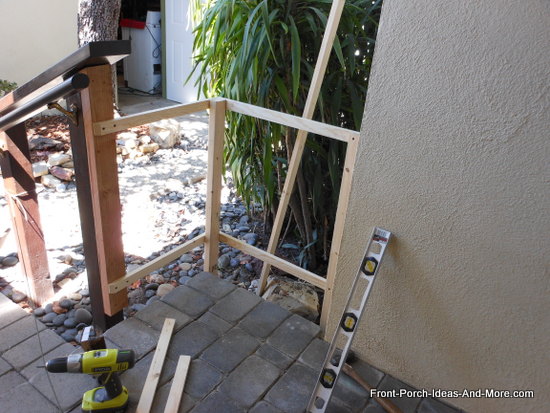
Video: Building the Porch GateOur 5 minute video goes through the basic steps to build this porch gate for family's home in California. Step 5I then attached the pickets in the same manner as in the previous steps.
Make the GateStep 1To make the porch gate I constructed two 2x4 frames. I measured the distance from one newel post to the other and subtracted approximately 1/2 inch (to allow for the hinge spacing). I then divided that in half to give me the length of each gate section.To get the height I measured from the porch floor to the top of the top rail. I then subtracted an inch (+/-) to accommodate any height differences across the porch floor so the gate does not hit the floor when opened. NOTE: I chose to have the porch gate open toward the front door and across the porch floor so they would open to their maximum width. If I had chosen to open the gate toward the yard, it would hit the hand rail and not open all the way. Remember, the gates will drop a little from their own weight and from the weight of the pickets so allow for this in your measurements. Step 2I then cut the 2x4s to length based on those measurements. To make the frames I cut half lap joints on the table saw. You could also purchase gate kits (hardware) from which to make your gate frames.Step 3I attached the frames to the fence supporting 2x4s using two medium weight hinges on each side as shown in the photo. Make sure the gates do not hit the porch floor when opened.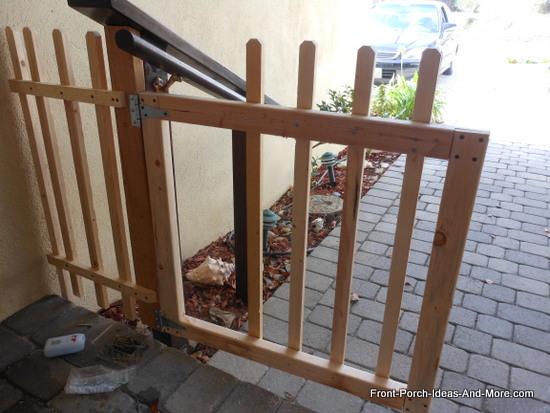
Note how frame is attached to 2x4 with hingesStep 4Attach the pickets to the gate frames. I first measured and marked the top of each gate frame to accommodate the pickets with a 3 1/2 space between them.To make the gates stronger and to ensure Cisco remains inside the gate and fence, I used a little exterior wood glue on each picket as shown before I attached them to the gate frames. 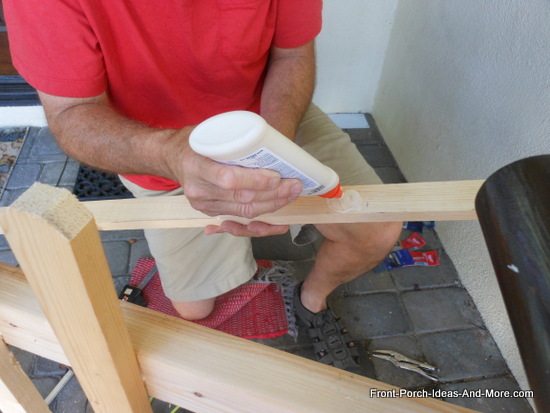
I then clamped each one into place and used a level to ensure they were perpendicular to the ground. I attached them with deck screws. (Be sure to drill pilot holes first to prevent the wood from splitting). 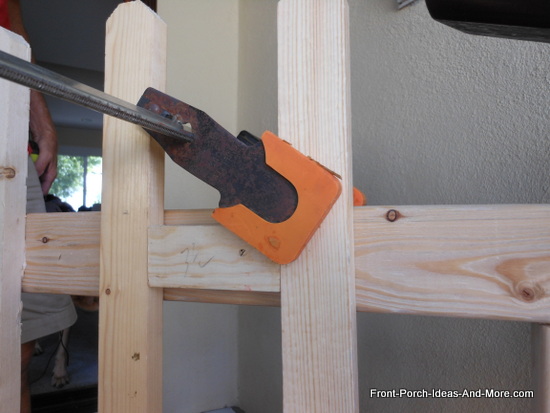
Make sure the pickets do not interfere with the hand rail; may have to adjust your spacing. 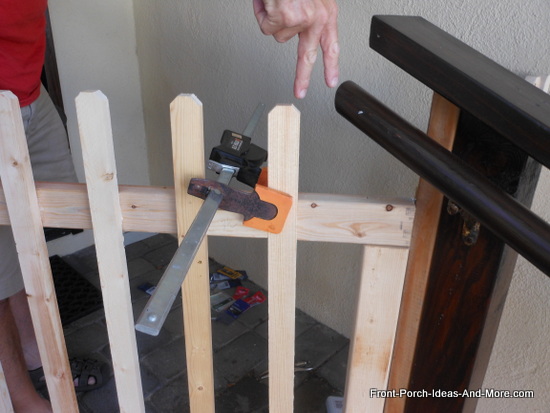
Adjust spacing if required to clear the banister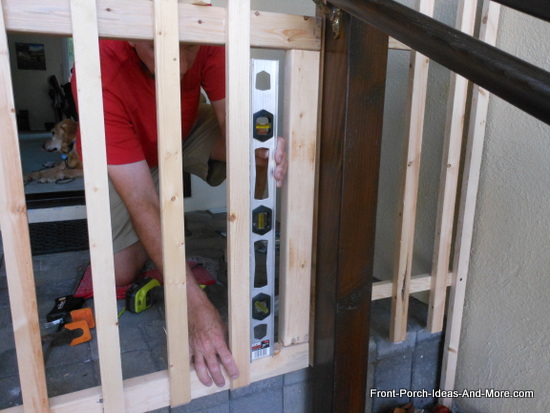
Using level to align pickets during installation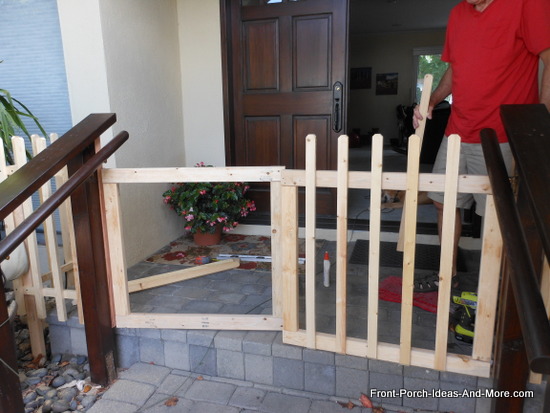
Pickets installed on one gate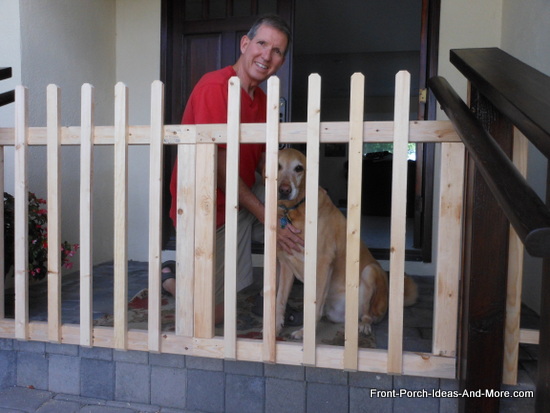
The porch gate is about completed. Just needs to be painted or stained. Cisco is pretty proud of it!Durable, charming, and can be disassembled by removing just four screws. 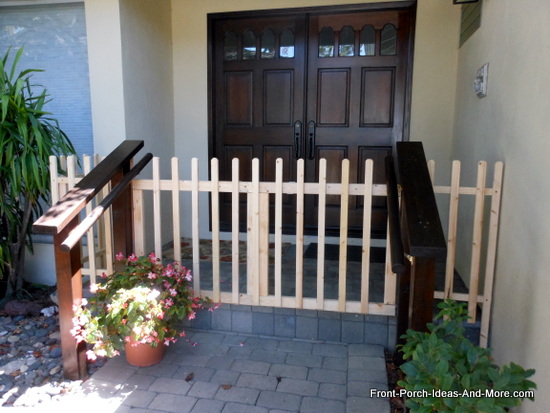
This is the finished picket fence gate before our daughter-in-love painted it to match the existing banister. (She removed one banister and took it into the paint store to color match it.) Notice how we added an extra picket right in the middle to close the gap. 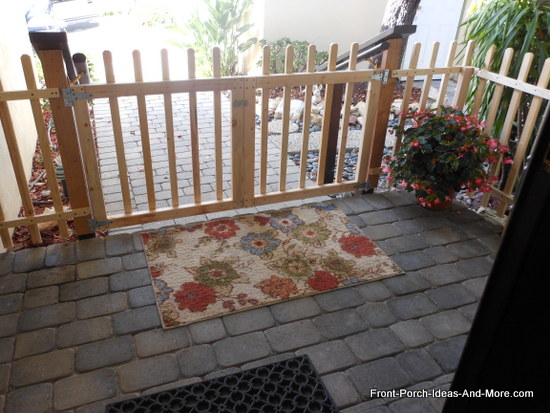
A wonderful space for Cisco (and everyone else!) to enjoy. The porch gate makes it feel more cozy. 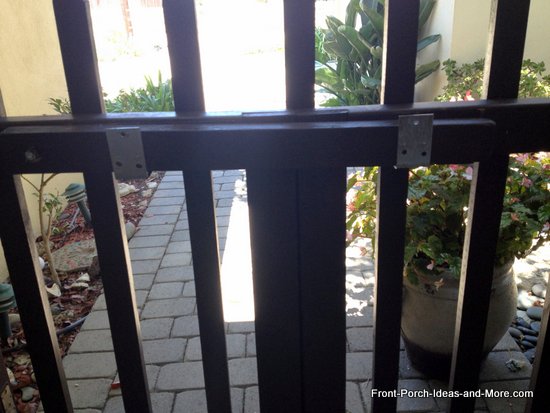
A close-up of the latch we put on the gate with brackets. We tried a different kind originally but since there is no center post for the gate to rest upon, this latch works well. In the picture below you can see how it works. 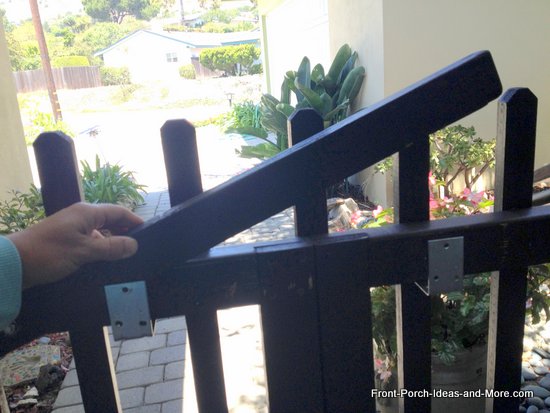
You just swing the gate latch up to open the gate. It rests on the brackets when the gate is closed. 
Our son and grandson enjoying the porch with Cisco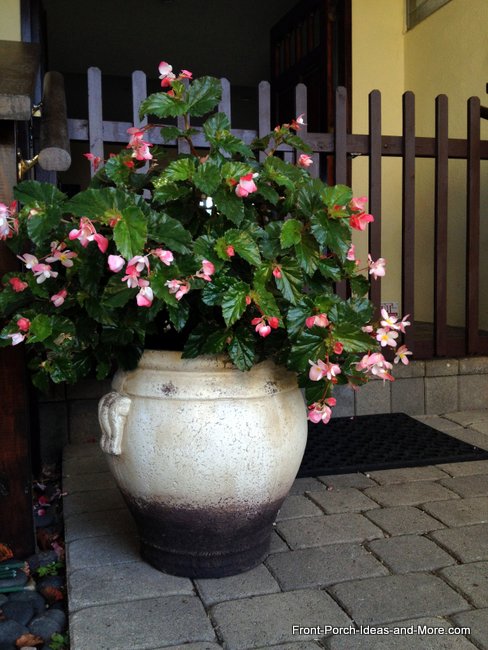
Isn't this pot of begonias beautiful? Blooms year 'round in California.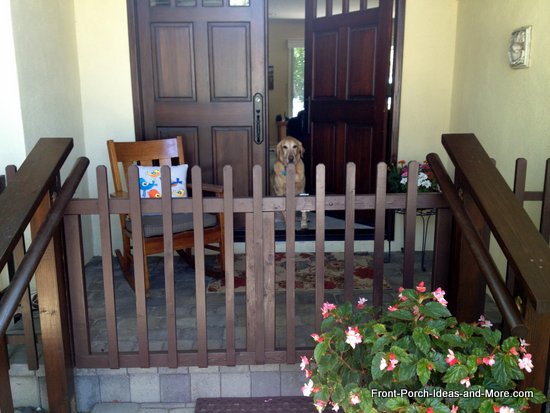
The new porch gate fits seamlessly with the home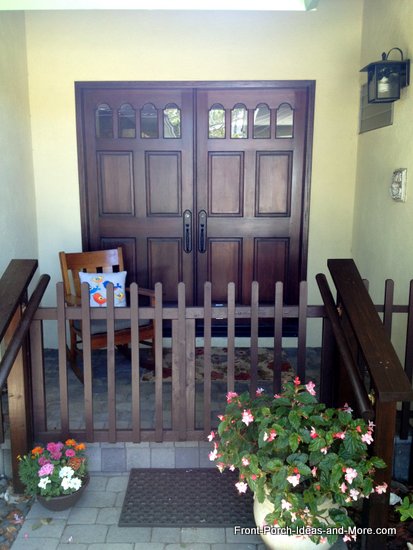
Turned out so wellAnother Idea: Rolling Porch Gate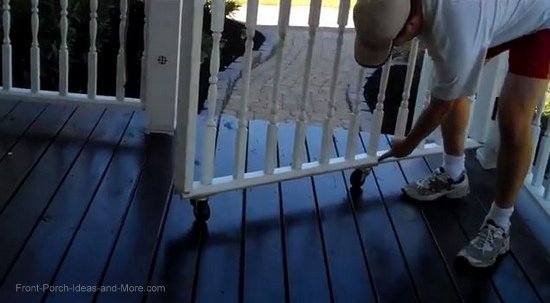
Have you seen the rolling porch gate our other son built for his front porch? It's another idea for you to consider especially if you have small children needing to swing a heavy gate back and forth. You Are Here:

Hi! We're Mary and Dave, lifelong DIYers, high school sweethearts, and we both love porches. You've come to the right place for thousands of porch ideas. Our Sponsors


End Sponsors Helpful LinksEnjoy shopping Amazon (affiliate link)Popular PagesWhat's NewJoin Our Newsletter Family Porch Designs Porch Ideas for Mobile Homes Find a Local Contractor Build a Porch | Small Porches Porch Columns | Porch Railings Screened Porches Porch Curtains | Porch Enclosures Porch Landscaping | Vinyl Lattice Porch Decorating | Porch Ideas Shop Navigation AidsHome | Top of PageSite Search | Site Map Contact Us PoliciesDisclosure Policy | Privacy PolicyLegal Info Please Join Us Here Also
Find a Trusted Local Pro Copyright© 2008-2024 Front-Porch-Ideas-and-More.com All rights reserved. No content or photos may be reused or reproduced in any way without our express written permission. At no extra cost to you, we earn a commission by referring you to some products on merchant sites. See our disclosure policy. We, Front Porch Ideas and More, confirm, as stated on our privacy policy, that we do not sell personal information. All content here is solely for presenting ideas. We recommend consulting with a licensed, experienced contractor before you begin your project. We make no guarantees of accuracy or completeness of information on our site or any links to other websites contained here. Thank you for taking your time to stop by. See what's popular and new here. |
Hi! We're Mary and Dave, lifelong DIYers, high school sweethearts, and we both love porches. You've come to the right place for thousands of porch ideas. --- Our Sponsors ---
--- End Sponsors ---Find Top-Rated Service Pros
Our Newsletter, Front Porch AppealLearn more!Thank you for being here! |
|
|
At no extra cost to you, we earn a commission by referring you to some products on merchant sites. See our disclosure policy.
We, Front Porch Ideas and More, confirm, as stated on our privacy policy, that we do not sell personal information. All content here is solely for presenting ideas. We recommend consulting with a licensed, experienced contractor before you begin your project. We make no guarantees of accuracy or completeness of information on our site or any links to other websites contained here. Front Porch Home | Return to Top Contact Us | About Us | Advertise with Us | Search | Site Map Media | Privacy Policy | Disclosure | Legal Notice | What's New 
|
||
|
No content or photos may be reproduced or copied in any way without our express written permission. | ||