Porch Patio IdeasExtend Your Small Porch with a PatioOur porch patio ideas include an innovative way to enlarge the size of your porch!A porch extension (or patio) for small porches along with the right landscaping, outdoor furniture, and a few amenities adds real appeal and value! It gives additional outdoor living space and adds to the beauty and functionality of your home. A porch extension is easy to do and is relatively inexpensive as compared to many other similar construction projects. Because it does not need a roof nor extensive foundation, a patio area can be constructed from a variety of materials, like stone, brick, pavers, concrete, and more. 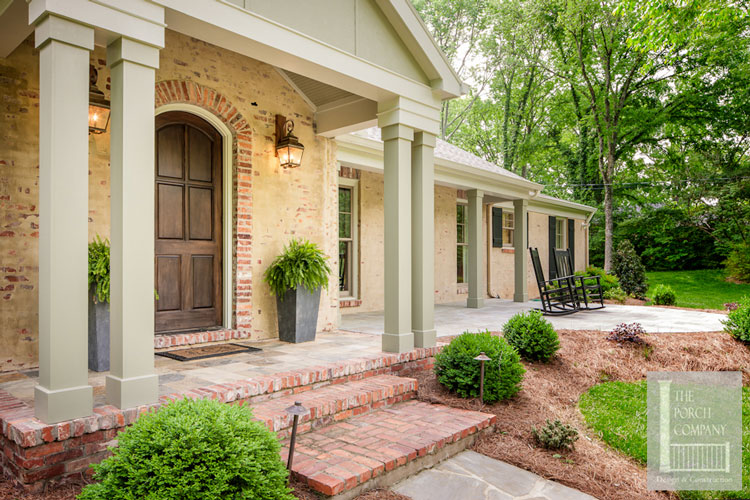
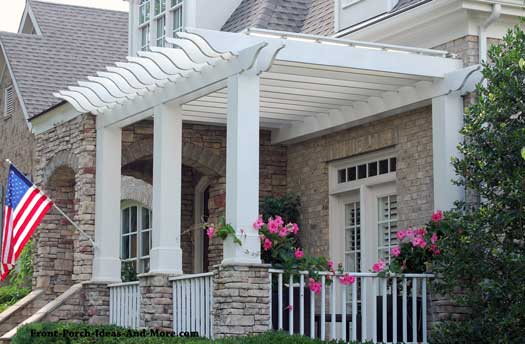
An adjacent patio area gives ample space for entertaining or relaxing (photo courtesy of The Porch Company, Nashville, TN)Note how the pergola doesn't block the light from the interior space, one of several advantages of a pergola. It is structurally sound from which to hang a porch swing; how neat is that! 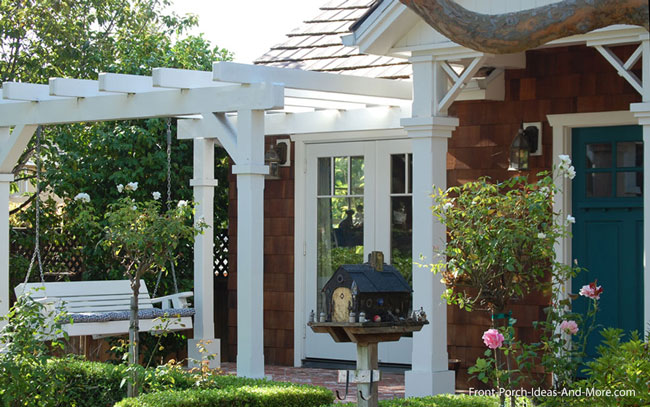
Pergola style patio porch complete with porch swingSpeaking of pergolas, look how this home has not only taken advantage of a patio space near their front door, but also covered it with a handsome front porch pergola.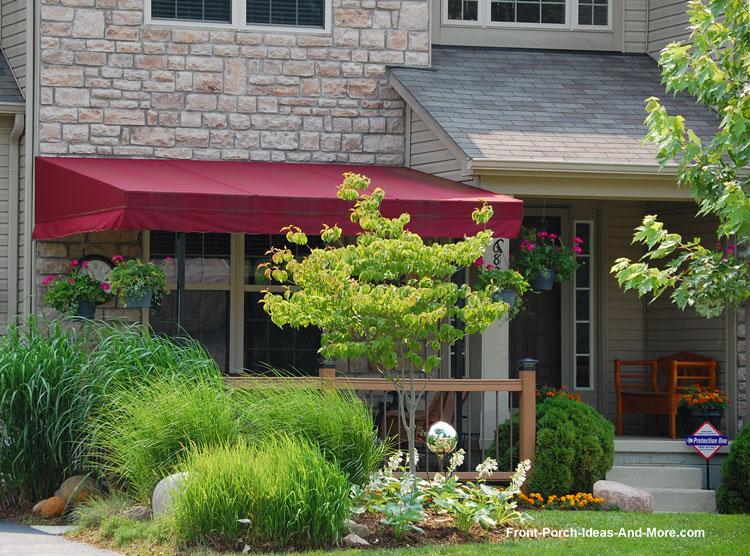
Mary and I would love a spot like this to read the newspaper and have a cup of coffee. Wouldn't you? Our patio ideas make it possible. See Mary Anne's Porch Patio: Before and AfterOur friend Mary Anne transformed her front entrance into a curb appealing and quite functional patio porch. Not only that, she added outdoor wall art to create a most welcoming art gallery on her front porch area.She yearned for a larger front porch area for entertaining and we're delighted for you to see her result. Truly an ideal solution. Her lovely brick home has an ideal area for a patio porch addition. The ground is fairly level and she has adequate space to integrate an entertainment area. 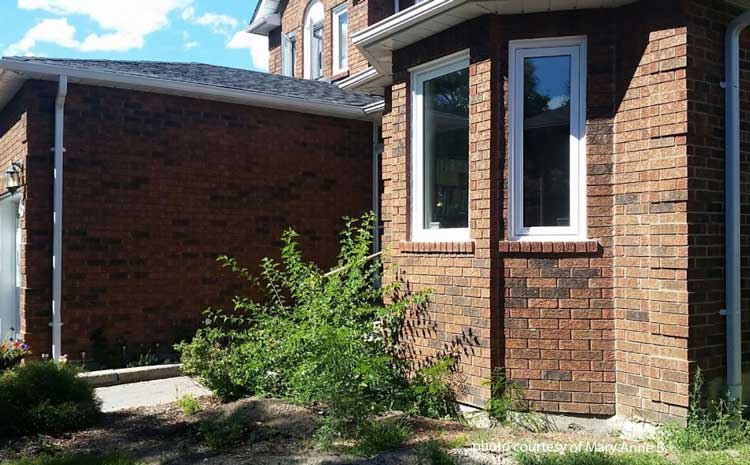
Before construction of patio porchBefore: Her small porch enclosure protects her front door entrance from rain and wind. Mary Anne wanted to keep that, if at all possible. Notice the bay window to the right of the front door that extends out from the front door about 6-8 feet.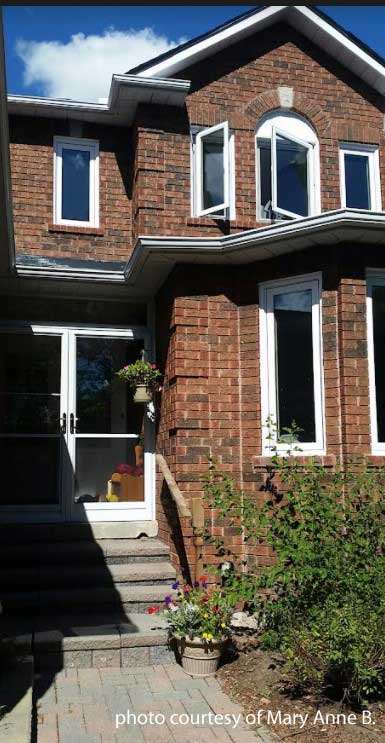
Before: Her small front porch is ready to be expanded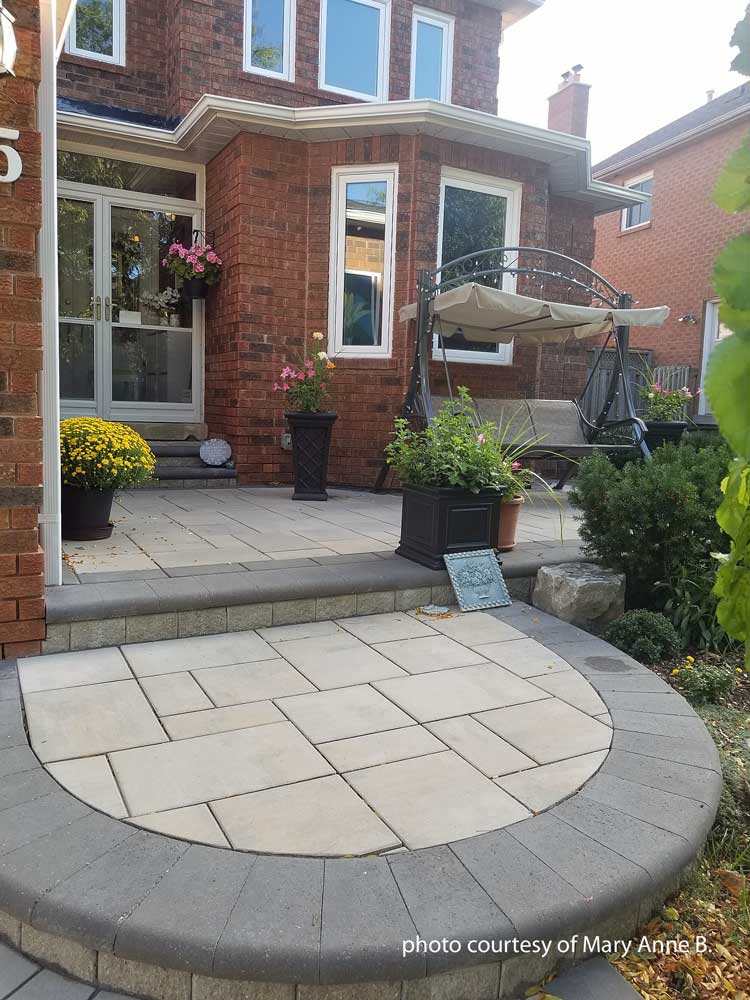
After: Wonderfully designed patio porch extensionAfter: As you can see, Mary Anne and her daughter designed a patio porch that's makes for an optimum solution. Mary Anne now has space for entertaining or just relaxing in comfort. Her new porch expansion adds immense curb appeal, making it an aesthetically pleasing addition.What a nice use of space that truly enhances the look of Mary Anne's home. Love this patio idea! 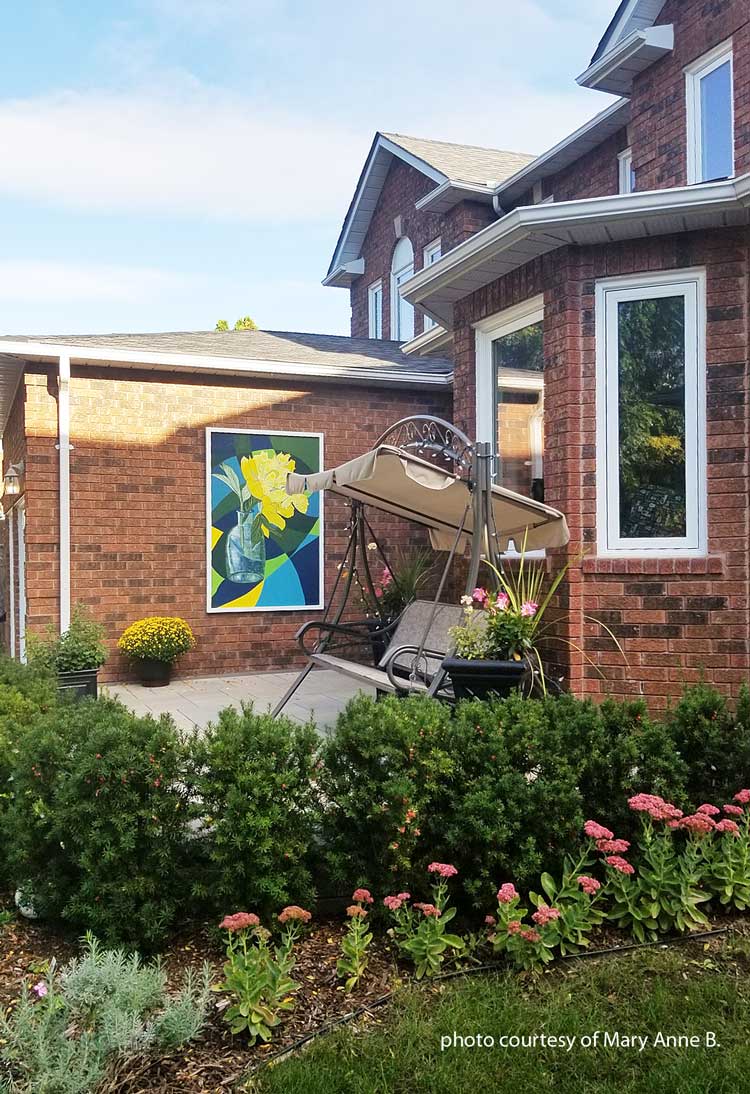
Delightfully comfortable for entertaining or watching the sunsetMary Anne's outdoor wall art not only brightens the entrance but also becomes a nice conversation piece. See more of Mary Anne's art and learn how she prepares her art for the outdoors.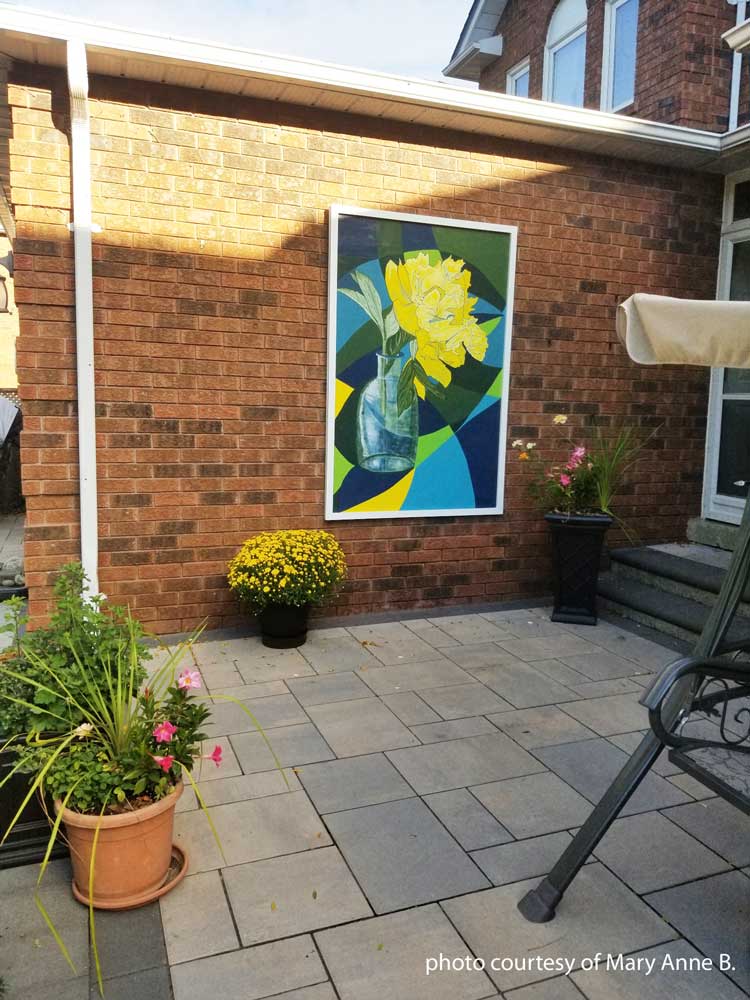
Beautiful outdoor artwork on displayDid you get some helpful patio ideas from Mary Anne's before and after pictures? We hope yes!Take a Look at These Small Front Porches with PatiosWhen adding a porch roof isn't practical, here's a solution for ranch homes. This pergola serves this family well. They can enjoy the benefits of a porch on their extended patio area in shade.
Long patio porch extension covered by pergola roof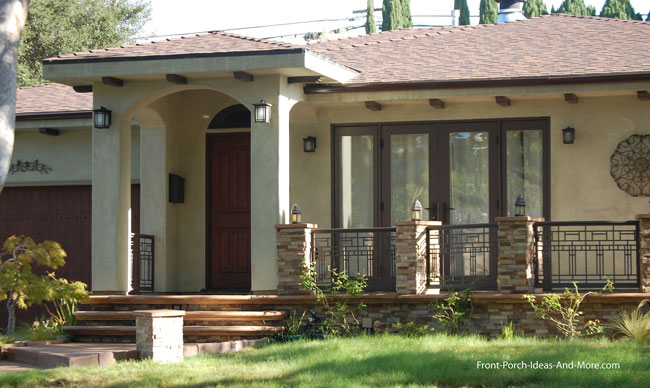
Patio porch without pergola roof on ranch style homeL-Shaped Home Porch SolutionWe are often asked how to add a porch to an L-Shaped home. Matching roof lines can be difficult or almost impossible. A simple solution for some may be a patio porch like the one shown below.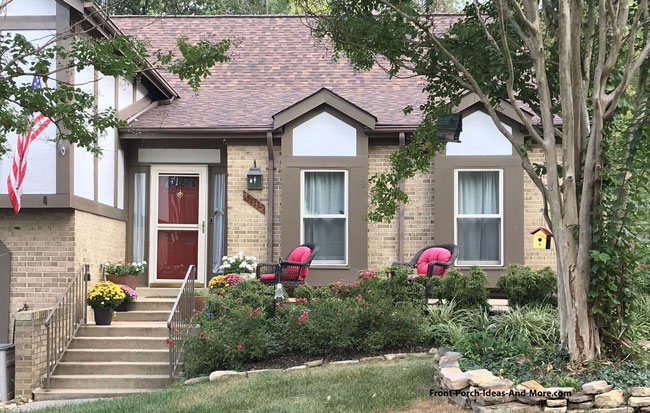
Patio Porch On An L-Shaped HomePatio Porch ParadeWe've found lots of examples of some pretty neat and innovative patio porch examples as we've crossed the country. It is a perfect and very cost effective way to expand a small porch or portico to create the same comfort a large porch may offer.Many patios are covered with a pergola which is an easy way to create a bit of shade. You can also use it to support climbing flowering vines to produce even more shade and add color at the same time. We hope these examples will give you many patio ideas whether or not you are extending your porch. We found this patio idea in northern Ohio - all decked out for fall. We found this one interesting as the walkway doubles as an area upon which to expand their small porch for the season. 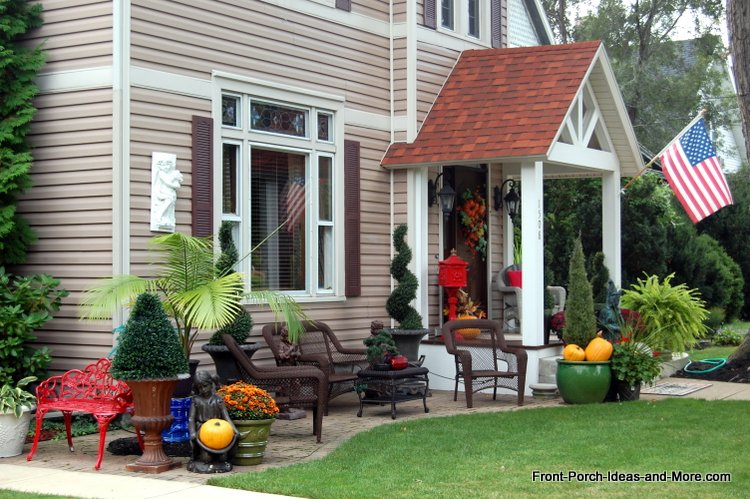
Patio area complete with outdoor furniture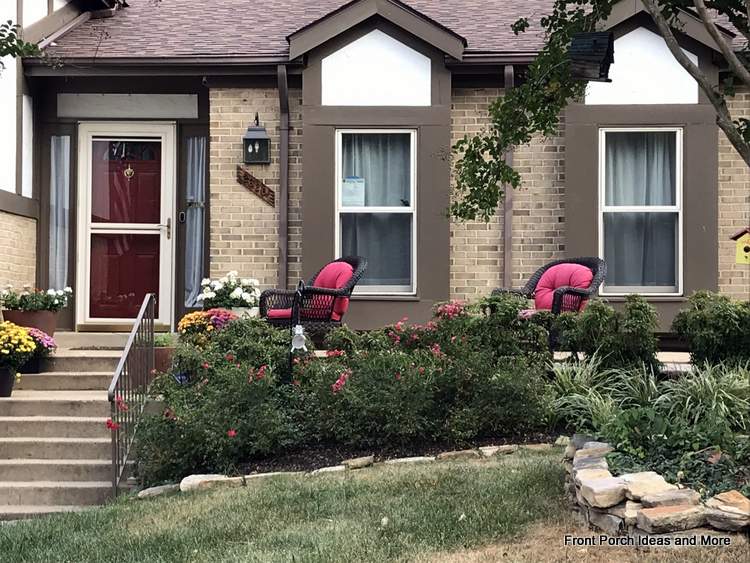
A lovely way to have a patio porch area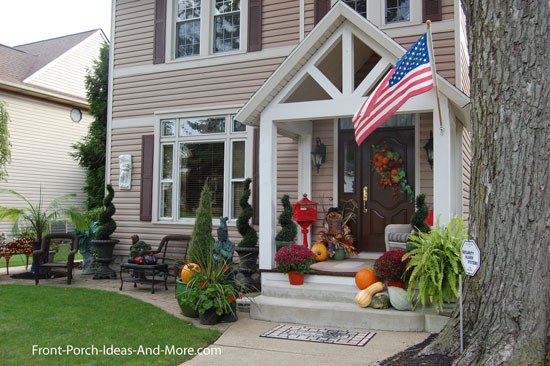
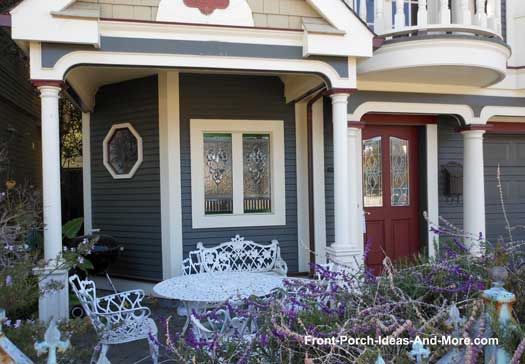
The brick planter creates a sense of harmony between the porch and patio making it a seamless transition with this patio in southern California. Note how the Adirondack chairs are painted to match the home; a real nice touch. 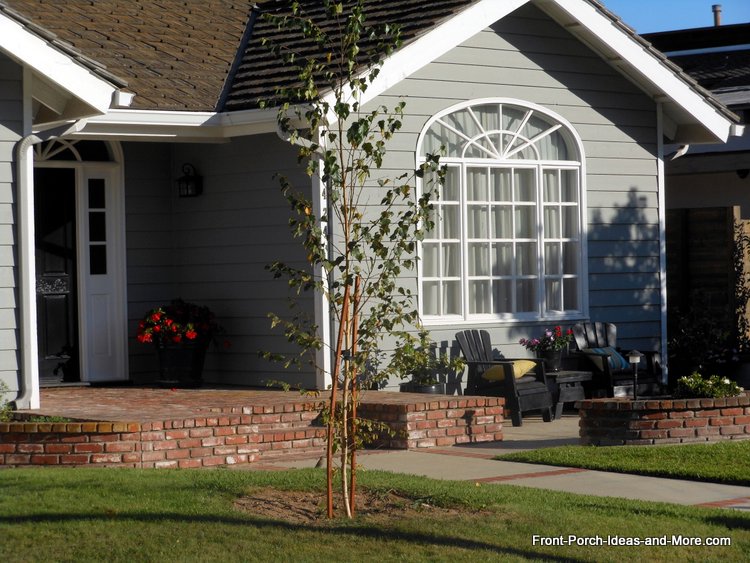
Another appealing southern California patio porch extension. Such a nice way to enjoy your front yard and neighborhood. 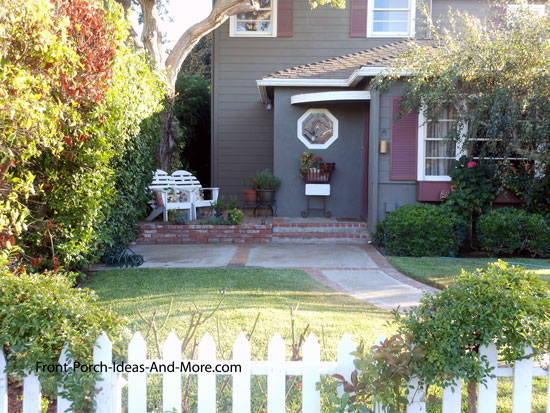
Extending your porch makes it not only more inviting but appear larger as well. Also note the use of awnings and pergola-style roofs, other options that adds both comfort and appeal. 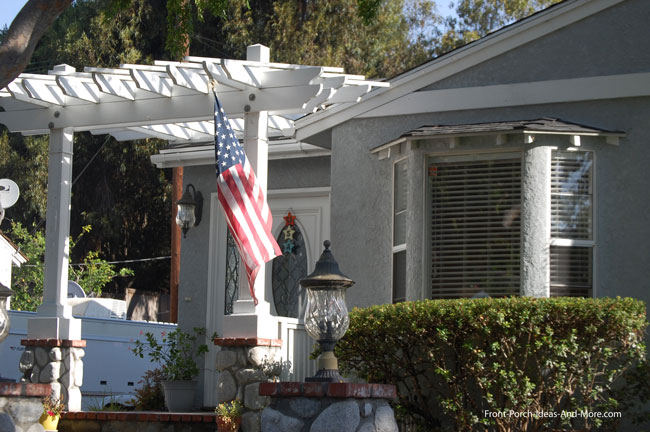
Note how this pergola adds extra curb appeal to this small entrance style front porch. It's ideal from which to hang baskets of flowers too.
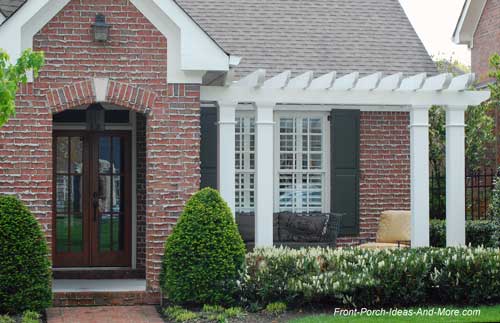
Patio area extension with pergola style roofBy definition, a patio porch would be covered and that's great if you can do it. Whether covered or not, extending a small porch with a terrace can make your entrance more inviting.In the photo below, a pergola-type roof was added to create shade. Try to envision this home without the extended porch - it makes a huge difference. 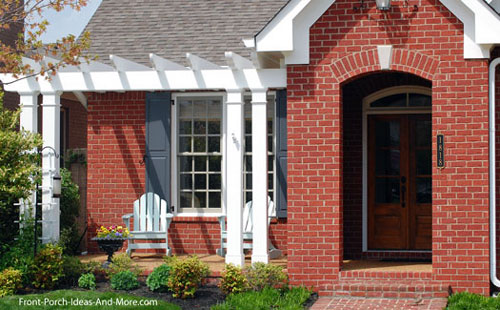
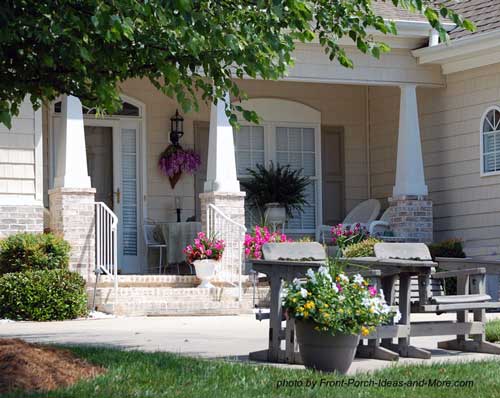
A variation that can work well when adjacent space is not available, is to make a walkway leading to a patio area along side the front of the home. The photo below is illustrative of this patio idea. The shrubbery, once grown, will create a more private area - one among many creative patio ideas. 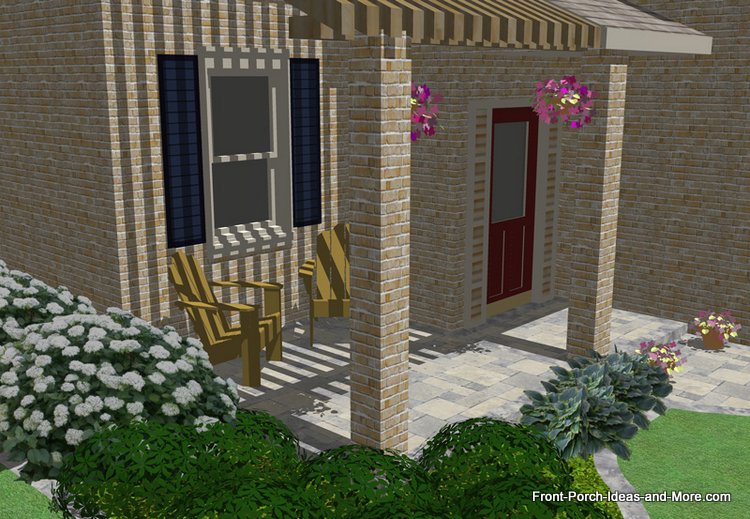
This small porch was extended by expanding the area in front with a patio - where shrubbery probably existed before. They used benches and a planter as you can see from the pictures below to add appeal. These three porches are good examples of using available space to create additional outdoor areas. 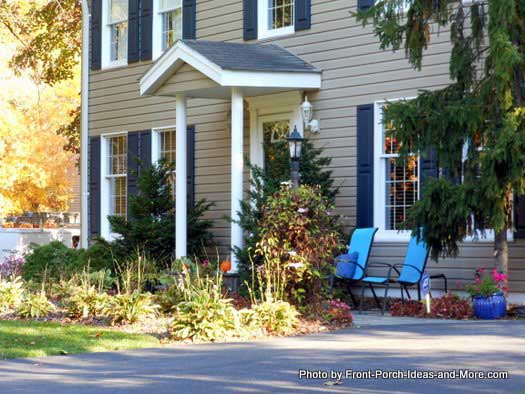
Use Our Front Porch Designs Illustrator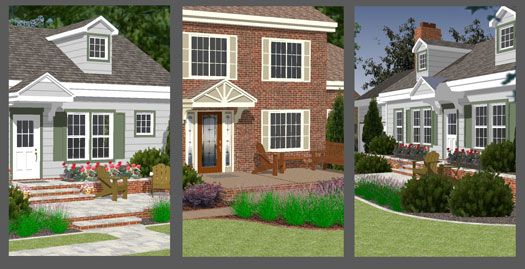
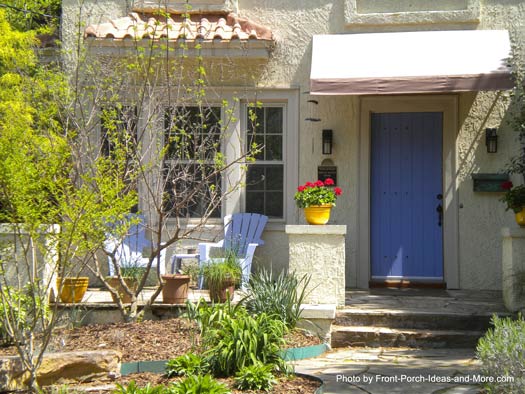
See patio ideas on two different style homes - a single story and two-story. You'll find walkway and landscaping ideas too. Have fun using our Porch Illustrator today. Patio Ideas - Patio Porch DesignsOften times it is difficult to envision your porch extension design. A 3-D rendering can solve that issue and give you a perspective you might not otherwise have. In this specific example, we show you how this very small porch can be extended with a patio, then a pergola-covered porch, and then a fully covered porch to match the home.Amazing difference to this home. Just imagine how you could expand your small porch into a much more enjoyable space for morning coffee or relaxing with a good book. 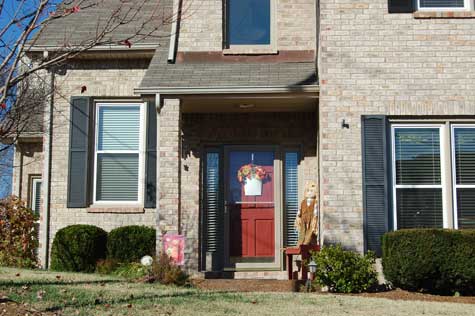
Original home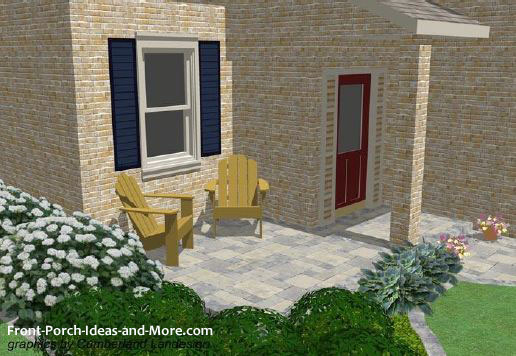
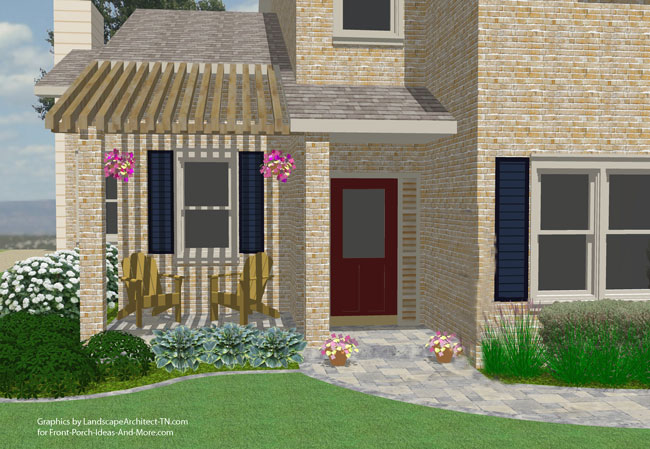
Proposed patio to extend the porch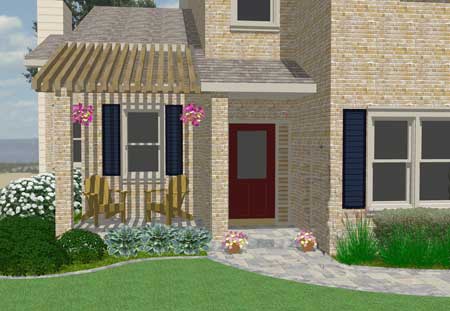
Patio is covered with a pergola-style roof
Patio is turned into a covered porchVideo: Extending Your Small PorchOr listen to our small porch podcast here Patio Ideas for Your Patio PorchExtensions on your back porch will give you a great area for grilling, additional seating, or just soaking up the sun.You can't go wrong adding additional outdoor living space! We know the following ideas will help you envision the "possibilities"! 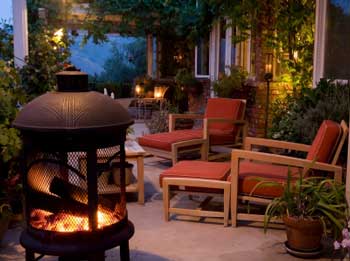
Patio Ideas - How to Extend Your Porch
If you have space on either side of your porch or even at the bottom of the stairs, extend this area with pavers or bricks to make a patio.
This is a great DIY project. If you don't mind using some muscle power, have the time, and have a few tools, you can do this!
And it's FUN. Take pictures along the way.
|
|||||||

More Front Porch Design Ideas Small Porch Ideas
Explore your options for creating a curb appealing small front porch... |
 Our Porch Portal
Discover a multitude of ways to design, decorate, landscape your porch.... |
 Porch Design Ideas
See these unique before and after porch renovation projects.... |
 Log Home Porch Pictures
Use these amazing log home photos to glean ideas for your porch... |
You Are Here:
|

Hi! We're Mary and Dave, lifelong DIYers, high school sweethearts, and we both love porches. You've come to the right place for thousands of porch ideas.
Our Sponsors


End Sponsors
Helpful Links
Enjoy shopping Amazon (affiliate link)Popular Pages
What's NewJoin Our Newsletter Family
Porch Designs
Porch Ideas for Mobile Homes
Find a Local Contractor
Build a Porch | Small Porches
Porch Columns | Porch Railings
Screened Porches
Porch Curtains | Porch Enclosures
Porch Landscaping | Vinyl Lattice
Porch Decorating | Porch Ideas
Shop
Navigation Aids
Home | Top of PageSite Search | Site Map
Contact Us
Policies
Disclosure Policy | Privacy PolicyLegal Info
Please Join Us Here Also

Find a Trusted Local Pro
Copyright© 2008-2024
Front-Porch-Ideas-and-More.com All rights reserved.
No content or photos may be reused or reproduced in any way without our express written permission.
At no extra cost to you, we earn a commission by referring you to some products on merchant sites. See our disclosure policy.
We, Front Porch Ideas and More, confirm, as stated on our privacy policy, that we do not sell personal information.
All content here is solely for presenting ideas. We recommend consulting with a licensed, experienced contractor before you begin your project.
We make no guarantees of accuracy or completeness of information on our site or any links to other websites contained here.
Thank you for taking your time to stop by. See what's popular and new here.
Hi! We're Mary and Dave, lifelong DIYers, high school sweethearts, and we both love porches. You've come to the right place for thousands of porch ideas.
--- Our Sponsors ---
--- End Sponsors ---
Find Top-Rated Service Pros
Our Newsletter, Front Porch Appeal
Learn more!Thank you for being here!
At no extra cost to you, we earn a commission by referring you to some products on merchant sites. See our disclosure policy.
We, Front Porch Ideas and More, confirm, as stated on our privacy policy, that we do not sell personal information.
All content here is solely for presenting ideas. We recommend consulting with a licensed, experienced contractor before you begin your project.
We make no guarantees of accuracy or completeness of information on our site or any links to other websites contained here.
Front Porch Home | Return to Top
Contact Us | About Us | Advertise with Us | Search | Site Map
Media | Privacy Policy | Disclosure | Legal Notice | What's New
No content or photos may be reproduced or copied in any way without our express written permission.