Pillow Cover Pattern for AutumnLearn How to Make a Pillow CoverI want to share my easy pillow cover pattern for autumn with you. These pillows will sit on our porch glider for autumn. Actually this technique would work for any season or holiday of the year.These autumn pillow covers are easy to make. I had a ball with the orange batik and brown polka dot fabric. 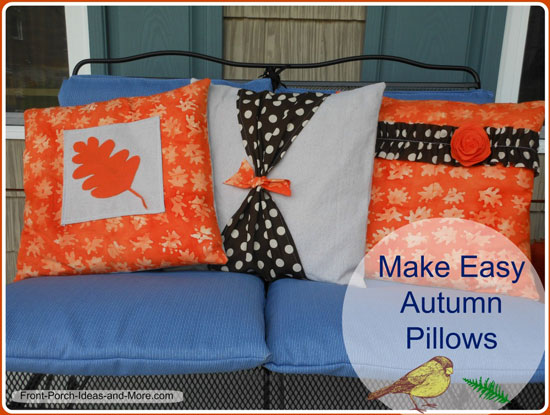

Three autumn pillows I just made for our porchVideo: Pillow Cover Pattern for AutumnWatch how easy it is to sew autumn pillow coversWhat You Will NeedMaterials
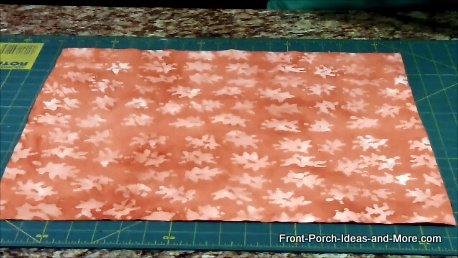
Measure your pillow. Add 1.5 inches to the length and the width. For example, an 18" pillow would require about a 19.5" square of autumn fabric for the front cover. I always like to be on the generous side because it's easy to fit it down. Make the Decorative Pillow Front FirstDecorate the pillow front before you sew the front to the back. It's much easier that way.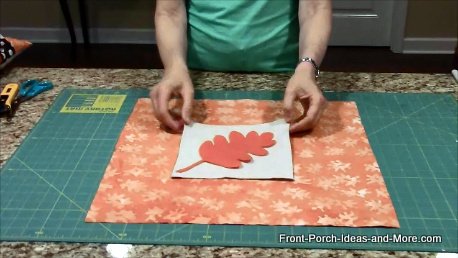
Decide how you want to decorate. For mine, I simply cut an extra square of the drop cloth material, hemmed it on all 4 edges, then glued a felt leaf to the center of it. I just drew the leaf pattern right on the felt and cut it out. You could get more fancy and embroider a blanket stitch around the leaf. Or your square of material could be another beautiful fabric that harmonizes with your base material. Sew your embellishment to the front. Make the Pillow Back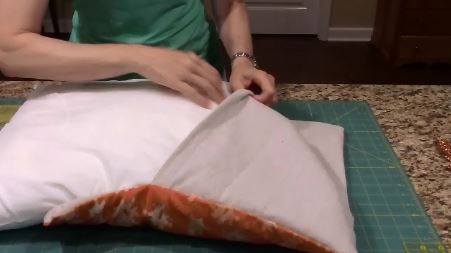
I make my pillow backs so that you can easily slip the cover off to wash it or to slip on a different pillow cover. 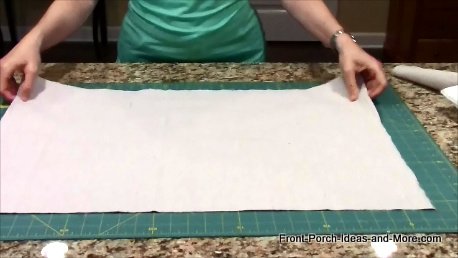
Cut a piece of your backing fabric that is the same width of the pillow, but add about 10" to the length. The reason is that the back will be in two pieces. So you will have a rectangle. 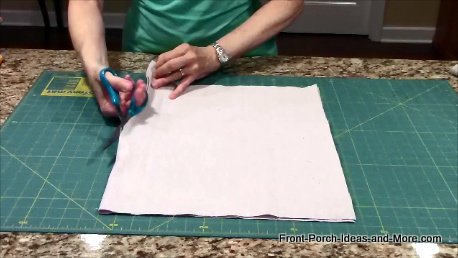
Now cut that rectangle in half (across the short distance). Sew a hem on each of the pieces on one side (a short side). Now it's time to sew the back to the front. Place the pillow front fabric on your work surface, right side up. 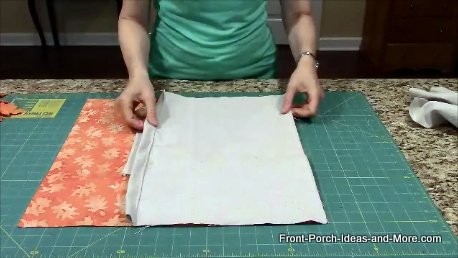
Next place one of your backing pieces on top of the pillow top face down. 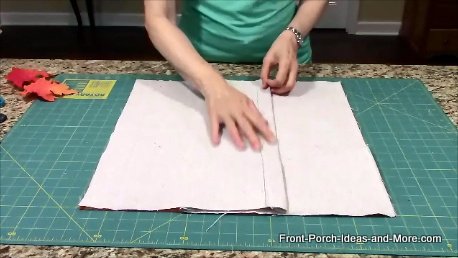
Then place your other backing piece face down. 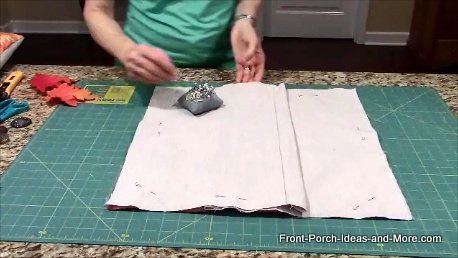
Pin around all 4 sides. Now sew around all 4 sides. You don't need to leave an opening because you will have an opening through the flap you are building in.
Once sewn, slip your pillow inside (don't worry about turning it right side out. You just want to see if the pillow fits well. If not, then sew a little closer in. Once you are happy with how the pillow fits, trim the excess edges of your pillow and trim the corners (but don't get too close to the stitching). Turn the pillow cover right side out. You can use a pin or needle to pull out the four corners to make them crisper. 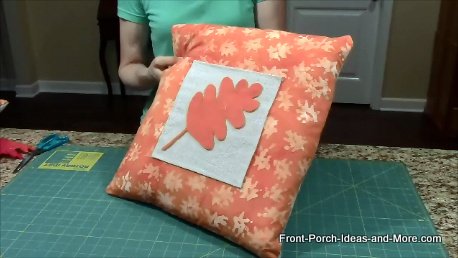
Now slip your pillow back in and smooth it all out. Now your pillow is done! I hope my pillow cover pattern for autumn is helpful to you. Try it for any season. Variations of the Pillow Cover Pattern for Autumn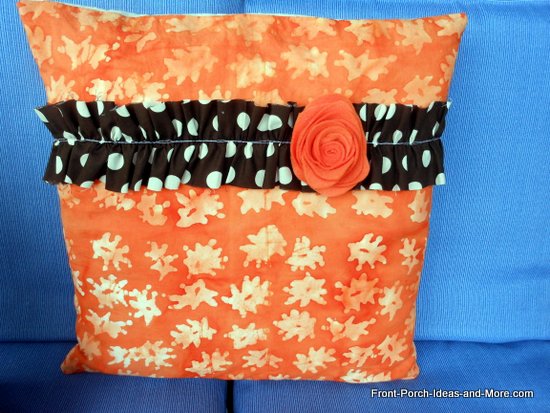
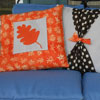
Ruffled pillow with felt flowerThis ruffled pillow is just another variation of the pillow cover pattern for autumn. I cut a strip of the brown polka dot fabric about a third of the width of the pillow top, but about twice as long.I didn't even hem the sides (although admittedly they do ravel some), but you could. Then I just scrunched it into a ruffle with my fingers and used my sewing machine to keep it that way. Make sure you cut your fabric long enough to allow for ruffles across the pillow. Then I dressed it up with the orange felt flower. 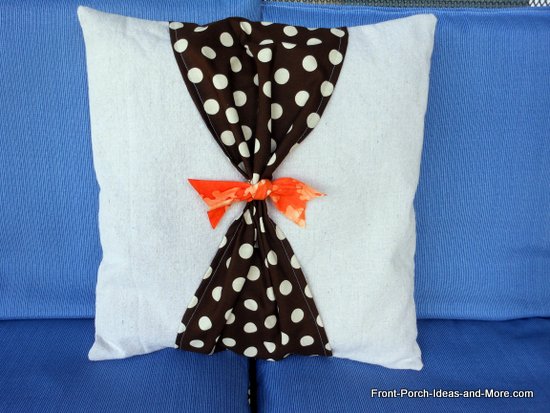
Bow tie pillow (wouldn't this be cute with red polka dots?)I made this pillow cover completely out of painter's drop cloth except for the embellishment on top - so inexpensive and easy to work with.To do the "bow tie", see picture collage below. I simply cut a rectangle of the polka dot fabric that spans about a third of the way across the pillow top and several inches longer than the pillow top (to allow some extra for scrunching it in the middle). I put a narrow hem into the long sides of the fabric. Then I laid it across the top of the pillow front before it was sewn to the back. Once the pillow cover was sewn (as explained above), I just cut a little strip of the colorful orange fabric to make a tie for the middle of the "bow". That's it. Super easy. 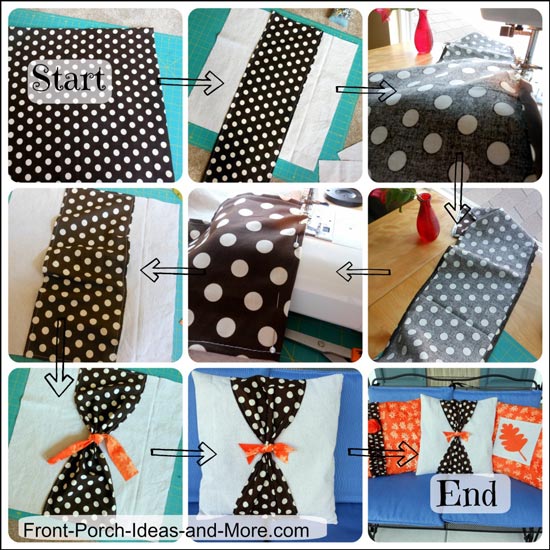
Pictures of the steps for making the bow tieFall Porch Swing Cushion ProjectDave and I lettered our fall porch swing cushion! I've always loved lettered items - pillows, banners, paintings. It's just fun and makes for an easy autumn decorating idea - and a conversational one, too.Here you will find our tutorial for making this burlap craft for your fall decor. We like it because it's just plain fun for your autumn decorating. 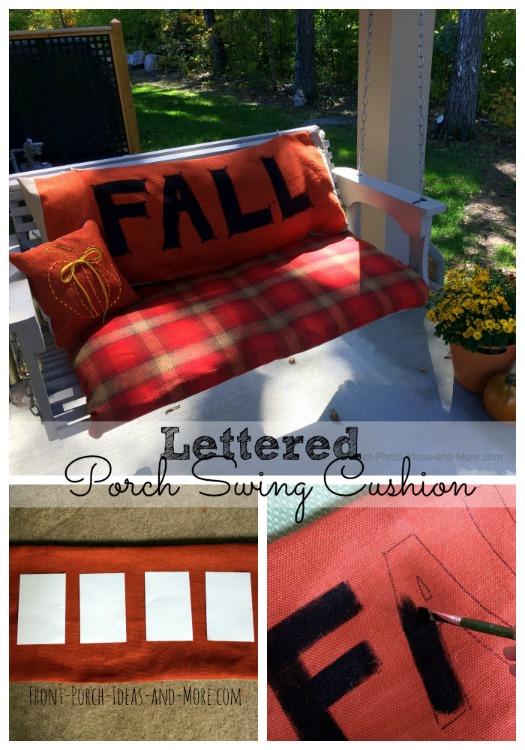
We like our fall porch swing cushionTutorial for Our F-A-L-L Swing Cushion
To make the lettered porch swing cushion, I first measured the back of my porch swing. It was approximately four feet by one and a half feet. 
I already had a nice-sized scrap of orange burlap from last fall, however it wasn't quite wide enough. So I added some width by sewing a narrow strip of tan fabric (sheet) to each side. Then I cut a piece of the same tan sheeting for the back that was the same size as the front. I put right sides together and sewed them together leaving an opening of about 12 inches. Then I turned the cushion cover right side out. 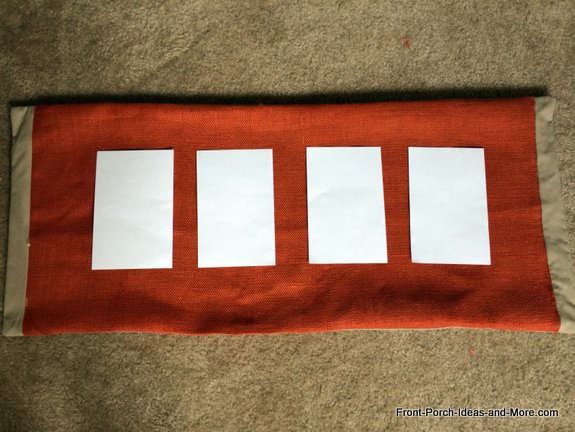
Next step was the lettering for F - A - L - LTo do this I cut 2 sheets of regular white paper in half (8 1/2 by 11 inches). So I ended up with 4 pieces of paper that were 8 1/2 by 5 1/2 inches.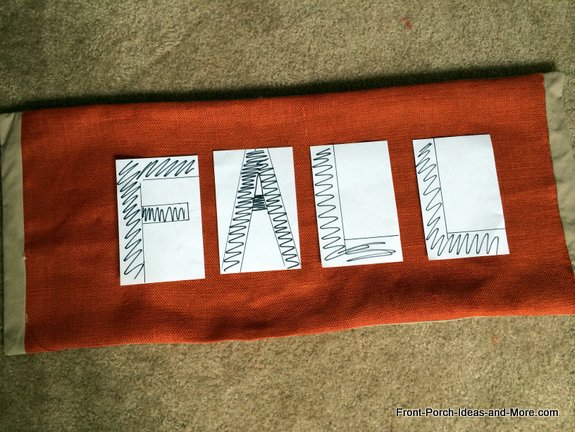
I used these sheets of paper to make block letters for the word "FALL". 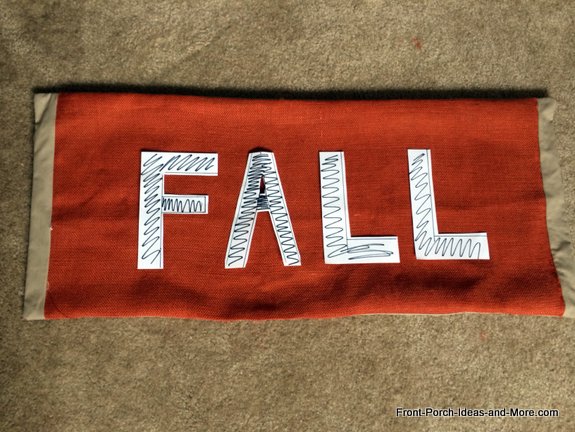
Then I cut out the letters and spaced them evenly on the front. Once the letters were traced, then I painted the letters with black acrylic (craft) paint. I could have used the marker but it was more tedious and did not show up as well as the paint. 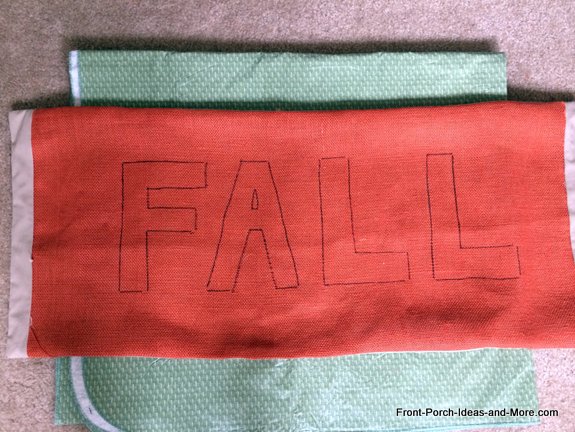
Space the letters; use a ruler if that helps.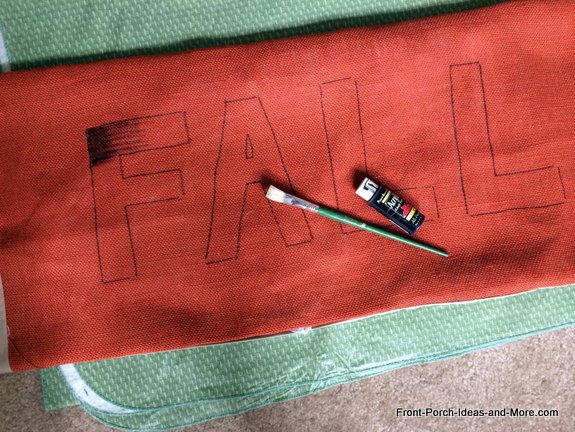
I traced the outline of the letters with a black marker. Now it's time for painting the letters with black acrylic paint. I got out my brush and a small bottle of black acrylic paint. 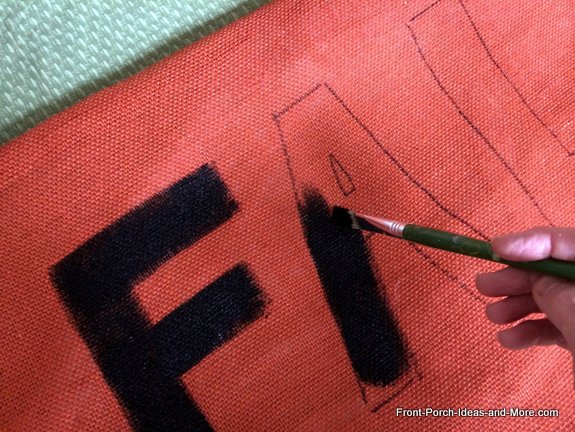
As an aside, please be sure to protect your surface very well before you paint. Notice that I put a vinyl tablecloth underneath my project. And realize that the paint will seep through the burlap to the back unless you slip something in between the front and the back. Several layers of plastic bags will work. I found that it took a while for the paint to dry on the burlap; longer than I expected. Just paint inside the lines. It's actually easy to do. Be sure to keep your surface protected please. 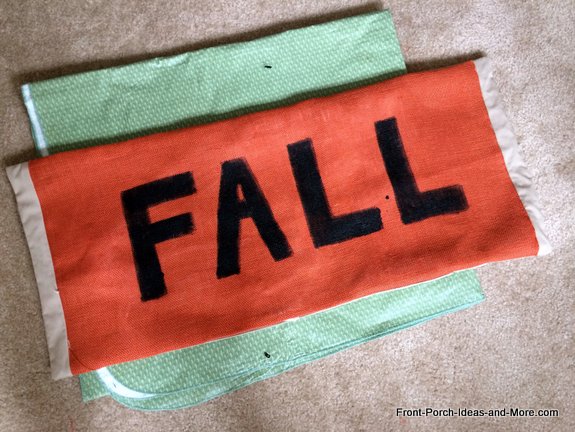
The painted letters are done but still wet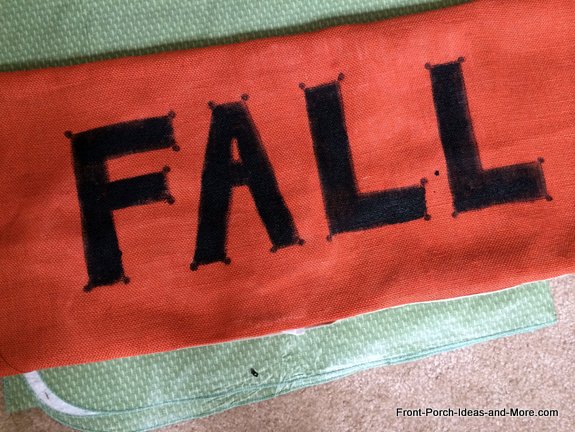
Just a close-up picture of the lettering. I added a few embellishments - just simple dots on the letters. Video: Watch Our Tutorial for Our Lettered Porch Swing CushionSee how to make our fall porch swing cushion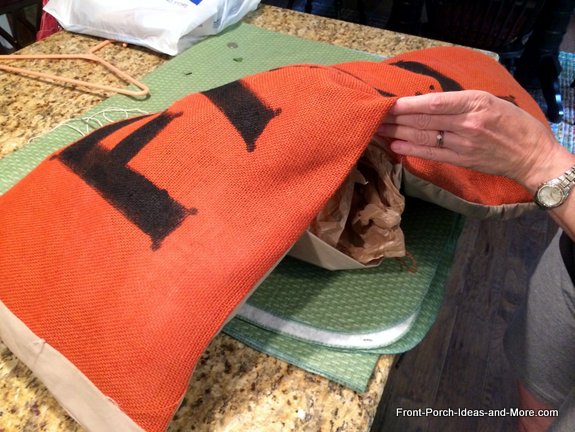
When the paint was dry, I stuffed the "pillow" with plastic bags. Or alternatively, you could fill it with polyester fiberfill or pillows you already had. 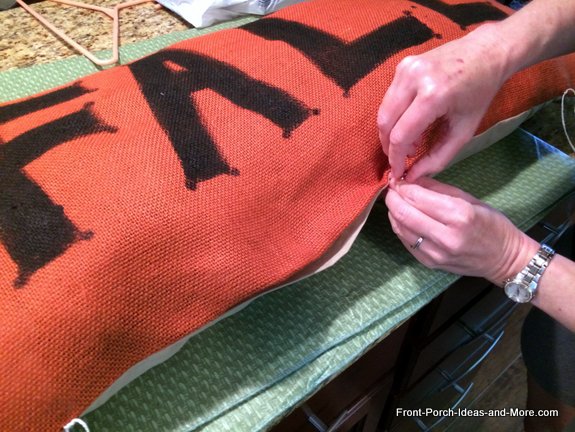
I simply pinned the opening shut but alternatively you could sew it shut. I took the easy way out on this project. 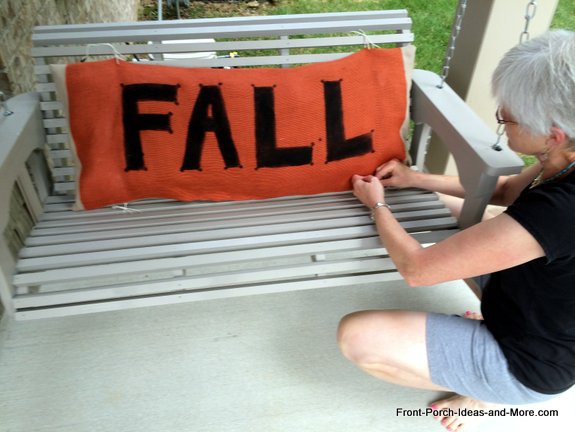
Finally, I put 4 twine ties in each corner by threading twine through the burlap. I used the twine ties to secure my "Fall Pillow" to my swing. 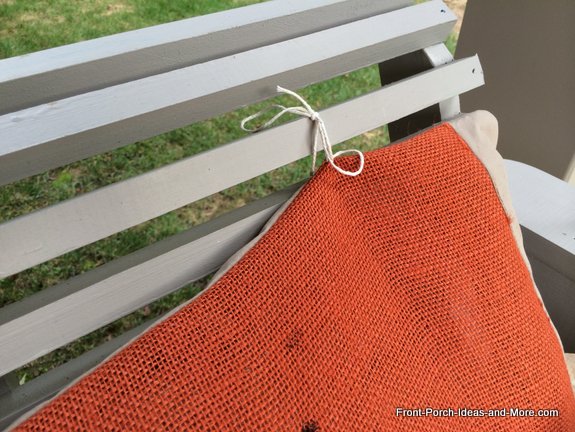
I tied our fall cushion to the slats of the porch swing back - two ties on the top. 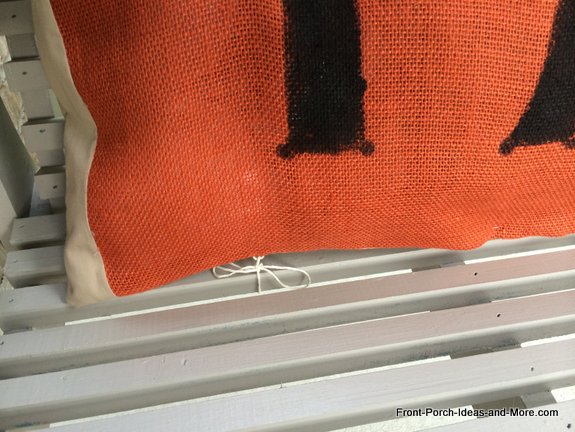
And two ties on the bottom corners. You could add more ties if your porch swing is wider - which it probably is!
We are happy with how it turned out. You could do the same kind of lettering on pillows, banners, flag - just about anything for any season.

Hi! We're Mary and Dave, lifelong DIYers, high school sweethearts, and we both love porches. You've come to the right place for thousands of porch ideas. Our Sponsors


End Sponsors Helpful LinksEnjoy shopping Amazon (affiliate link)Popular PagesWhat's NewJoin Our Newsletter Family Porch Designs Porch Ideas for Mobile Homes Find a Local Contractor Build a Porch | Small Porches Porch Columns | Porch Railings Screened Porches Porch Curtains | Porch Enclosures Porch Landscaping | Vinyl Lattice Porch Decorating | Porch Ideas Shop Navigation AidsHome | Top of PageSite Search | Site Map Contact Us PoliciesDisclosure Policy | Privacy PolicyLegal Info Please Join Us Here Also
Find a Trusted Local Pro Copyright© 2008-2024 Front-Porch-Ideas-and-More.com All rights reserved. No content or photos may be reused or reproduced in any way without our express written permission. At no extra cost to you, we earn a commission by referring you to some products on merchant sites. See our disclosure policy. We, Front Porch Ideas and More, confirm, as stated on our privacy policy, that we do not sell personal information. All content here is solely for presenting ideas. We recommend consulting with a licensed, experienced contractor before you begin your project. We make no guarantees of accuracy or completeness of information on our site or any links to other websites contained here. Thank you for taking your time to stop by. See what's popular and new here. |
Hi! We're Mary and Dave, lifelong DIYers, high school sweethearts, and we both love porches. You've come to the right place for thousands of porch ideas. --- Our Sponsors ---
--- End Sponsors ---Find Top-Rated Service Pros
Our Newsletter, Front Porch AppealLearn more!Thank you for being here! |
|||||
|
At no extra cost to you, we earn a commission by referring you to some products on merchant sites. See our disclosure policy.
We, Front Porch Ideas and More, confirm, as stated on our privacy policy, that we do not sell personal information. All content here is solely for presenting ideas. We recommend consulting with a licensed, experienced contractor before you begin your project. We make no guarantees of accuracy or completeness of information on our site or any links to other websites contained here. Front Porch Home | Return to Top Contact Us | About Us | Advertise with Us | Search | Site Map Media | Privacy Policy | Disclosure | Legal Notice | What's New 
|
||||||
|
No content or photos may be reproduced or copied in any way without our express written permission. | ||||||