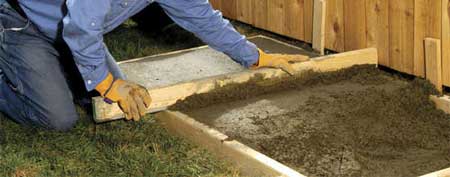
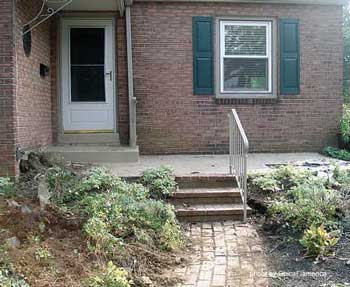
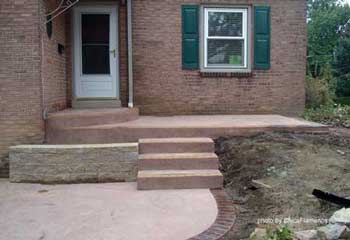
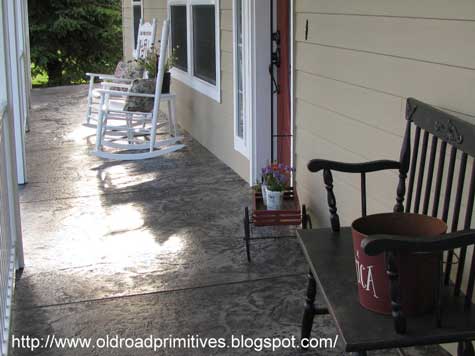
Concrete Porch StepsConcrete porch steps - paint 'em, stamp 'em, stain 'em, add texture, tile, or add aggregate. Versatile and almost maintenance free, concrete steps are the perfect option for many front porches.There's more to concrete steps than meets the eye. Built properly, they should last many years. We'll show you how they are made and what you can do to enhance their appearance. BEFORE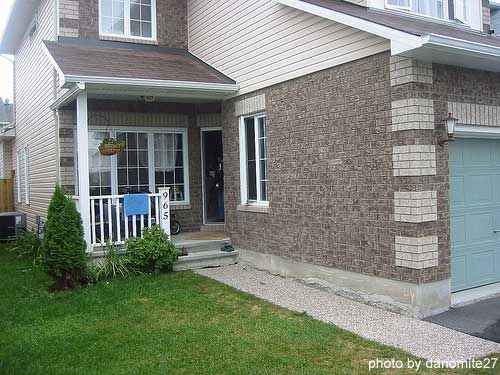
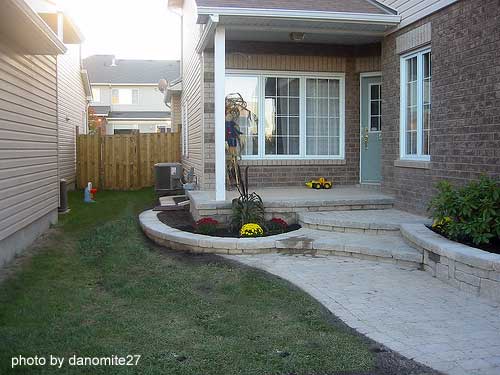
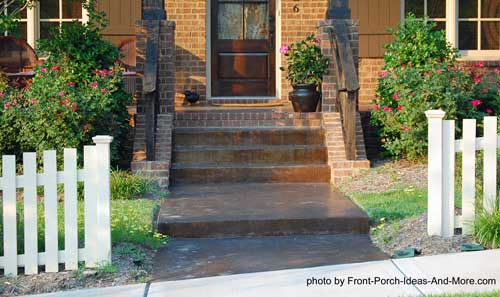
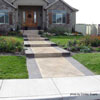
Common concrete porch steps and walkway
|
||||||

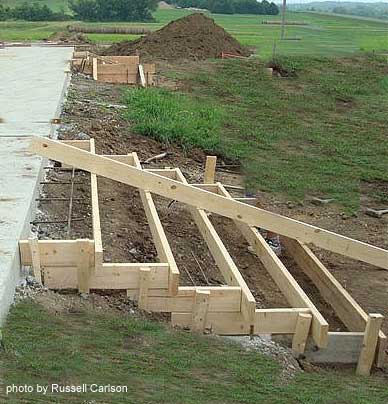
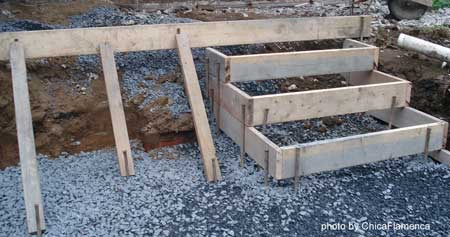
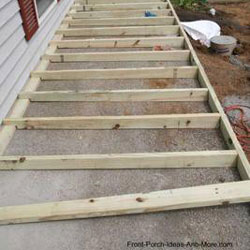
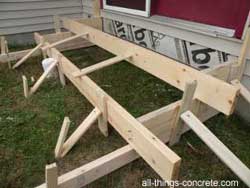 Brace the form so it will remain in place as concrete is poured.
The more bracing you have the better; it is very difficult to make adjustments when concrete is pouring into your form.
Brace the form so it will remain in place as concrete is poured.
The more bracing you have the better; it is very difficult to make adjustments when concrete is pouring into your form.
More Concrete Porch Options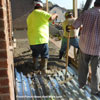 See an Aggregated Concrete Porch Floor
We show you how an elevated aggregate porch floor is constructed... |
 How to Build a Porch over Concrete
See our interview with expert David Goddard who addresses all facets of concrete staining... |
 See Our Concrete Floor Stain Options
Explore your design options for staining your concrete floor.... |
You Are Here:
|

Hi! We're Mary and Dave, lifelong DIYers, high school sweethearts, and we both love porches. You've come to the right place for thousands of porch ideas.
Our Sponsors


End Sponsors
Helpful Links
Enjoy shopping Amazon (affiliate link)Popular Pages
What's NewJoin Our Newsletter Family
Porch Designs
Porch Ideas for Mobile Homes
Find a Local Contractor
Build a Porch | Small Porches
Porch Columns | Porch Railings
Screened Porches
Porch Curtains | Porch Enclosures
Porch Landscaping | Vinyl Lattice
Porch Decorating | Porch Ideas
Shop
Navigation Aids
Home | Top of PageSite Search | Site Map
Contact Us
Policies
Disclosure Policy | Privacy PolicyLegal Info
Please Join Us Here Also

Find a Trusted Local Pro
Copyright© 2008-2024
Front-Porch-Ideas-and-More.com All rights reserved.
No content or photos may be reused or reproduced in any way without our express written permission.
At no extra cost to you, we earn a commission by referring you to some products on merchant sites. See our disclosure policy.
We, Front Porch Ideas and More, confirm, as stated on our privacy policy, that we do not sell personal information.
All content here is solely for presenting ideas. We recommend consulting with a licensed, experienced contractor before you begin your project.
We make no guarantees of accuracy or completeness of information on our site or any links to other websites contained here.
Thank you for taking your time to stop by. See what's popular and new here.
Hi! We're Mary and Dave, lifelong DIYers, high school sweethearts, and we both love porches. You've come to the right place for thousands of porch ideas.
--- Our Sponsors ---
--- End Sponsors ---
Find Top-Rated Service Pros
Our Newsletter, Front Porch Appeal
Learn more!Thank you for being here!
At no extra cost to you, we earn a commission by referring you to some products on merchant sites. See our disclosure policy.
We, Front Porch Ideas and More, confirm, as stated on our privacy policy, that we do not sell personal information.
All content here is solely for presenting ideas. We recommend consulting with a licensed, experienced contractor before you begin your project.
We make no guarantees of accuracy or completeness of information on our site or any links to other websites contained here.
Front Porch Home | Return to Top
Contact Us | About Us | Advertise with Us | Search | Site Map
Media | Privacy Policy | Disclosure | Legal Notice | What's New
No content or photos may be reproduced or copied in any way without our express written permission.