|
As an Amazon Associate we earn from qualifying purchases. If you make a purchase through affiliate links on our site, we earn a commission at no cost to you. See our disclosure policy. Lattice Privacy FenceHide Unsightly Features, Create Privacy
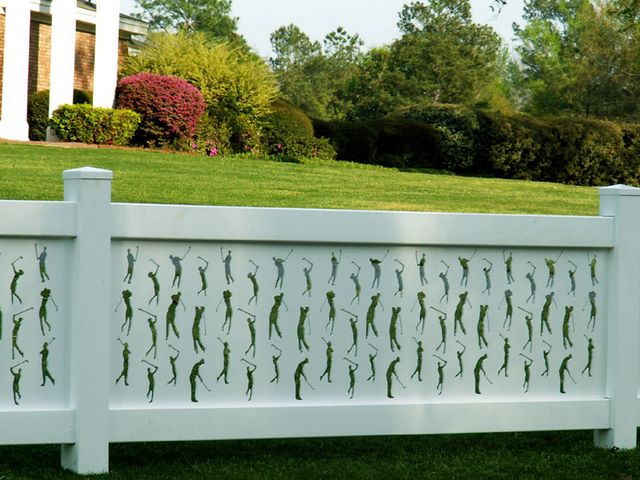
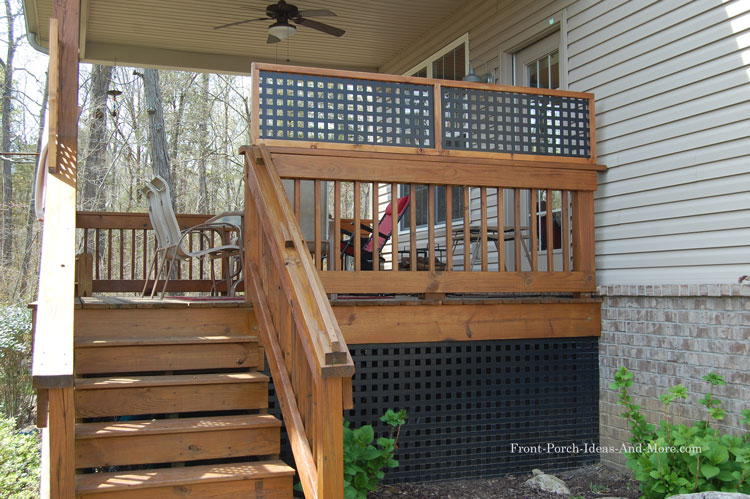
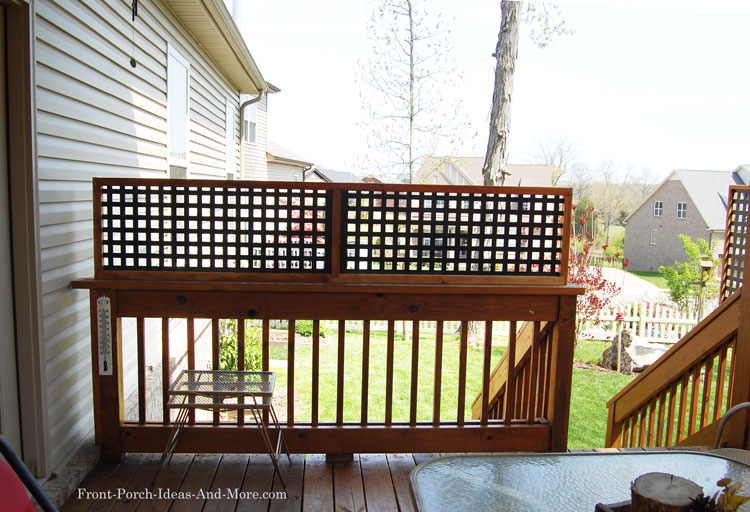
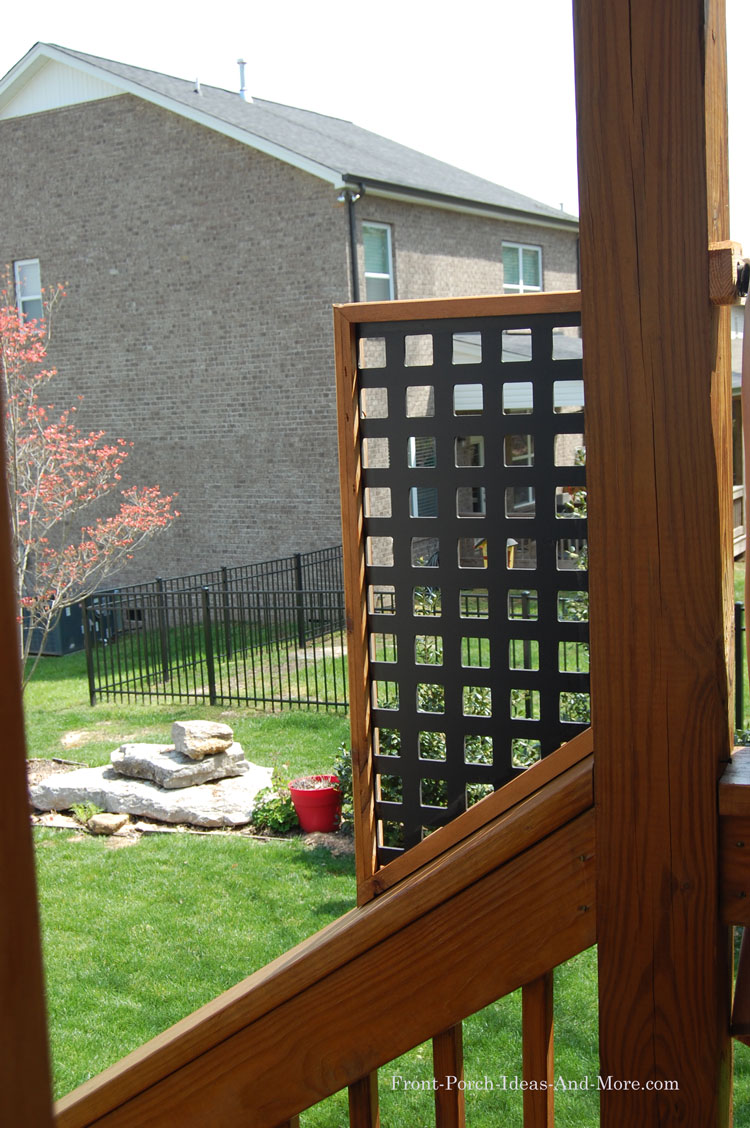
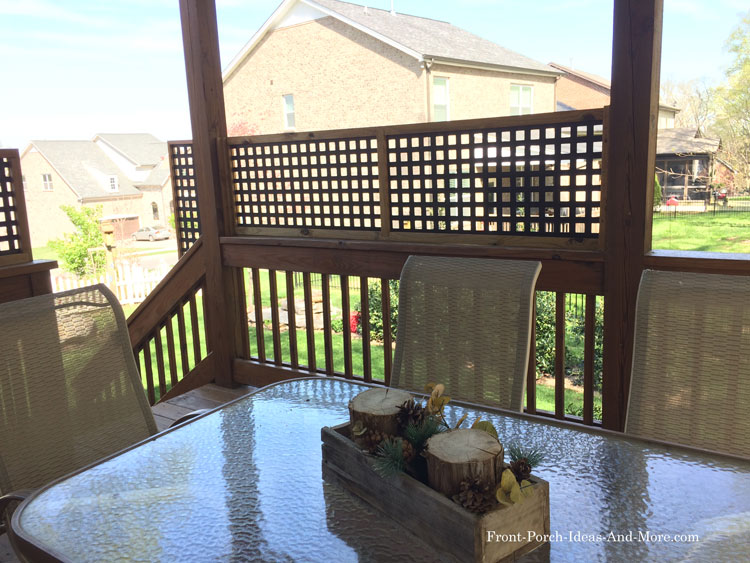
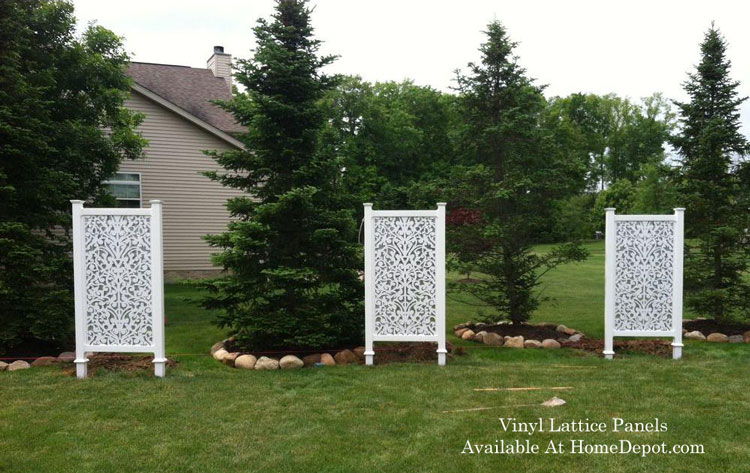
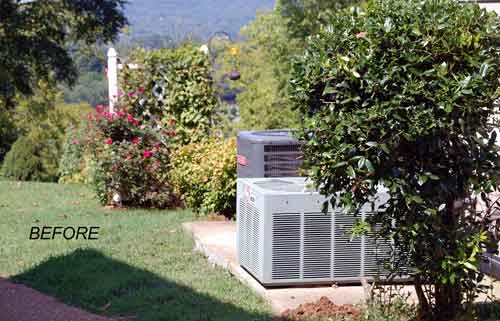
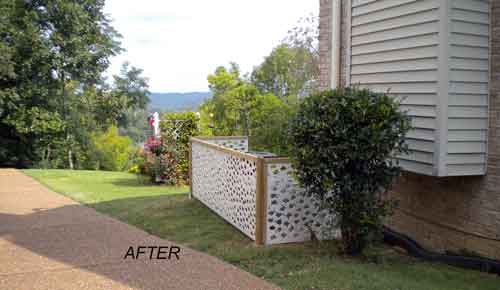
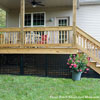
A lattice privacy fence can be used to surround your entire yard, hide an unsightly feature, added as a landscaping feature, or be added to
existing structures to create a sense of privacy.
|
||||||
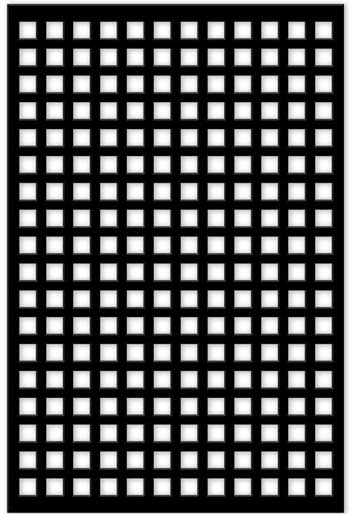 Black Square Vinyl Decor Panel - More Styles Available (affiliate link; cost is the same price to you)
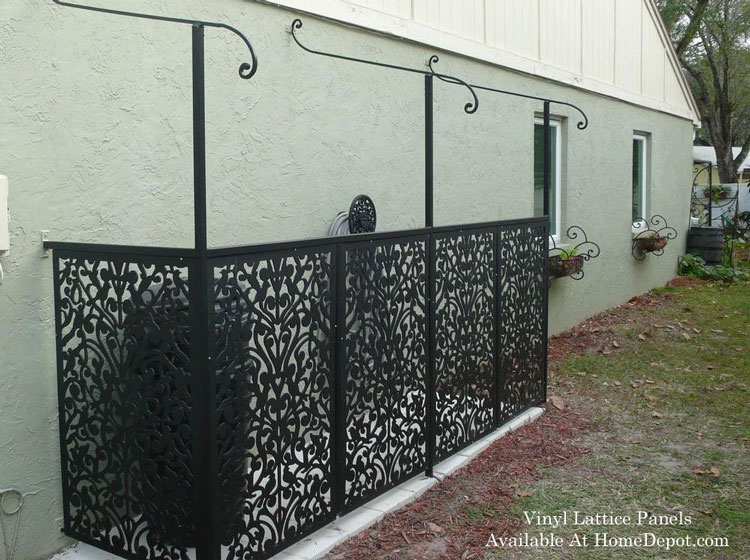


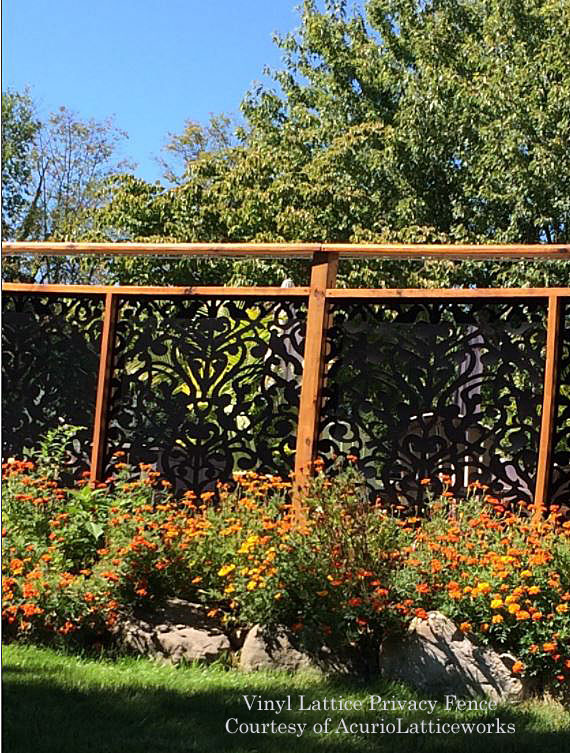
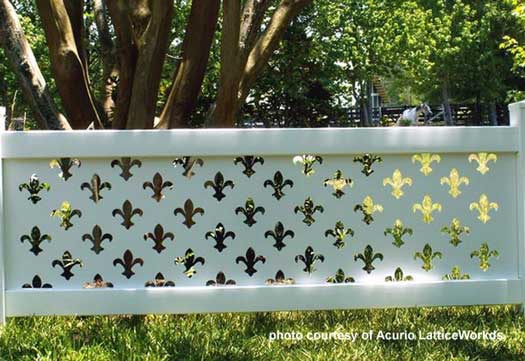
Vinyl Lattice Options Use Vinyl Lattice Panels in a Variety of Ways
Discover decorative and functional ways to use vinyl lattice panels... |
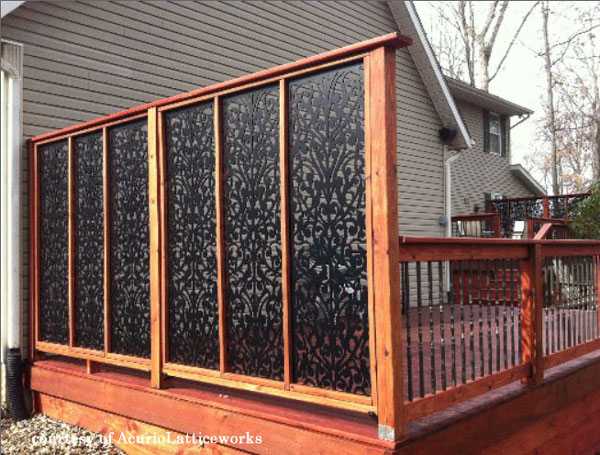
 Vinyl Lattice Panel Options
Discover a myriad of options for using vinyl lattice options.... |
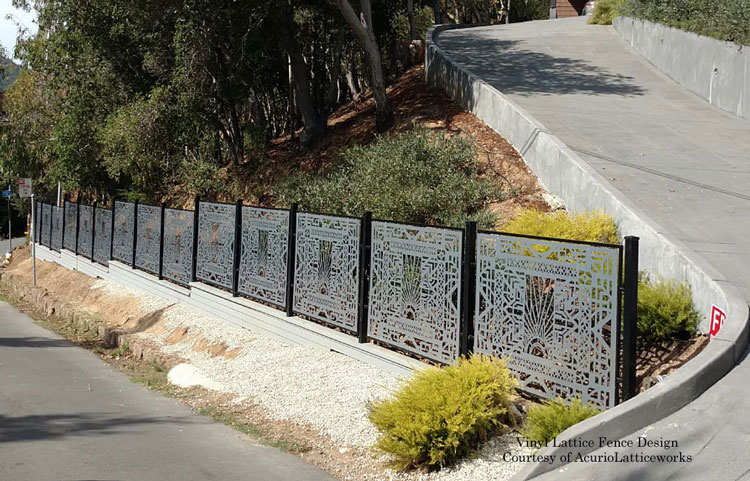
 Lattice Fence Design Options
Explore vinyl lattive fence design options for your yard... |
You Are Here:
|

Hi! We're Mary and Dave, lifelong DIYers, high school sweethearts, and we both love porches. You've come to the right place for thousands of porch ideas.
Merchants We Love


Helpful Links
Enjoy shopping Amazon (affiliate link)Popular Pages
What's NewJoin Our Newsletter Family
Porch Designs
Porch Ideas for Mobile Homes
Build a Porch | Small Porches
Porch Columns | Porch Railings
Screened Porches
Porch Curtains | Porch Enclosures
Porch Landscaping | Vinyl Lattice
Porch Decorating | Porch Ideas
Shop
Navigation Aids
Home | Top of PageSite Search | Site Map
Contact Us
Policies
Disclosure Policy | Privacy PolicyLegal Info
Please Join Us Here Also
Copyright© 2008-2026
Front-Porch-Ideas-and-More.com All rights reserved.
No content or photos may be reused or reproduced in any way without our express written permission.
At no extra cost to you, we earn a commission by referring you to some products on merchant sites. See our disclosure policy.
We, Front Porch Ideas and More, confirm, as stated on our privacy policy, that we do not sell personal information.
All content here is solely for presenting ideas. We recommend consulting with a licensed, experienced contractor before you begin your project.
We make no guarantees of accuracy or completeness of information on our site or any links to other websites contained here.
Thank you for taking your time to stop by. See what's popular and new here.
--- Our Wonderful Sponsors ---
--- End Sponsors ---
Our Newsletter, Front Porch Appeal
Learn more!Thank you for being here!
At no extra cost to you, we earn a commission by referring you to some products on merchant sites. See our disclosure policy.
We, Front Porch Ideas and More, confirm, as stated on our privacy policy, that we do not sell personal information.
All content here is solely for presenting ideas. We recommend consulting with a licensed, experienced contractor before you begin your project.
We make no guarantees of accuracy or completeness of information on our site or any links to other websites contained here.
Front Porch Home | Return to Top
Contact Us | About Us | Advertise with Us | Search | Site Map
Media | Privacy Policy | Disclosure | Legal Notice | What's New
No content or photos may be reproduced or copied in any way without our express written permission.