Front Porch Landscaping IdeasFor Beauty and ComfortOur porch landscaping ideas will improve your home's curb appeal, add aesthetic value, and may even increase the size of your porch.Whether looking for sophisticated landscaping ideas or simple ones that won't break the bank, see how you can easily transform your porch and home from ordinary to be the envy of the neighborhood. Have you ever driven past a home that has an amazing appeal? Usually it is a combination of several factors, one of the most important being the front porch and front yard landscaping. 

Our home landscaping photos, tips, ideas, and free landscaping information is the perfect place to start to create your own fabulous yard! Landscaping around your porch can range from very affordable to a small fortune. It need not be costly if you just start with a few of the right plantings and placements. Our own porch garden is cottage-like and we have done it over time; hence, nice and easy on the budget. Porch Landscaping Ideas Directory and Projects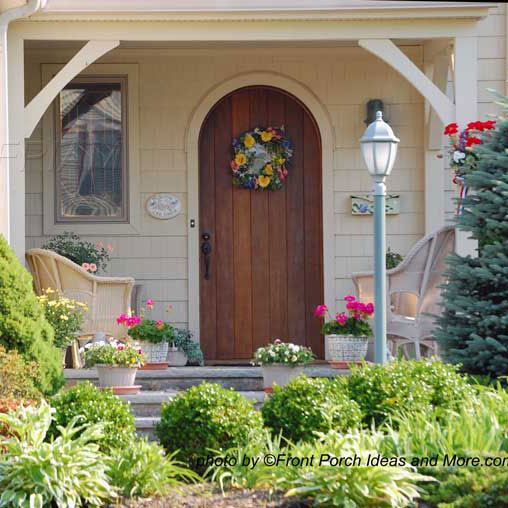
Creative Front Yard Landscaping Create an "entry experience". You know it as your front yard and front porch 
Hanging Baskets from Vinyl Ceiling How to hang a beautiful hanging basket from a vinyl porch ceiling 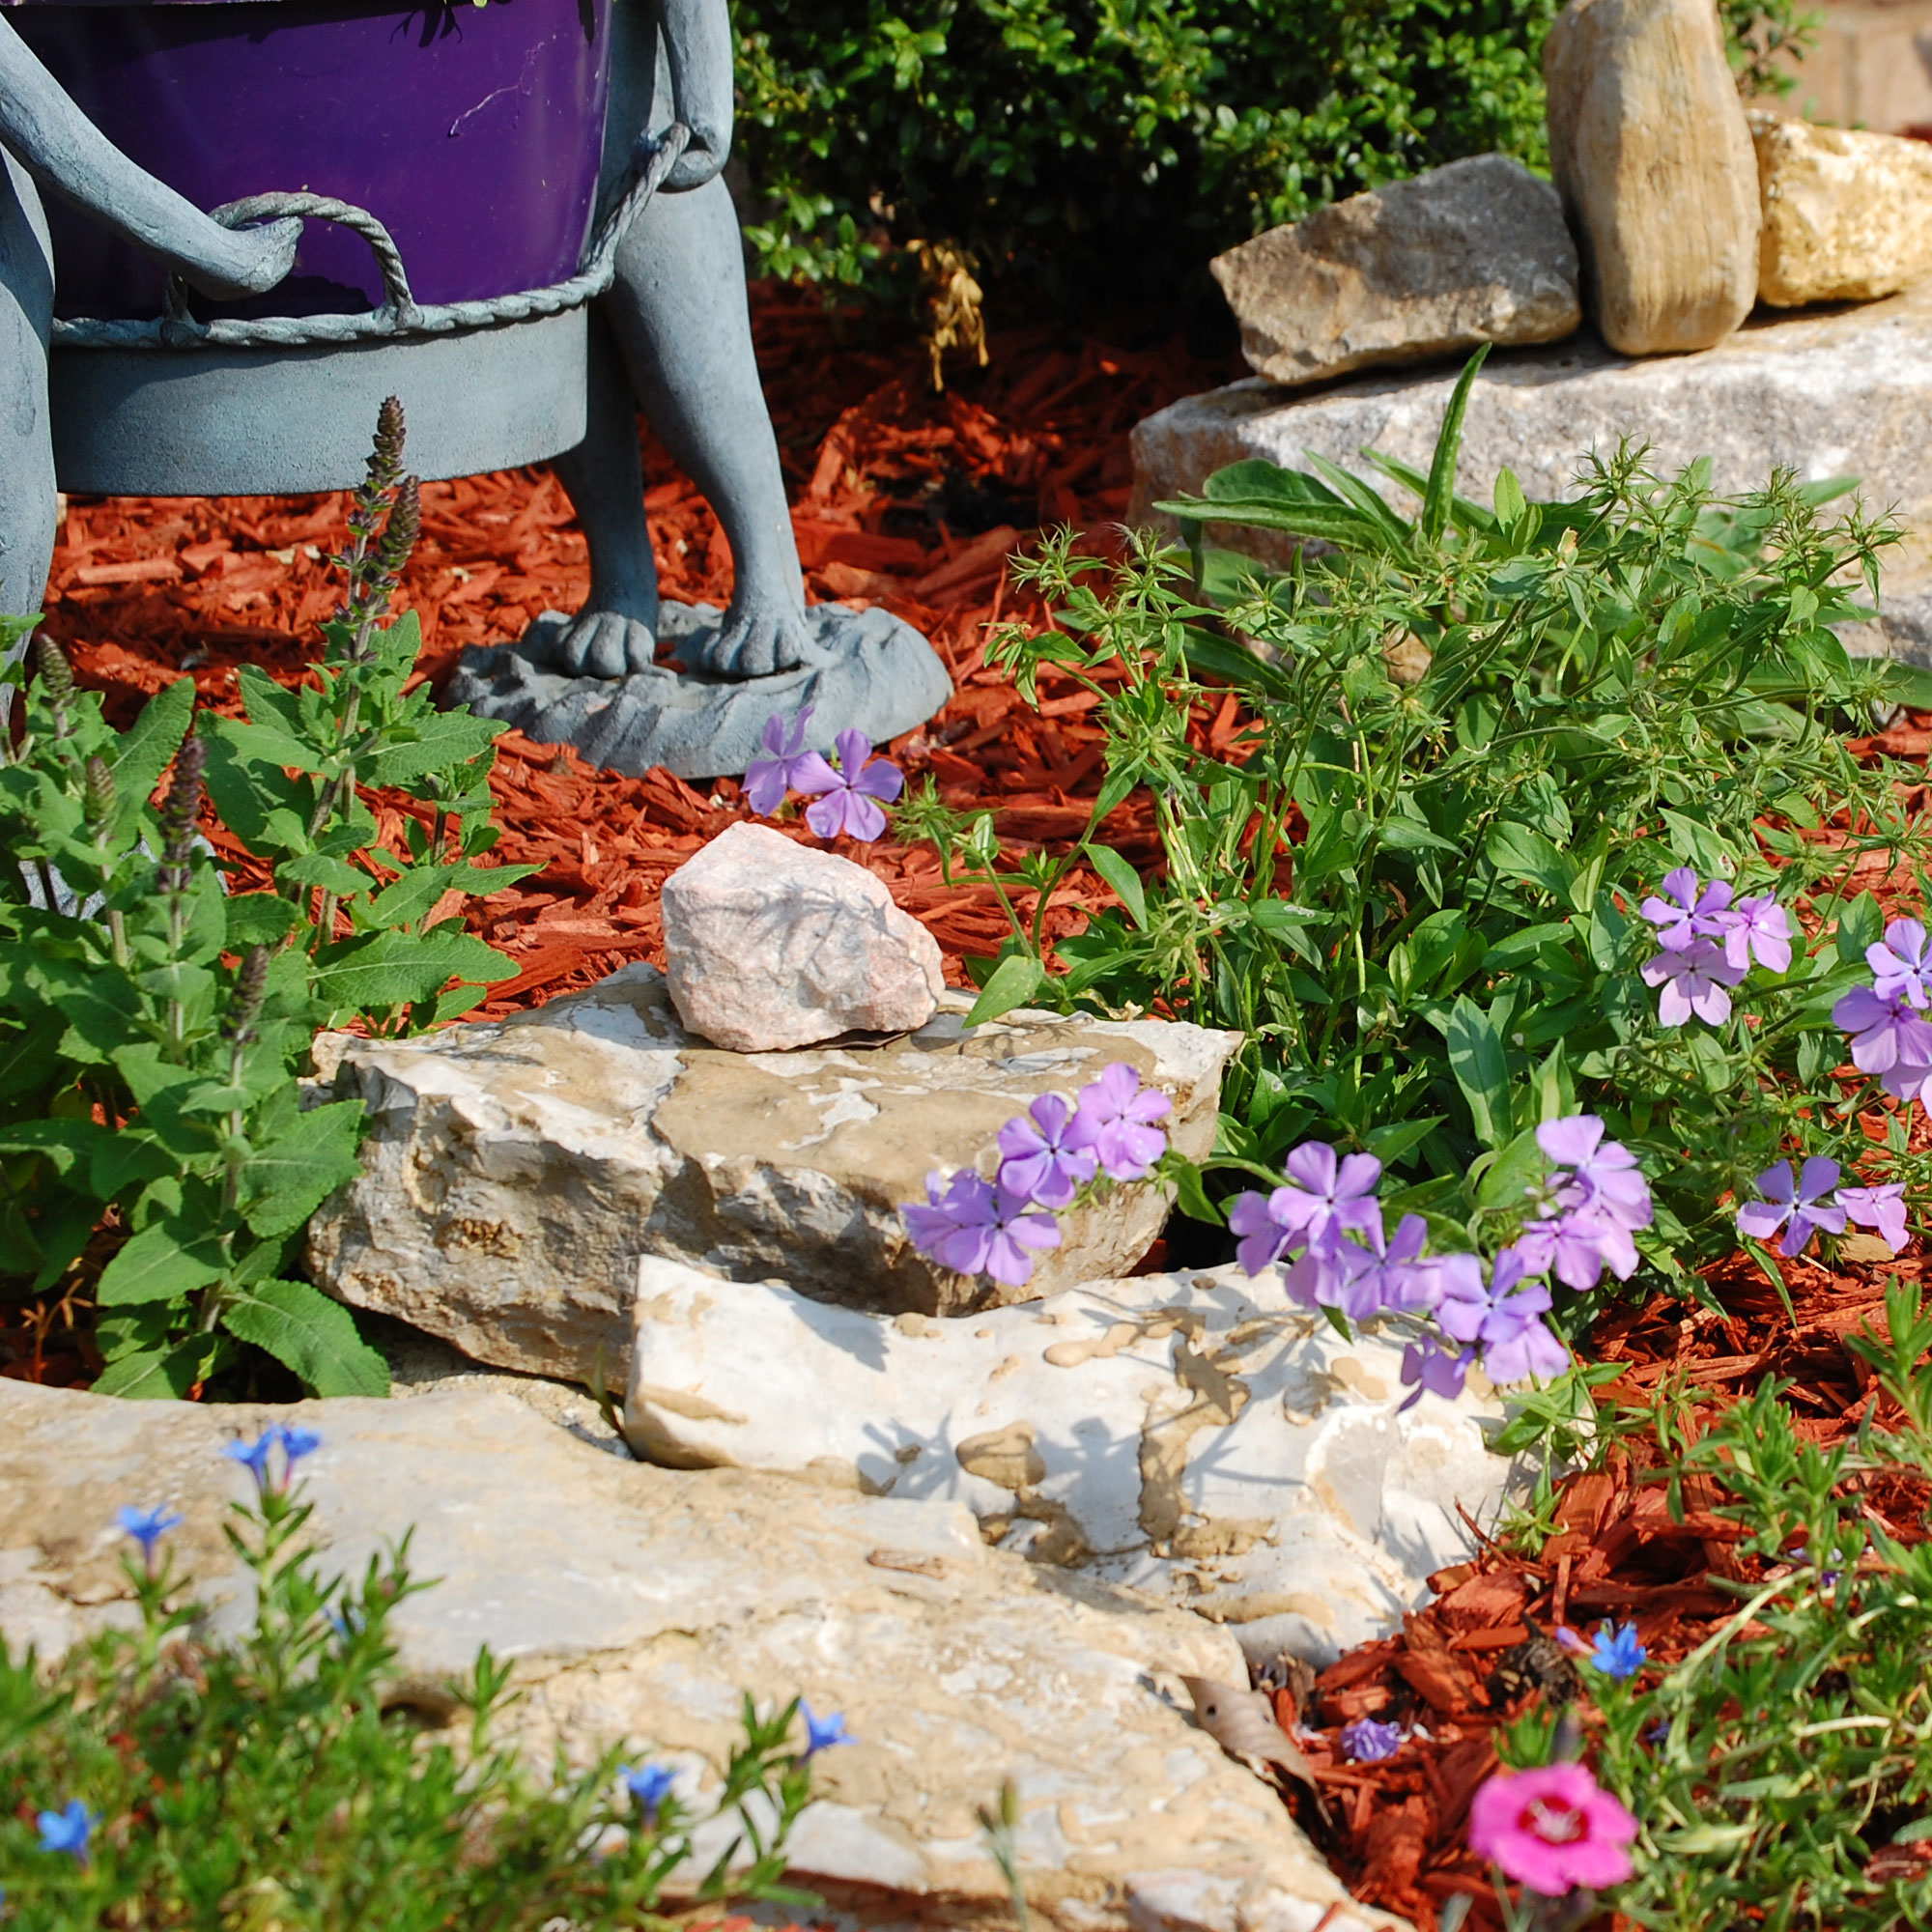
Ideas for Landscaping with Rocks Landscaping with rocks is a fantastic way to add texture and beauty 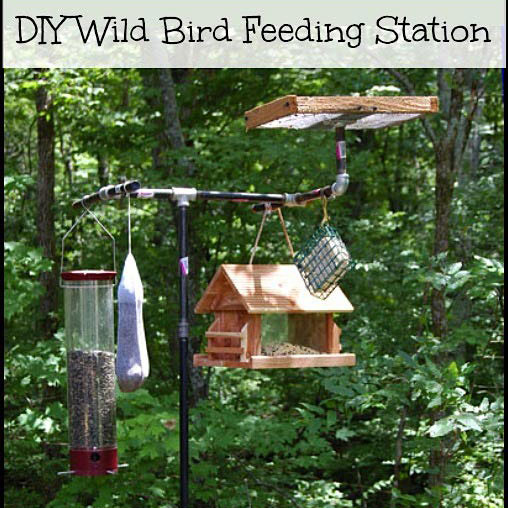
Build This Wild Bird Feeding Station Build this bird feeding station near your porch to enjoy our feathered friends 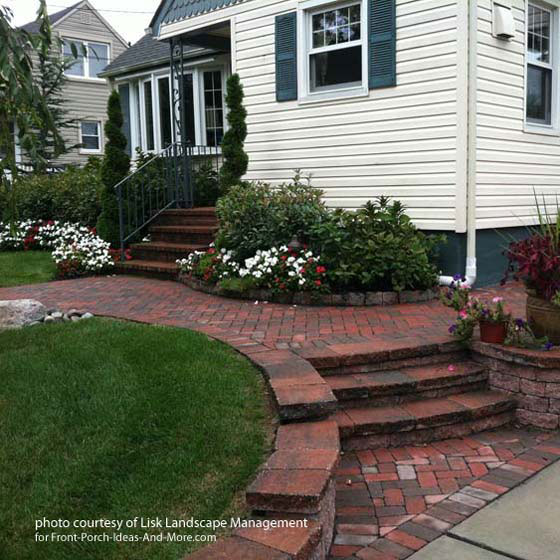
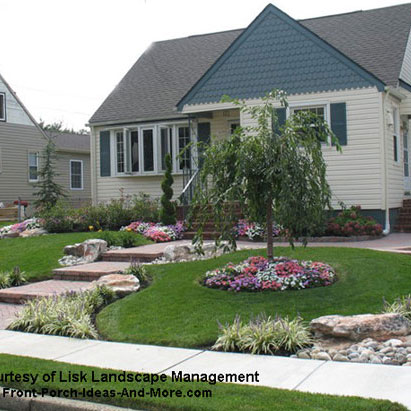
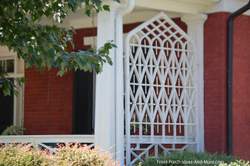
Front Yard Landscape Ideas Get tips from our expert landscaper who has lots of great information you can use.... Flower Pot Trellis Ideas Want to support a beautiful climbing plant? Take a look at the ideas we have for you - DIY and ready-made trellises. Featured Porch Landscape Ideas and DesignsMary and I are excited to share several front yard and front porch landscape designs by Lisk Landscape Management. See before and after photos depicting how they've landscaped small front yards and front porches to create lots of curb appeal.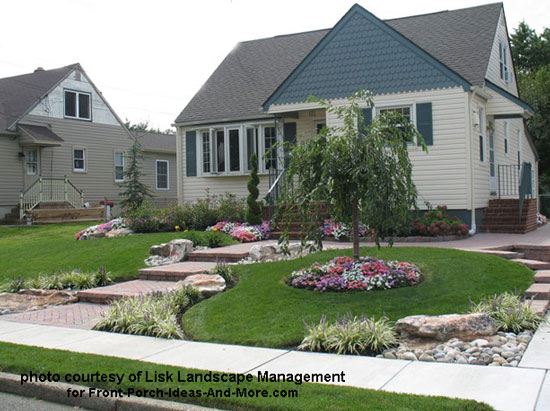

Check out their design ideas!Listen to Our Porch Landscaping Audio ProgramsListen to our interviews with front porch and front yard landscaping experts who share their tips and ideas to enhance the look of your porch and home. J. Paul Moore's passion for both plants and photography makes for an interesting interview. You'll discover ideas
for planning your porch's landscaping, deciding what plants to use, and lots more.
J. Paul Moore's passion for both plants and photography makes for an interesting interview. You'll discover ideas
for planning your porch's landscaping, deciding what plants to use, and lots more.
 Don't miss our interview with Troy Marden, host of a local PBS's The Volunteer Gardner. Troy travels the
world searching for exquisite gardens and he shares his modern landscape ideas for combining edible plants
around your front porch and yard.
Don't miss our interview with Troy Marden, host of a local PBS's The Volunteer Gardner. Troy travels the
world searching for exquisite gardens and he shares his modern landscape ideas for combining edible plants
around your front porch and yard.
Porch Landscaping Ideas for Appeal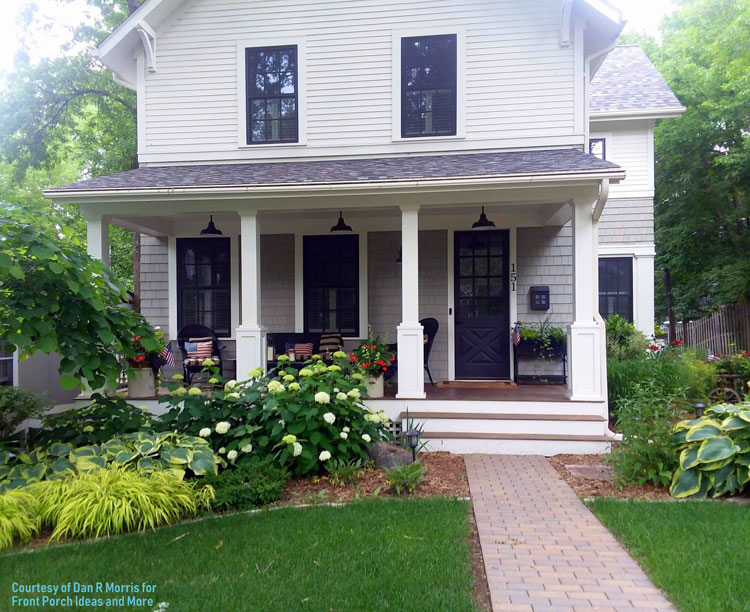
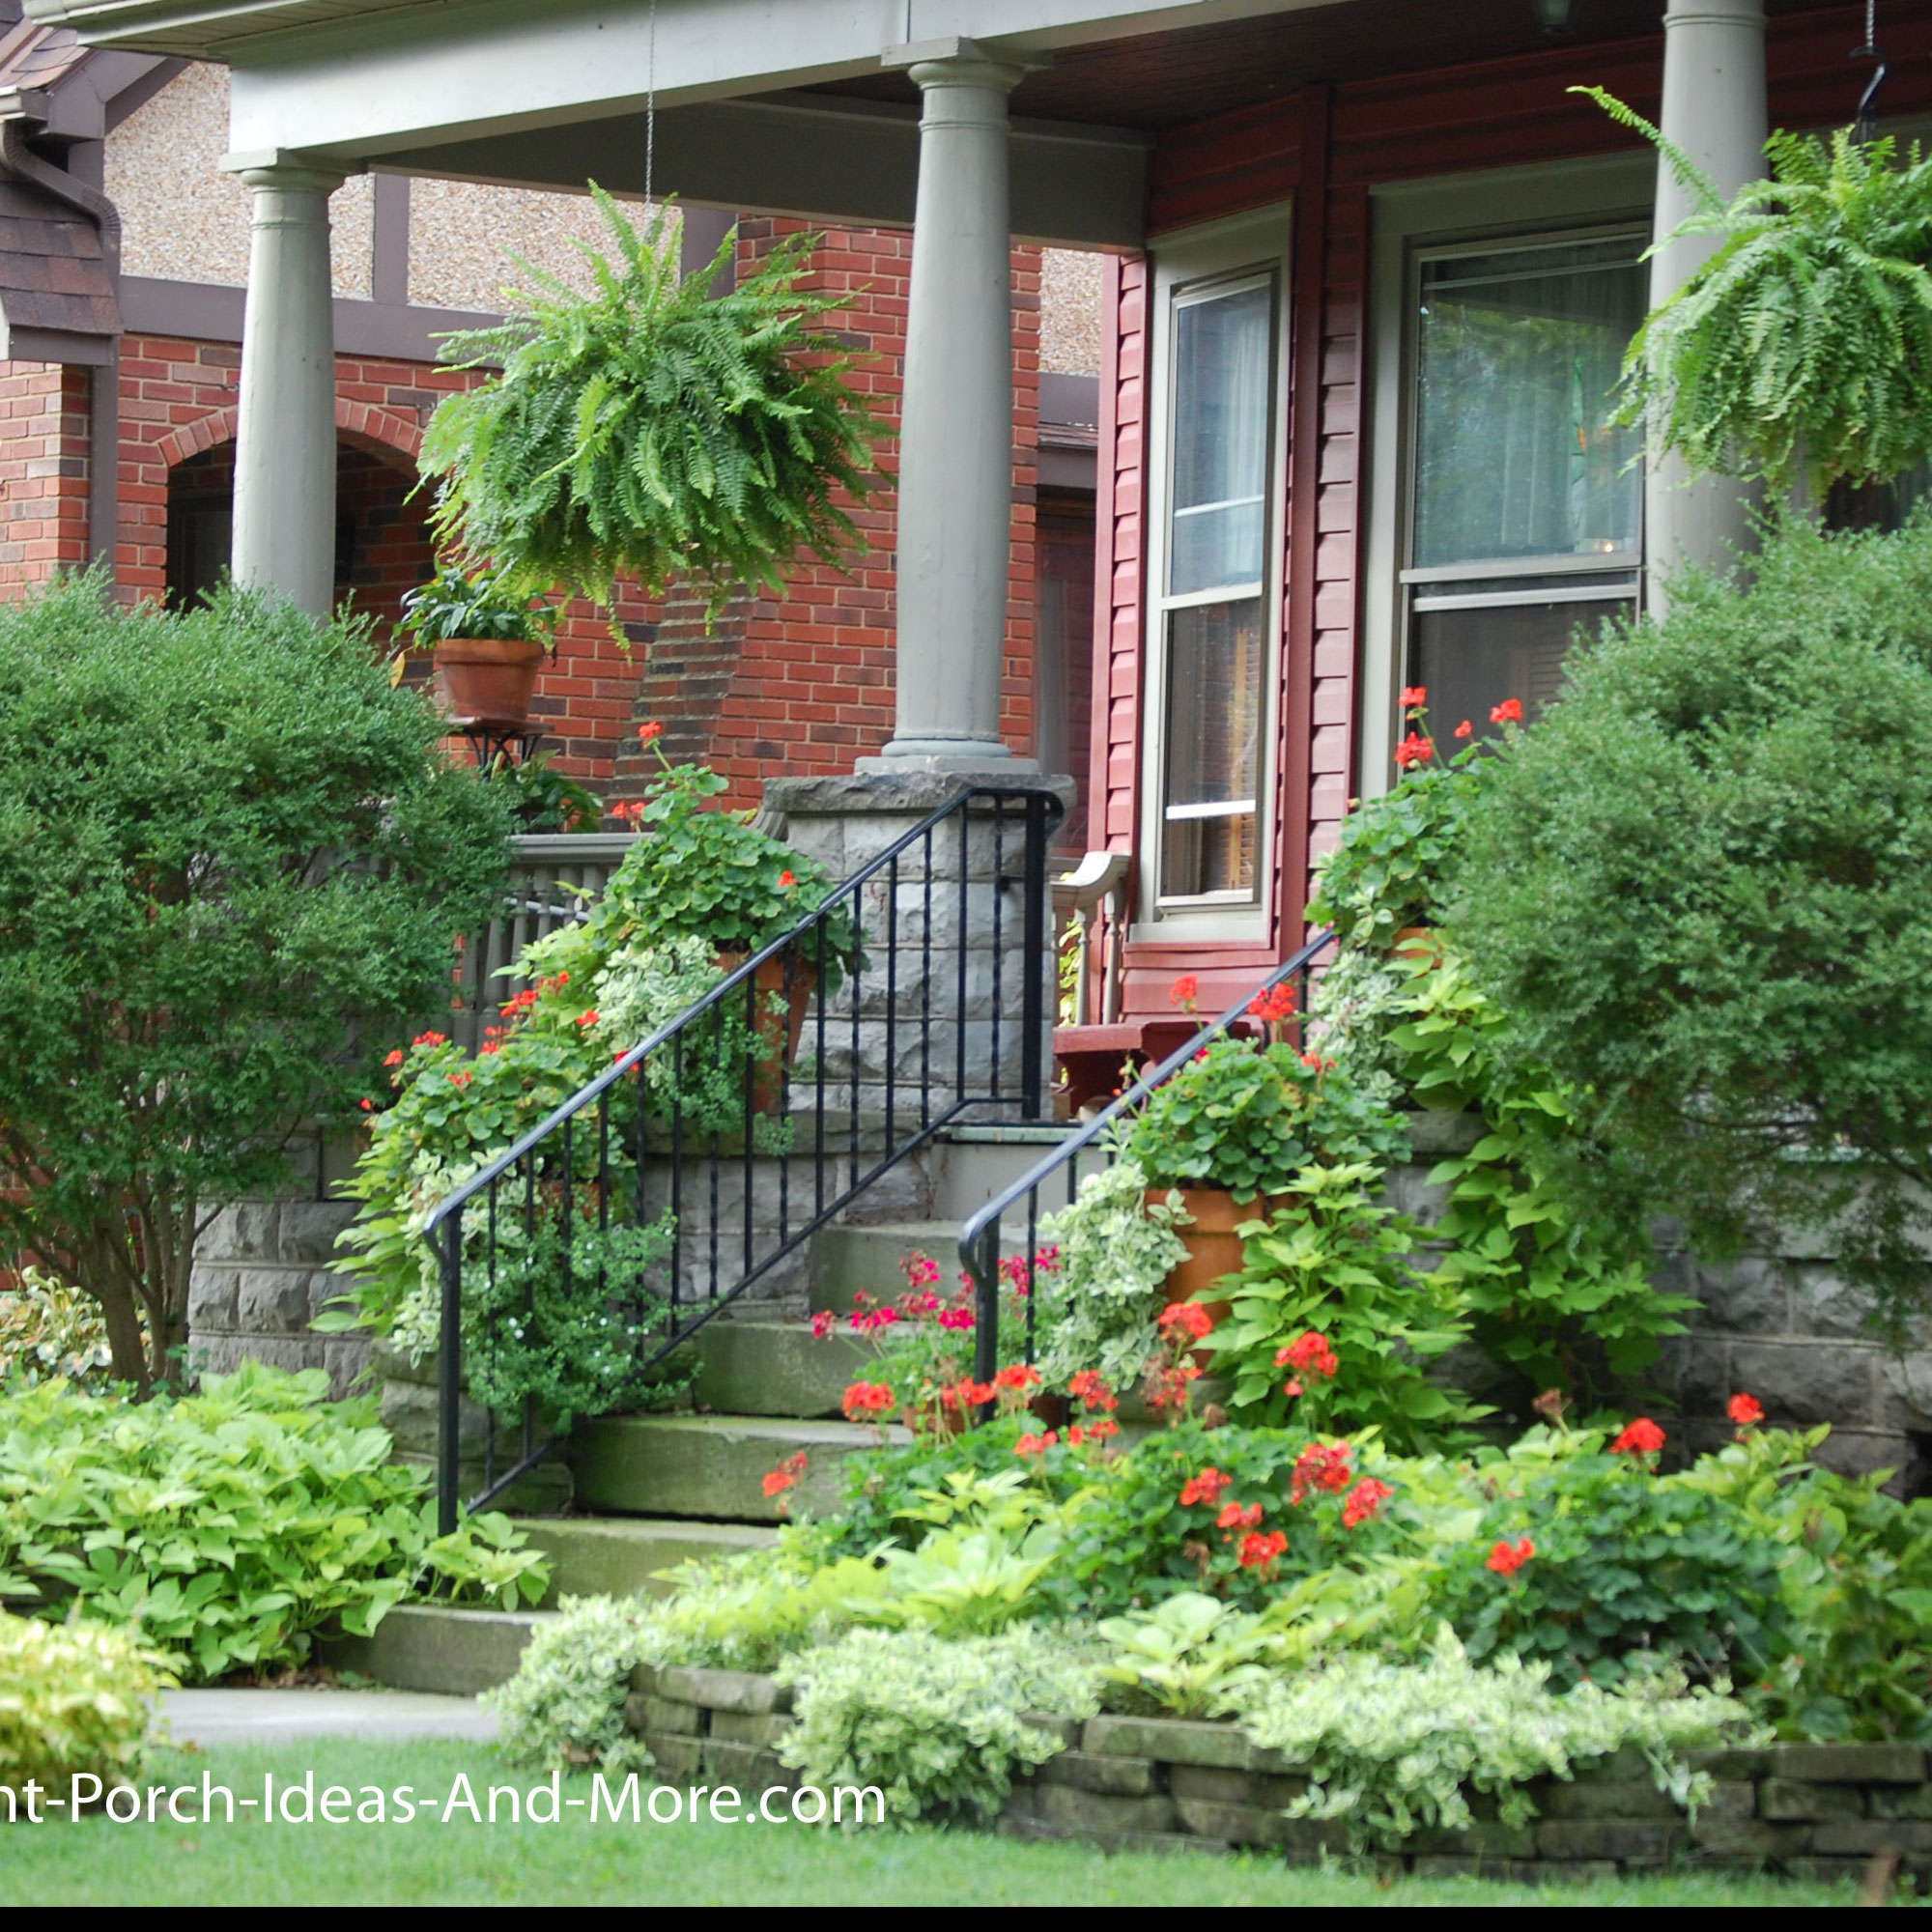
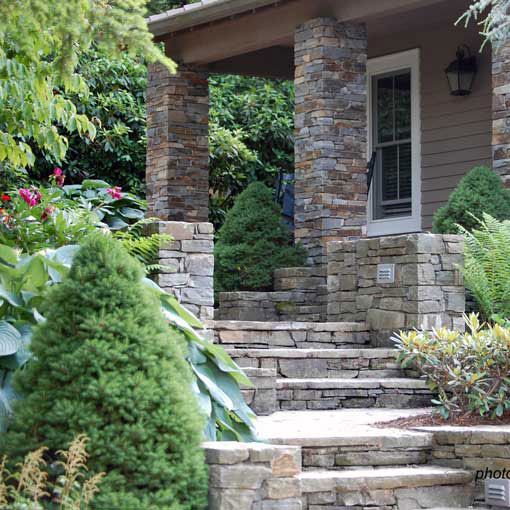
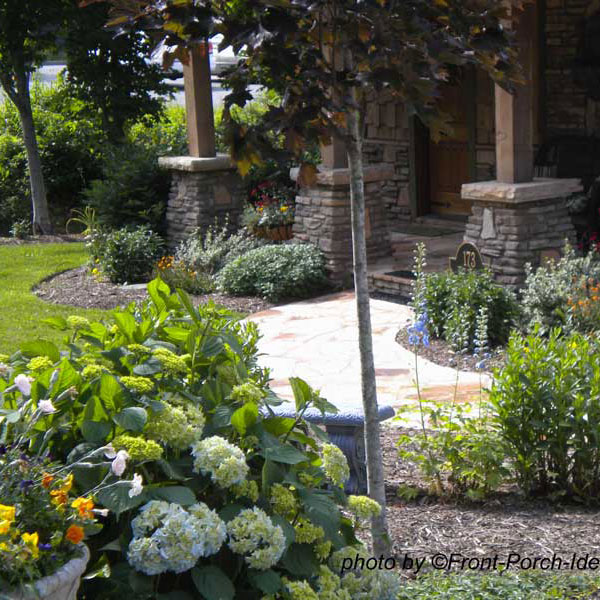
We absolutely love the walkway, the landscaping and the amazing porch!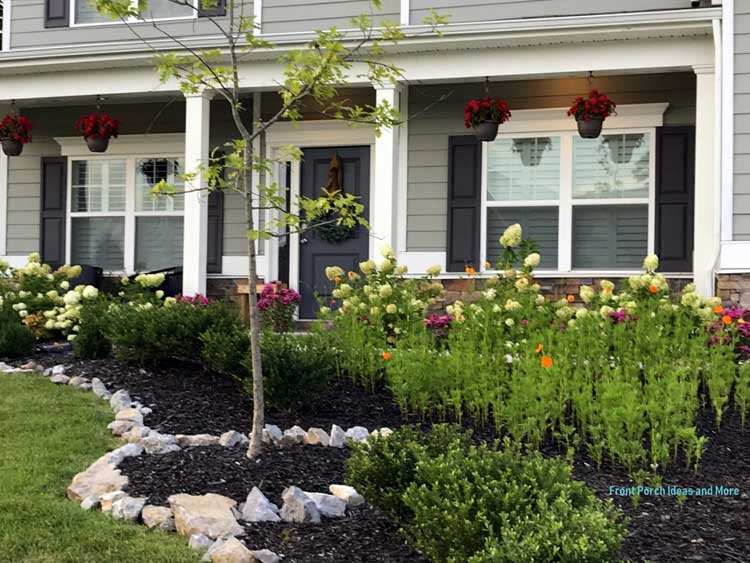
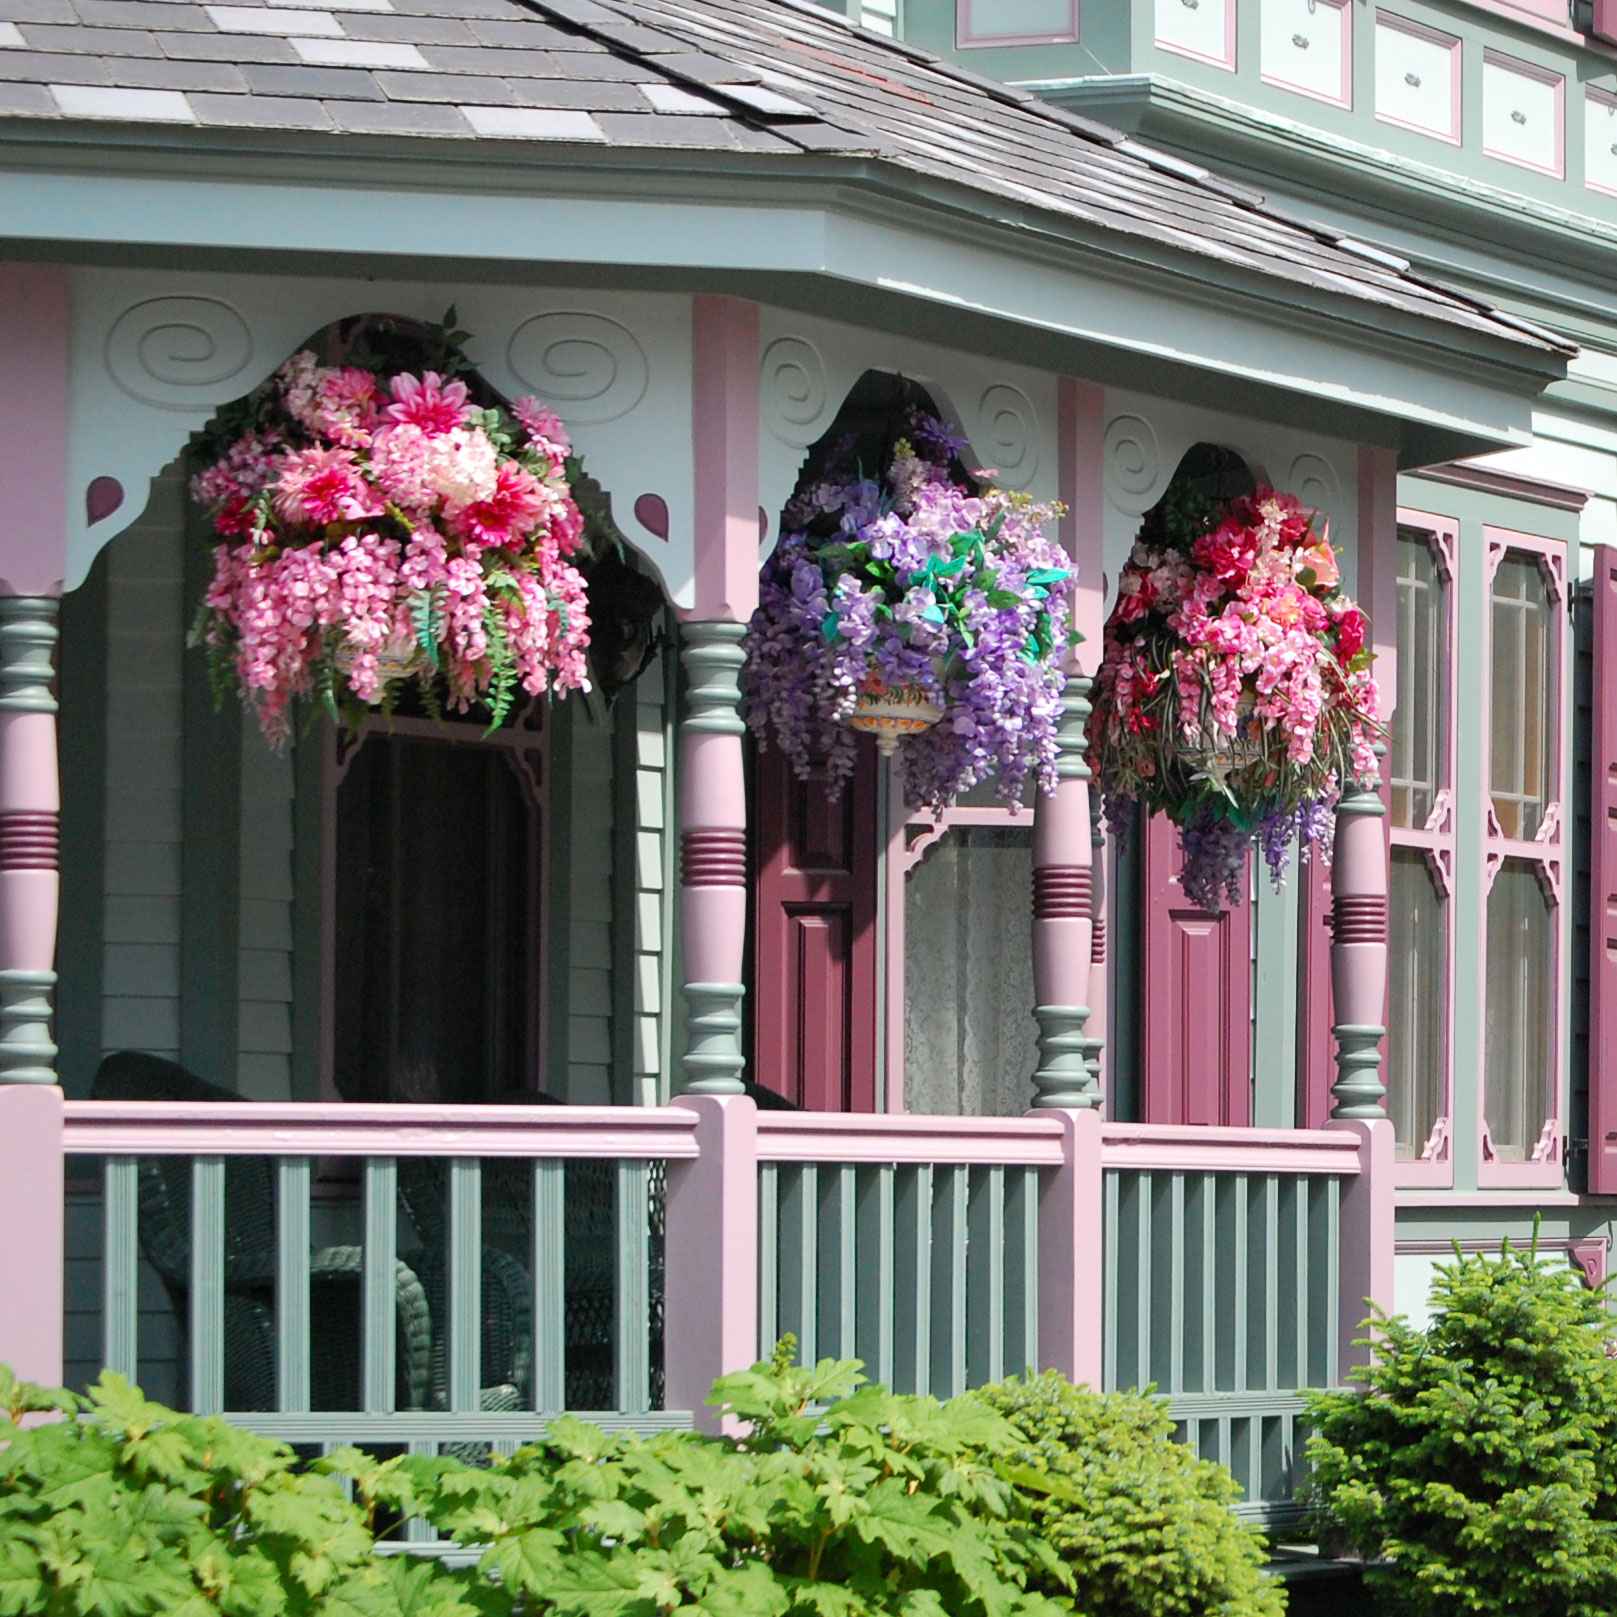
This whimsical landscaping around the porch boosts the charm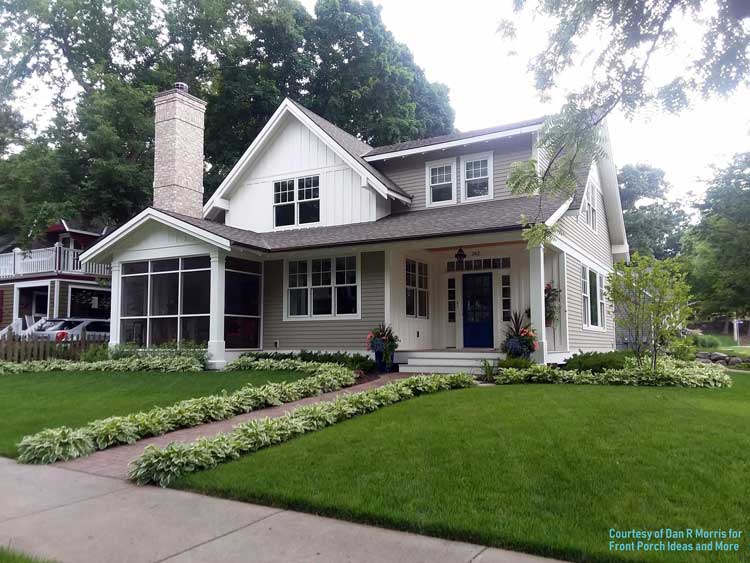
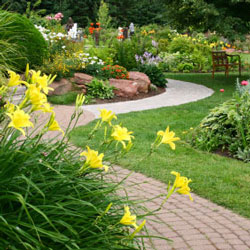
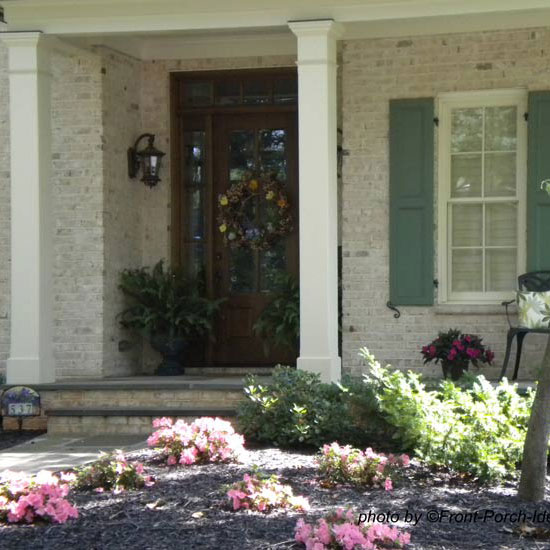
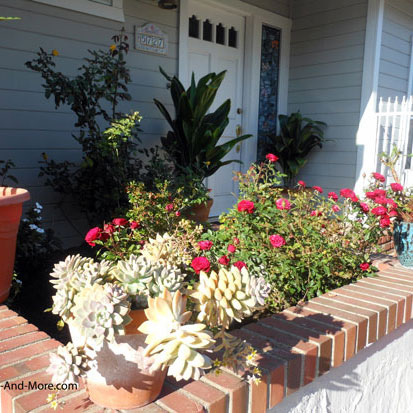
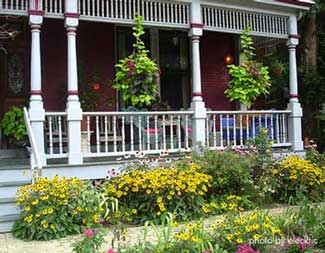
The hostas do a beautiful job of lining the walkway and porch.A beautifully designed front porch along with the right landscaping can create not only added value but immense appeal as well.A porch without landscaping is like a banana split without the whipped cream. Landscaping is not only aesthetically pleasing but also enhances the look of your front porch. When planning your front porch landscaping, consider such factors as line of sight from your porch and traffic patterns in addition to color and textures. The porch landscaping idea shown below is an excellent example of an established landscaping plan that has matured over time. Note how it makes the porch a more welcoming place. 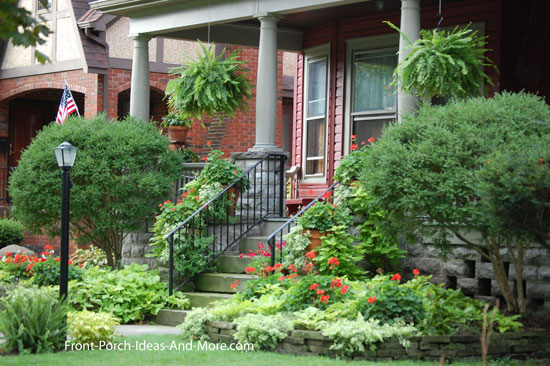
Often times it is difficult to imagine what your landscaping plan will look like once it has matured. A great porch landscaping idea is 3-D renderings. See our Before and After renderings below: Before
Very minimal porch landscapingAfter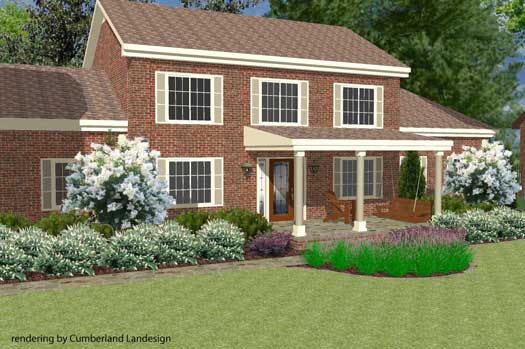
Lush landscaping adds immense appealBe sure to see our Front Porch Designs Illustrator. We show both a one-story and two-story homes with over 30 different porch designs plus walkway and landscaping ideas. Porch Landscaping Architecture Basics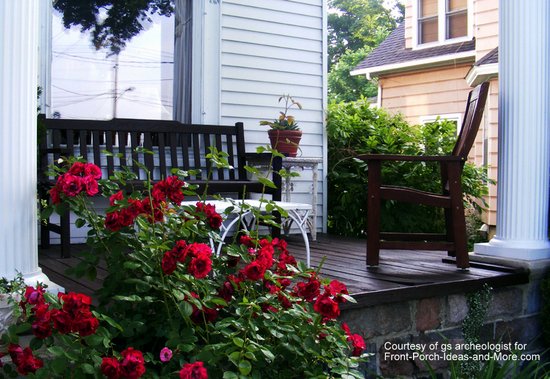
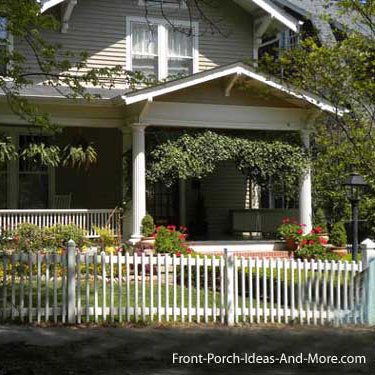
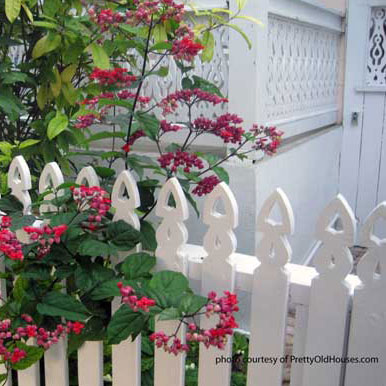
See how the rose plant "frames" the porch and softens the lines of the foundation? Photo is courtesy of gs archeologistIs your home and porch formal or informal, traditional or contemporary, southwestern or a Cape Cod, tall and boxy, or short and angular? 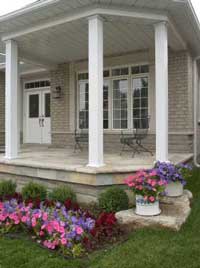
Our porch landscaping ideas will help you enhance or downplay your home's architecture. For example, if you have a formal brick, symmetrical colonial home, landscaping suggestions include manicured shrubs, a central path or walkway of brick, and period railings on your porch. If you have a Cape Cod style home consider window boxes and/or planters attached to your porch railing and stone paths leading to the porch. If your house is symmetrical

If your house is asymmetrical
If your house is
Porch Landscaping Ideas to Highlight Your Porch and Front Door
Small Porch Landscaping IdeasAlthough larger porches are making a comeback, many newer homes only have a small-sized porch or portico. Many are pretty bland and without great architectural features.Notoriously small city porches like the charming one depicted below (Boston brownstone apartments) have little space for landscaping. Perhaps the only option is to create a space! There are many porch landscaping ideas that you can add to enhance the look of your small porch wherever it's located. 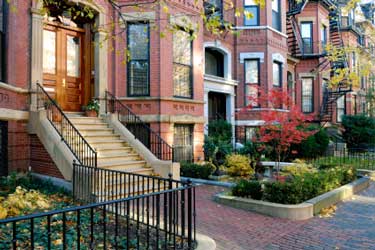
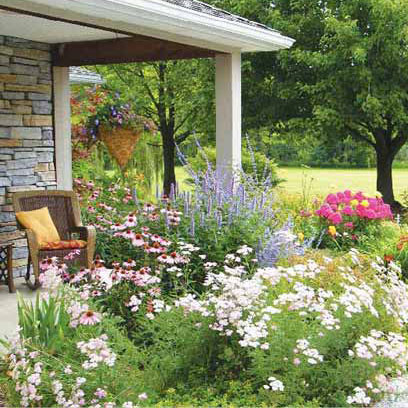
For instance, you add an enclosed terrace beside your porch and have a great place for dining, a place to enjoy a glass of wine, or a secluded spot to read your favorite book! Extend your small porch with an arbor and plant clematis to cover it. Not only will it be an inviting entrance to your home but fragrant as well. Or, soften hard surfaces with potted plants of boxwood topiary and clematis. These porch landscaping ideas are really worth the extra effort. A small porch has the advantage of cost savings; you'll be able to purchase more quality materials. Upgrade your door hardware, add antique light fixtures, and consider resurfacing the landing. Use stone, tile, or brick pavers. Small landings and stoops are great for patterned floors. Install vine covered trellises, planters over your railings, hanging baskets, or clusters of evergreens. Return to TopMore Porch Landscaping Ideas!Beautiful Gardens in Front Yard
Gardens are beautiful at this lovely Wisconsin home - not only in the front, but also the sides and backyard. We had the pleasure of meeting the homeowner and she expressed how much joy her gardens bring her and to people passing by. She even has delight fairy gardens in the back yard that her grandchildren enjoy. Make a Memorable Stepping Stone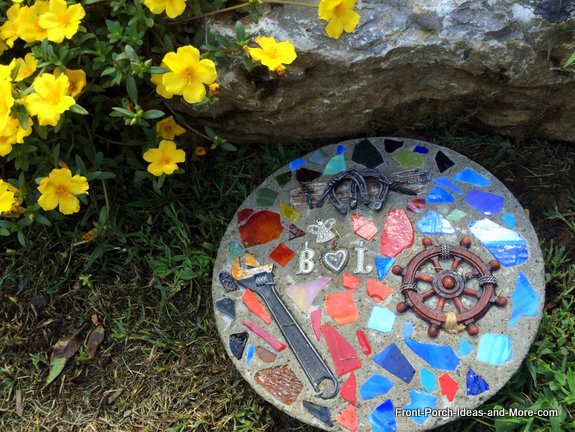
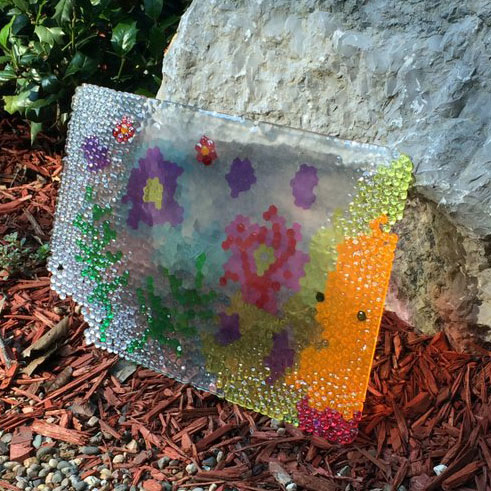
We made this stepping stone for our dear friend, Liz.In addition to the pretty pieces of stained glass, this stepping stone also includes some mementos that are meaningful to her.Porch Landscaping Idea - Make Some Cool Garden Art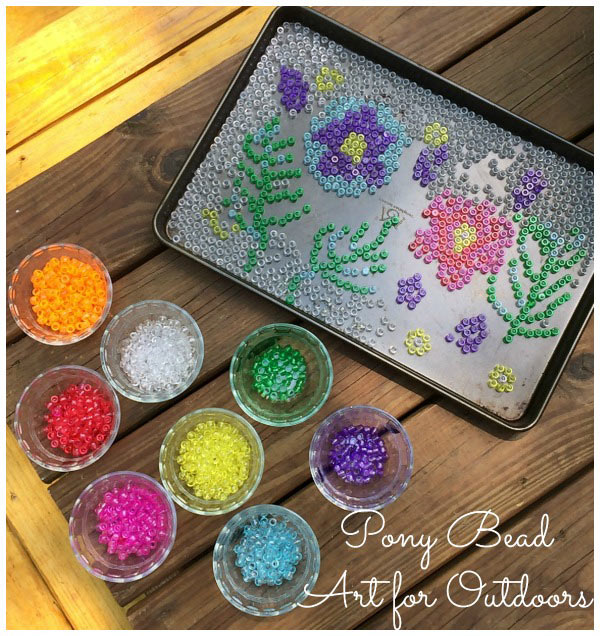
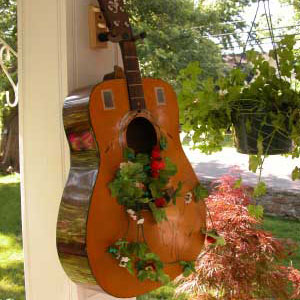
You will want to read our story about the stained glass panel that we wanted for above our porch swing. It turned into some cool garden art that at first we thought was a fail! Landscaping for Winter Interest

We planted decorative kale around our porch. It is more beautiful (even in almost zero degree weather) than we would have guessed.More Porch Landscaping Tips
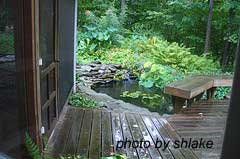
Want a very innovative porch?Landscaping ideas can include a beautiful water garden beside the porch!Photo is courtesy of shlake.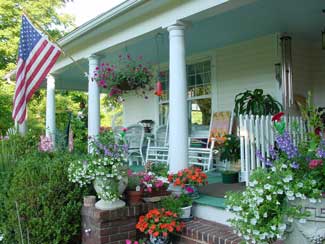 Another great source for porch landscaping ideas are Bed and Breakfast Inn porches.
Bed and Breakfast Inn owners go to great lengths to ensure their landscaping complements the porch.
Another great source for porch landscaping ideas are Bed and Breakfast Inn porches.
Bed and Breakfast Inn owners go to great lengths to ensure their landscaping complements the porch.
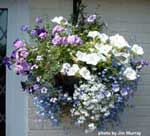
Porch landscaping ideas should include hanging baskets. See our Hanging Basket section in the directory above to create exquisite hanging baskets and learn about other options like creating hanging gardens or placing them on plant stands instead. Return to TopPlease send us your landscaping ideas and pictures of your landscaped yard and porch; we'd love to share them with others.You Are Here:

Hi! We're Mary and Dave, lifelong DIYers, high school sweethearts, and we both love porches. You've come to the right place for thousands of porch ideas. Our Sponsors


End Sponsors Helpful LinksEnjoy shopping Amazon (affiliate link)Popular PagesWhat's NewJoin Our Newsletter Family Porch Designs Porch Ideas for Mobile Homes Build a Porch | Small Porches Porch Columns | Porch Railings Screened Porches Porch Curtains | Porch Enclosures Porch Landscaping | Vinyl Lattice Porch Decorating | Porch Ideas Shop Navigation AidsHome | Top of PageSite Search | Site Map Contact Us PoliciesDisclosure Policy | Privacy PolicyLegal Info Please Join Us Here Also
Find a Trusted Local Pro Copyright© 2008-2025 Front-Porch-Ideas-and-More.com All rights reserved. No content or photos may be reused or reproduced in any way without our express written permission. At no extra cost to you, we earn a commission by referring you to some products on merchant sites. See our disclosure policy. We, Front Porch Ideas and More, confirm, as stated on our privacy policy, that we do not sell personal information. All content here is solely for presenting ideas. We recommend consulting with a licensed, experienced contractor before you begin your project. We make no guarantees of accuracy or completeness of information on our site or any links to other websites contained here. Thank you for taking your time to stop by. See what's popular and new here. |
Hi! We're Mary and Dave, lifelong DIYers, high school sweethearts, and we both love porches. You've come to the right place for thousands of porch ideas. --- My New Molly Jo Book ---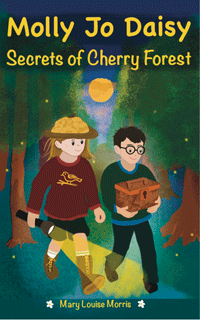
Gentle mystery for kids 8-12. Adults like it too. My book helps kids slow down, notice, and appreciate everyday surprises in nature. It's for sale in right here! --- Our Wonderful Sponsors ---
--- End Sponsors ---Our Newsletter, Front Porch AppealLearn more!Thank you for being here! |
|
|
At no extra cost to you, we earn a commission by referring you to some products on merchant sites. See our disclosure policy.
We, Front Porch Ideas and More, confirm, as stated on our privacy policy, that we do not sell personal information. All content here is solely for presenting ideas. We recommend consulting with a licensed, experienced contractor before you begin your project. We make no guarantees of accuracy or completeness of information on our site or any links to other websites contained here. Front Porch Home | Return to Top Contact Us | About Us | Advertise with Us | Search | Site Map Media | Privacy Policy | Disclosure | Legal Notice | What's New 
|
||
|
No content or photos may be reproduced or copied in any way without our express written permission. | ||