Outdoor Fall Decorating IdeasFor Your Front Porch and BeyondOutdoor fall decorating has never been easier and more fun and better yet - we'll show you how.We share inexpensive, yet sophisticated and fun ways to decorate your front porch and yard. You'll see a wide variety of bloggers' porches too and if you're like us, you'll oooh and ahhh at their ideas. Our fall decorating directory leads you into an amazing collection of autumn decorating ideas and projects. They include many autumn crafts, simple to exquisite wreaths for fall, pumpkin arrangements, and curb appealing front porch and yard decor you can use to enhance your autumn experience. We make it easy - use our directory below to find just the right autumn decorating ideas for your front porch and home. 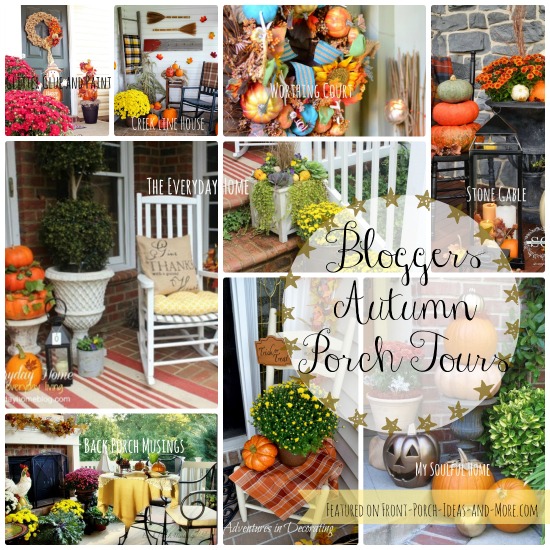

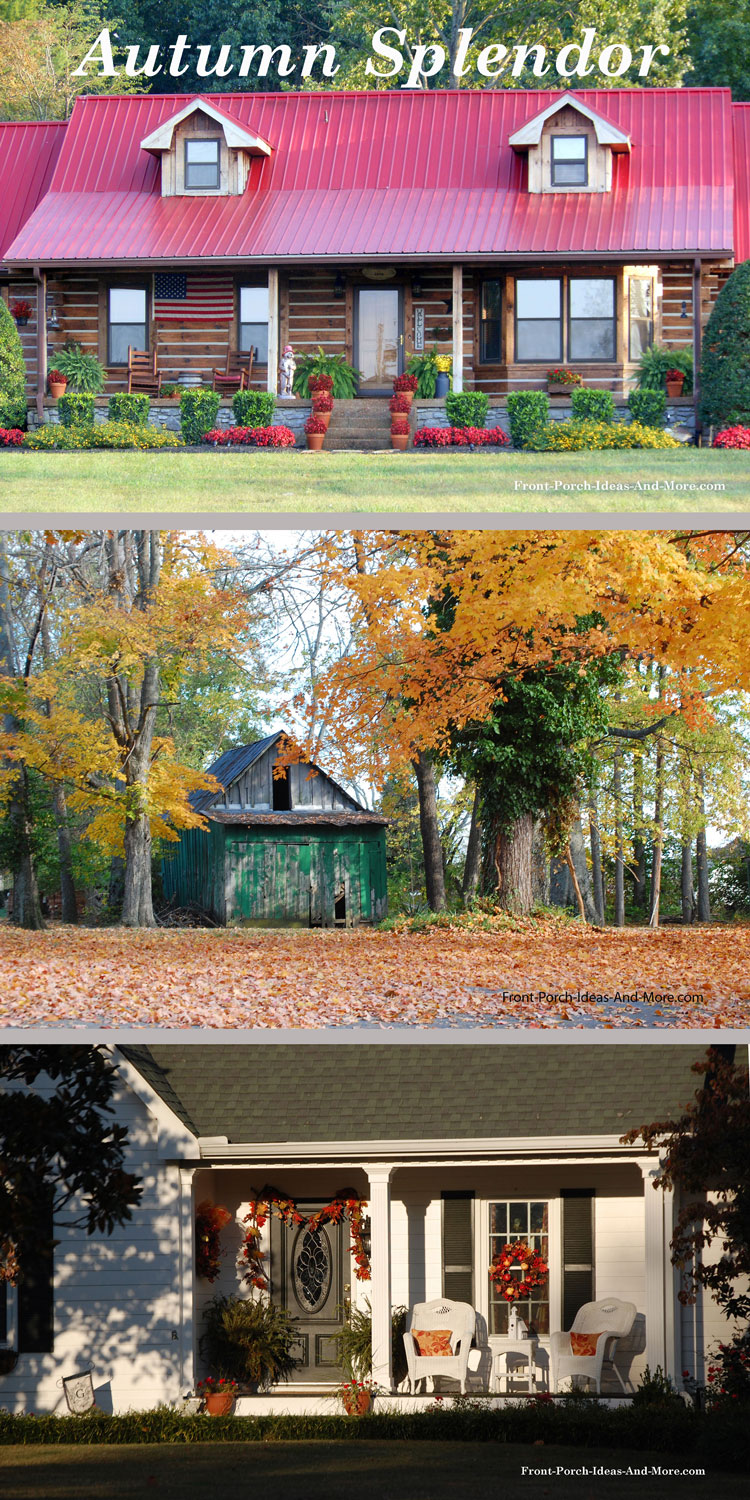
Watch Our Video and Make Your Pumpkins Last LongerWatch our video for how to make your pumpkins last longerFront Porch and Yard Fall Decorating Ideas DirectoryFeatured Outdoor Fall Decorating Ideas to Celebrate the SeasonWe've assembled some amazing fall front porch decorating ideas and are excited to share them with you. Our collection includes ideas from over 25 creative bloggers and others to give you timeless ideas for your autumn decorating.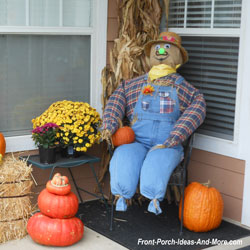
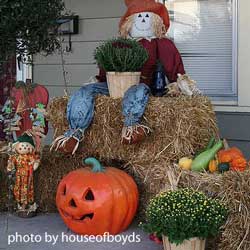
How to Build a Scarecrow See how easy it is to make this fun autumn scarecrow for your porch or yard... 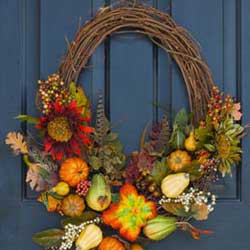
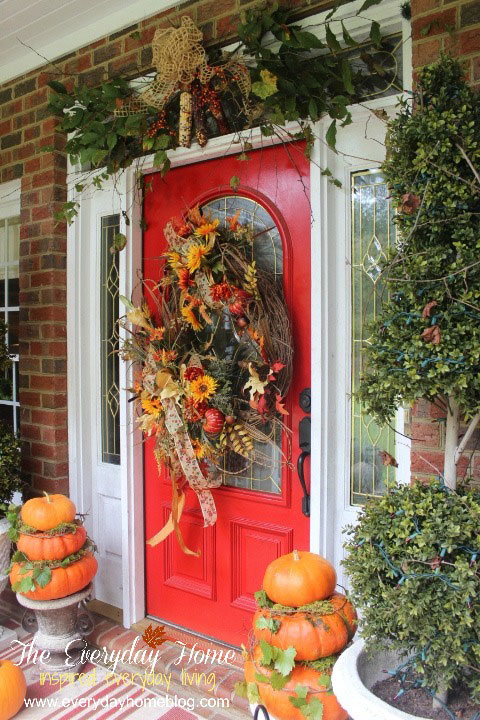
Front Door Wreaths for Fall Find the perfect autumn front door wreath for your outdoor fall decorating 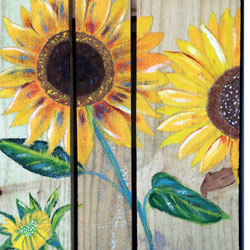
Sunflower Theme Porch for Autumn After painting sunflower wall art for our porch, we added a few more sunflower touches ... 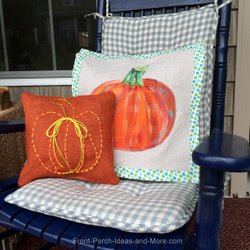
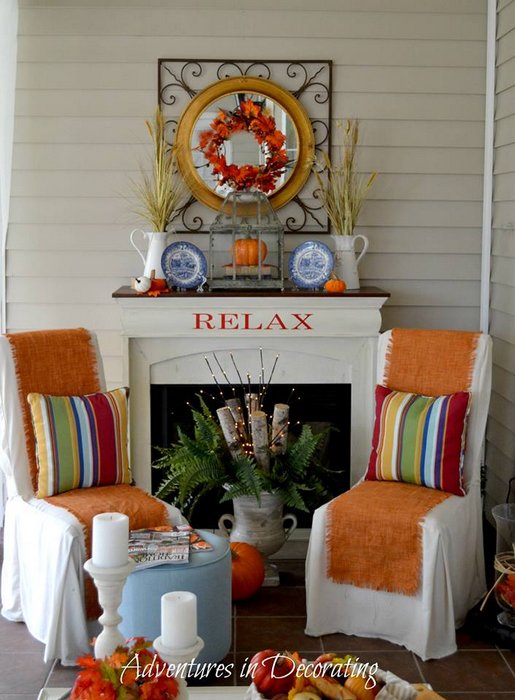
Burlap Craft and Painted Pumpkin Pillows Take a look at how we made these cute pumpkin pillows for our autumn porch 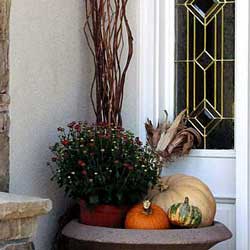
Kim's Fall Front Porch Kim, author of Savvy Southern Style blog, for sharing with us how to decorate a small porch 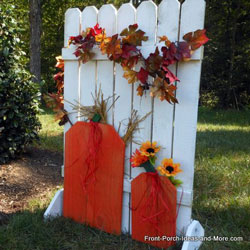
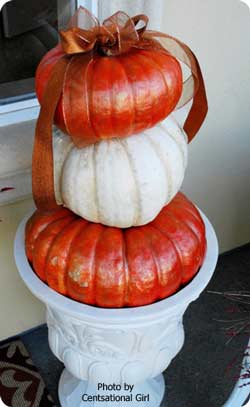
Autumn Pumpkin Fence Tutorial Have fun making this neat outdoor fall decorating idea - we show you how! 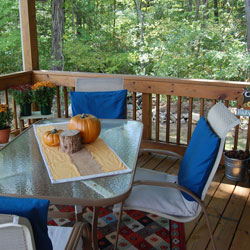
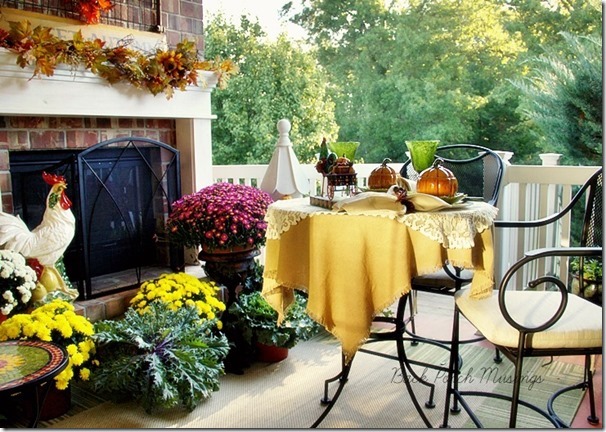
Ideas for Your Back Porch Our back porch needed some sprucing up for autumn, so our first step was to recover our cushions Wonderful Fall Decorating IdeasAs an Amazon Associate we earn from qualifying purchases. If you make a purchase through affiliate links on our site, we earn a commission at no cost to you. See our disclosure policy.Dave and I discovered quite an array of decorative items for both your porch and home this fall season. We were pleasantly surprised at the variety of aesthetically pleasing decorations that can easily be incorporated into your decorating scheme. Here's but one fall decorating example (referral link) we thought you'd enjoy, autumn designed pillow covers to use inside or out! Video: Entertaining Autumn to Halloween DecoratingTake a moment and watch this video showing a porch being decorated for autumn and then again for Halloween. It's both entertaining and educational. Incorporate These Three Components Into Your
|

Hi! We're Mary and Dave, lifelong DIYers, high school sweethearts, and we both love porches. You've come to the right place for thousands of porch ideas. --- My New Molly Jo Book ---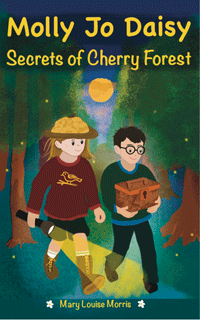
Gentle mystery for kids 8-12. Adults like it too. My book helps kids slow down, notice, and appreciate everyday surprises in nature. It's for sale in right here! --- Our Wonderful Sponsors ---


--- End Sponsors ---Our Newsletter, Front Porch AppealLearn more!Thank you for being here! |
|
|
At no extra cost to you, we earn a commission by referring you to some products on merchant sites. See our disclosure policy.
We, Front Porch Ideas and More, confirm, as stated on our privacy policy, that we do not sell personal information. All content here is solely for presenting ideas. We recommend consulting with a licensed, experienced contractor before you begin your project. We make no guarantees of accuracy or completeness of information on our site or any links to other websites contained here. Front Porch Home | Return to Top Contact Us | About Us | Advertise with Us | Search | Site Map Media | Privacy Policy | Disclosure | Legal Notice | What's New 
|
||
|
No content or photos may be reproduced or copied in any way without our express written permission. | ||