Outdoor Christmas Decorations DirectoryOutdoor Christmas Lights, Wreaths and MoreOur outdoor Christmas decorations, wreaths, Christmas light ideas, and projects are sure to make your front porch decorating easy and fun this season. With seven grandchildren, Christmas is indeed a magical time of year for Mary and I.We can't think of a better way to get front porch holiday decorating ideas than to see what others have created. 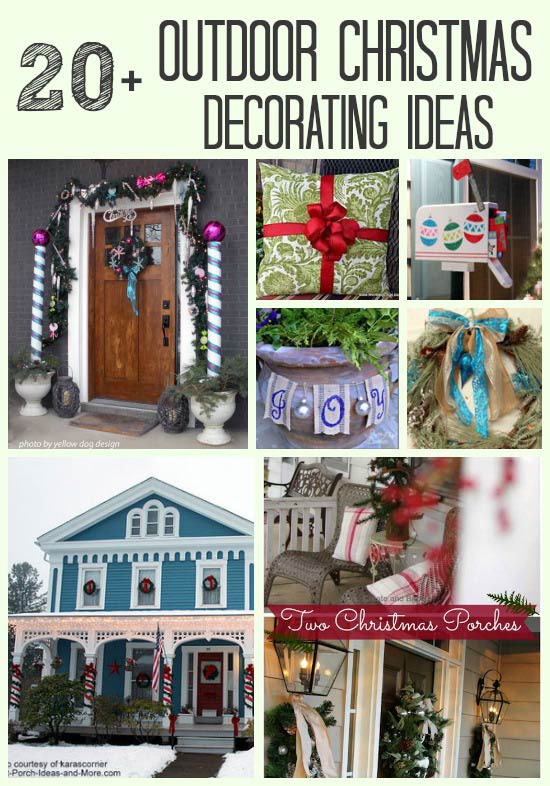

Take a look at all the Christmas decor ideas we have in store for you hereOutdoor Christmas Decorations DirectoryMost Popular Christmas Decorating and Lighting Ideas Ideas for Outdoor Christmas Decorating
From garland to lights to trees to wreaths... It's the time of the year when people love to pull out all the stops. From simple to elaborate, traditional to elegant, your porch can easily look festive for the Christmas season. We share some nice ideas with you. Denise and Audra are a mother daughter team who have decorated their porch in a most elegant way. Come visit their rocking chair Christmas porch. It's a beautiful example of Christmas decorating at its finest. 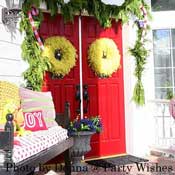 A Grinch Christmas!
Are you a fan of the Grinch? Donna loves the Grinch and uses the bright red and Grinch green to decorate her front porch for Christmas. You'll love her zany Grinch decorations. 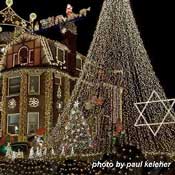 Ideas for Christmas Lights
See stunning photos of Christmas lights for dazzling ideas for your own front porch and yard Nothing says Christmas like a beautifully lit front porch Greet friends with the glow of holiday light displays 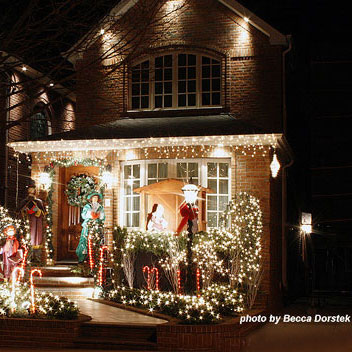 Lighted Outdoor Christmas Decorations
Light your way to a festive holiday season with these unique outdoor lighting ideas. Mary and I chose several outdoor lighting options for Christmas that we think you'll really enjoy. We also offer ideas and tips to make your lighting special. 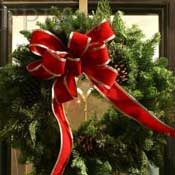 How to Make Your Own Christmas Wreath
One of the easiest ways to add holiday spirit to your porch is to make a wreath for your front door. We have instructions, pictures and videos to help you get some nice ideas and get quickly started. If you have made a neat wreath for your porch, we'd love to hear about it, too! 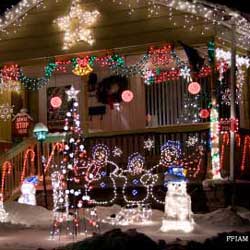 Outdoor Christmas Decorating with Lights
Who doesn't love a porch that sparkles and twinkles for Christmas? You won't believe how many different kinds of lights there are. We have some safety tips, too. We gathered up 10 (maybe 11) ideas that won't break the bank From PVC pipes to picture frames to covering empty boxes. 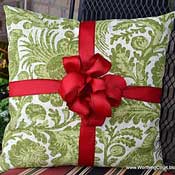 Tips for Christmas Decorating
Use ribbon-tied pillows and old fashioned planters; Snow dust your tree - see how it is done, and more 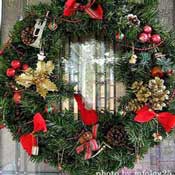 Christmas Wreath Ideas
Outdoor Christmas decorations must include a gorgeous wreath for Christmas. Wreaths can be creative and easy on the budget. See our wreath pictures to inspire ideas for your own home. 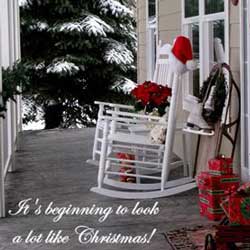 Kimberly's Country Porch at Christmas
When Kimberly and her husband built their home, a large country porch was on their wish list. Now that their home is built, Kimberly loves decorating for all seasons. See how she decorated her country front porch for Christmas! 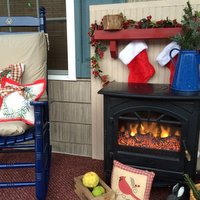 Make Your Own Outdoor Christmas Decor
Dave and I had a good time decorating our porch with Christmas decorations we made ourselves ... We have all kinds of simple ways to make your porch festive for Christmas.  Beautiful Christmas Lighting Ideas
Last year we had the good fortune of visiting the Seaside Ranchos neighborhood in Torrance CA They do a wonderful job of outdoor Christmas decorations and you'll love the photos by Painted Bench Photography. More Christmas Decoration Ideas You'll Love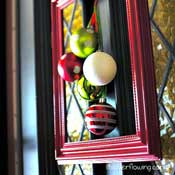 Decorating Your Christmas Door
Featuring holiday decorations and tips for making your front door a delight to behold. Gold, antique white and burlap make for a very pretty holiday porch. Use colorful ornaments and picture frames for front door wreaths  More Christmas Door Decorations
Make bigger-than-life candy canes from PVC pipe. Enjoy Dee's colorful sparkling gift box garland See Kathleen's classic outdoor Christmas decorations, Debbie's beautifully lit garland and Kristy's palm frond and red scarf decorations.  Susan's Christmas Wreath Decorations
Susan enjoys traditional decorating. Her Christmas wreath decorations on the outside of her home are very charming and beautiful. She shares photographs of her home, porch, and front yard decorated with gorgeous Christmas wreaths, greenery and bows. 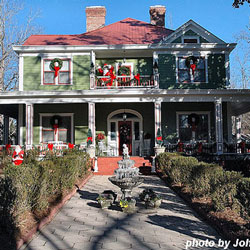 Outdoor Christmas Wreaths
See these wonderful outdoor Christmas wreaths and wreath ideas for your porch. Charming wreaths along with ideas for making your own holiday wreaths. 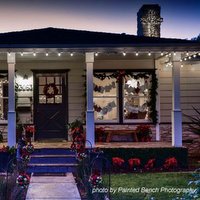 Houses Decorated with Gorgeous Christmas Lights
Dave and I have gathered pictures of houses decorated with Christmas lights. Can't wait for you to see these beautiful homes! We are grateful to the photographers who shared their pictures with us. Amazing Christmas Ideas You Can Use
Outdoor Christmas Light Ideas
Learn from an outdoor lighting expert tips for improving your outdoor lighting endeavors. Discover these tricks of the trade to make holiday lighting easier.  Ideas for Vintage Christmas Decorating
Love vintage? We have a bunch of fabulous ideas for decorating vintage-style for Christmas. Many of these pictures have been shared by bloggers and kind readers of ours. Thank you! Melanie shares her charming Georgia porch. It's a wonderful wraparound - sparkly and magical. Jeanie shares her daughter's Christmas porch with us. She decorated it with a tablecloth. So cute! ... We have collected wonderful come wonderful outdoor Christmas decorations, project ideas, and tips to make decorating for Christmas most enjoyable for the entire family. You will find easy and unique Christmas decorating tips and ideas from the very simple and inexpensive to the sophisticated for real front porch appeal. Each section offers you the opportunity to create just the right holiday appeal for your home. Discover Our Fun Christmas Audio ProgramMary and I are excited to share our Christmas audio program with you. We had fun interviewing these folks to find out how the experts "do it" - and we get to share what they divulged with you! Listen to our discussion with Anita Diaz of Whispering Pines Homestead who shares her love of Christmas and ideas
to make your holiday sparkle!
Listen to our discussion with Anita Diaz of Whispering Pines Homestead who shares her love of Christmas and ideas
to make your holiday sparkle!
 Listen to Jennifer of Decorating Ideas Made Easy who is an interior decorator and has a myriad of ideas for Christmas projects that are easy and fun to do!
 Taking exquisite pictures of front porch holiday lights can be tricky so we enlisted the help of Becca Dorstek.
Becca has taken a myriad of holiday light photographs and shares what you need and how to get the best results.
Taking exquisite pictures of front porch holiday lights can be tricky so we enlisted the help of Becca Dorstek.
Becca has taken a myriad of holiday light photographs and shares what you need and how to get the best results.
Be sure to see our extensive front porch audio program directory! All is Calm. All is Bright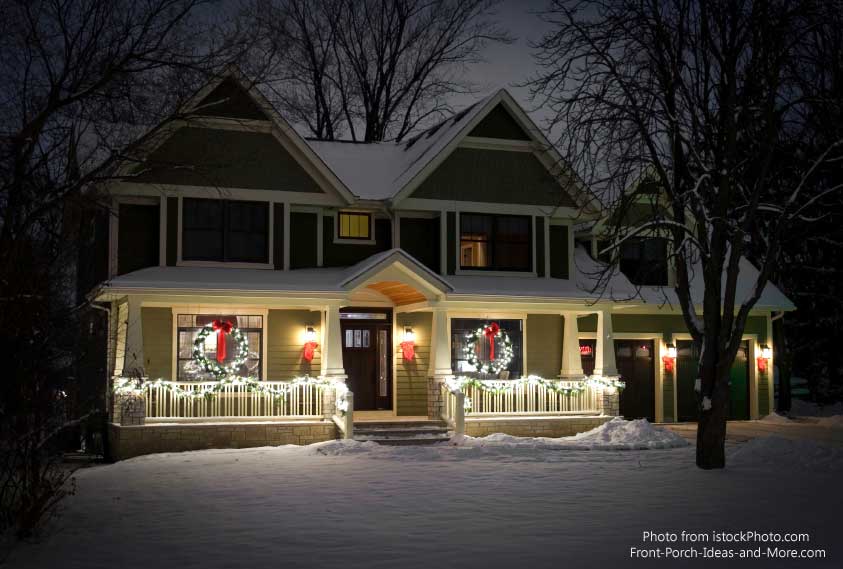
Isn't this a lovely Christmas scene?Video: Enjoy Our Christmas PorchesWith heartfelt thanks to our photo contributorsWhen growing up, my parents would always take my brother and I for a ride around our small town to see Christmas lights and outdoor Christmas decorations. No matter how old we have become, a beautifully lit home for Christmas is always a delight to see. The greatest compliment one can give is to emulate the positive actions of another. We hope you glean ideas from these photos of outdoor Christmas decorations to make your home a sight to behold!

Hi! We're Mary and Dave, lifelong DIYers, high school sweethearts, and we both love porches. You've come to the right place for thousands of porch ideas. Our Sponsors


End Sponsors Helpful LinksEnjoy shopping Amazon (affiliate link)Popular PagesWhat's NewJoin Our Newsletter Family Porch Designs Porch Ideas for Mobile Homes Build a Porch | Small Porches Porch Columns | Porch Railings Screened Porches Porch Curtains | Porch Enclosures Porch Landscaping | Vinyl Lattice Porch Decorating | Porch Ideas Shop Navigation AidsHome | Top of PageSite Search | Site Map Contact Us PoliciesDisclosure Policy | Privacy PolicyLegal Info Please Join Us Here Also
Find a Trusted Local Pro Copyright© 2008-2025 Front-Porch-Ideas-and-More.com All rights reserved. No content or photos may be reused or reproduced in any way without our express written permission. At no extra cost to you, we earn a commission by referring you to some products on merchant sites. See our disclosure policy. We, Front Porch Ideas and More, confirm, as stated on our privacy policy, that we do not sell personal information. All content here is solely for presenting ideas. We recommend consulting with a licensed, experienced contractor before you begin your project. We make no guarantees of accuracy or completeness of information on our site or any links to other websites contained here. Thank you for taking your time to stop by. See what's popular and new here. |
Hi! We're Mary and Dave, lifelong DIYers, high school sweethearts, and we both love porches. You've come to the right place for thousands of porch ideas. --- Cute Mushroom Mug ---
Wouldn't this be an adorable mug for your porch? It's for sale in my Etsy shop! --- Our Wonderful Sponsors ---
--- End Sponsors ---Our Newsletter, Front Porch AppealLearn more!Thank you for being here! |
||||
|
At no extra cost to you, we earn a commission by referring you to some products on merchant sites. See our disclosure policy.
We, Front Porch Ideas and More, confirm, as stated on our privacy policy, that we do not sell personal information. All content here is solely for presenting ideas. We recommend consulting with a licensed, experienced contractor before you begin your project. We make no guarantees of accuracy or completeness of information on our site or any links to other websites contained here. Front Porch Home | Return to Top Contact Us | About Us | Advertise with Us | Search | Site Map Media | Privacy Policy | Disclosure | Legal Notice | What's New 
|
|||||
|
No content or photos may be reproduced or copied in any way without our express written permission. | |||||