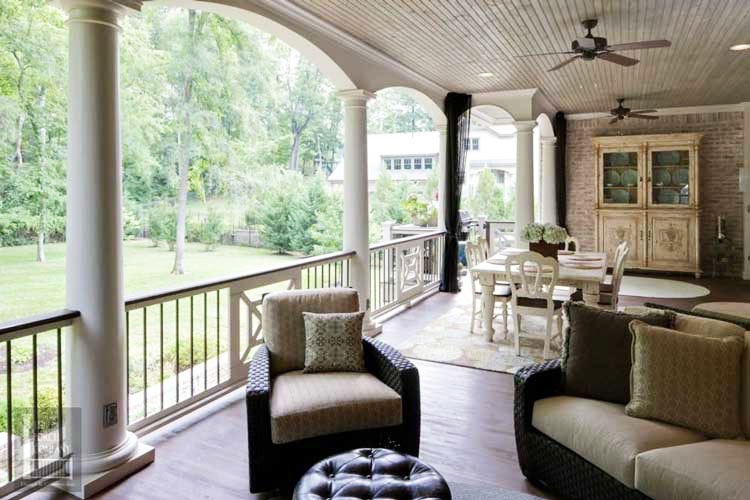
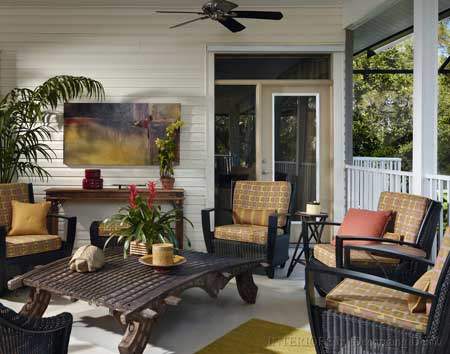
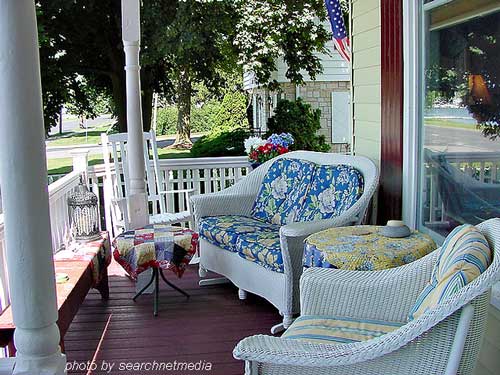
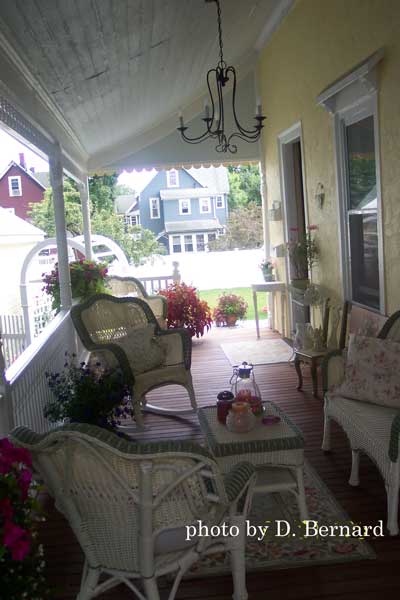
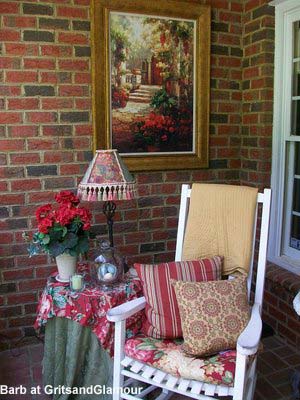
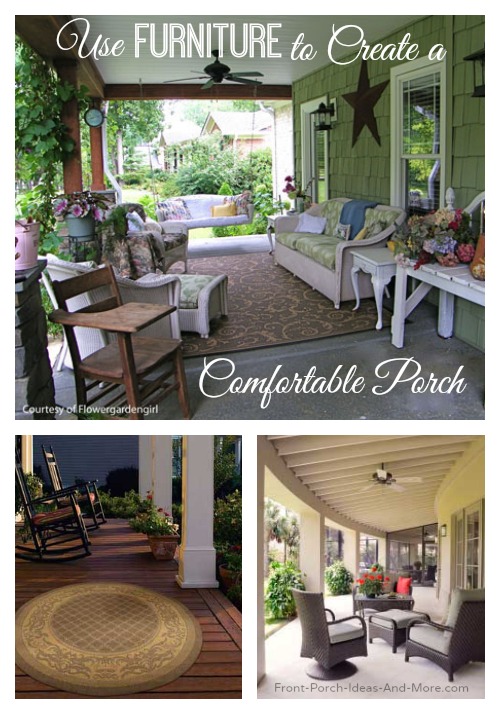
Porch Furniture and Accessories DirectoryFor Comfort and BeautyComfortable porch furniture is the first ingredient for the perfect cozy porch.Outfit your porch with a colorful outdoor area rug, an exterior ceiling fan for breezes and some sheer outdoor curtains. Mary and I especially love the ambiance created with outdoor curtains, artwork and lamps. 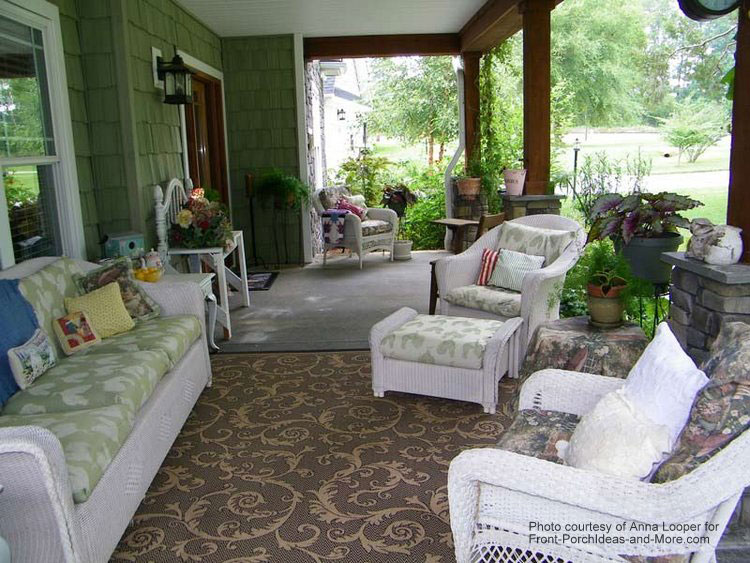
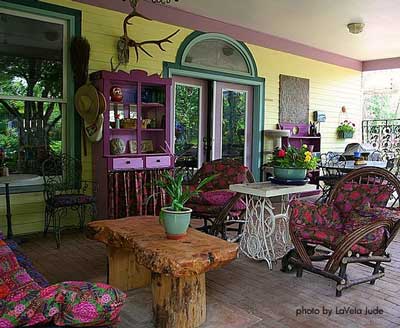
Finally, add a few of your personal items, like a collection of seashells, candles or colorful glass bottles, to infuse your own personality. We've put together a detailed list of 7 things your front porch needs. May you enjoy reading it and thank you. Porch Furniture & Ammenities Directory for a Comfortable PorchListed in Order Of Popularity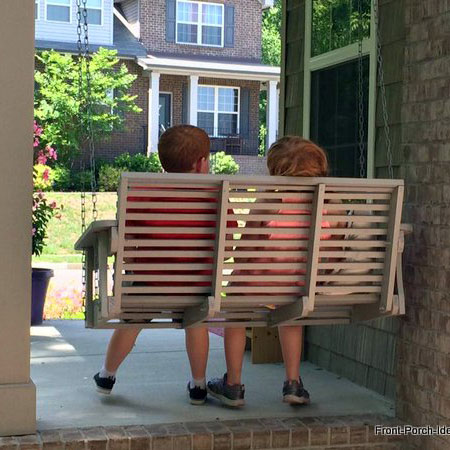
See How to Hang a Porch Swing With the right hardware, it's easier than you might think.... 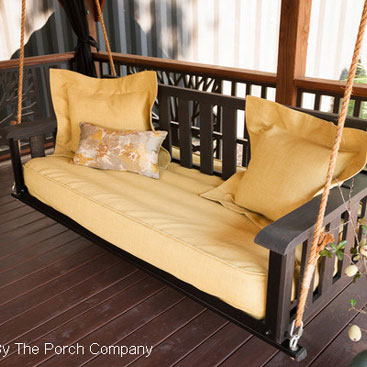
Front Porch Swing Beds Relax in total comfort on one of these amazing porch bed swings 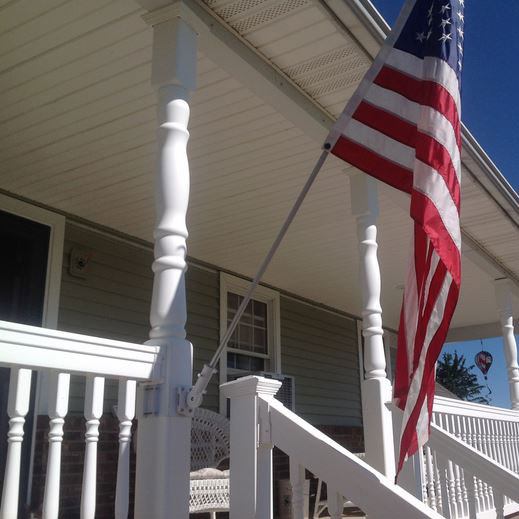
Banner Flag Brackets Hang banners and flags with ease on your porch, balcony, or deck using these flag brackets... 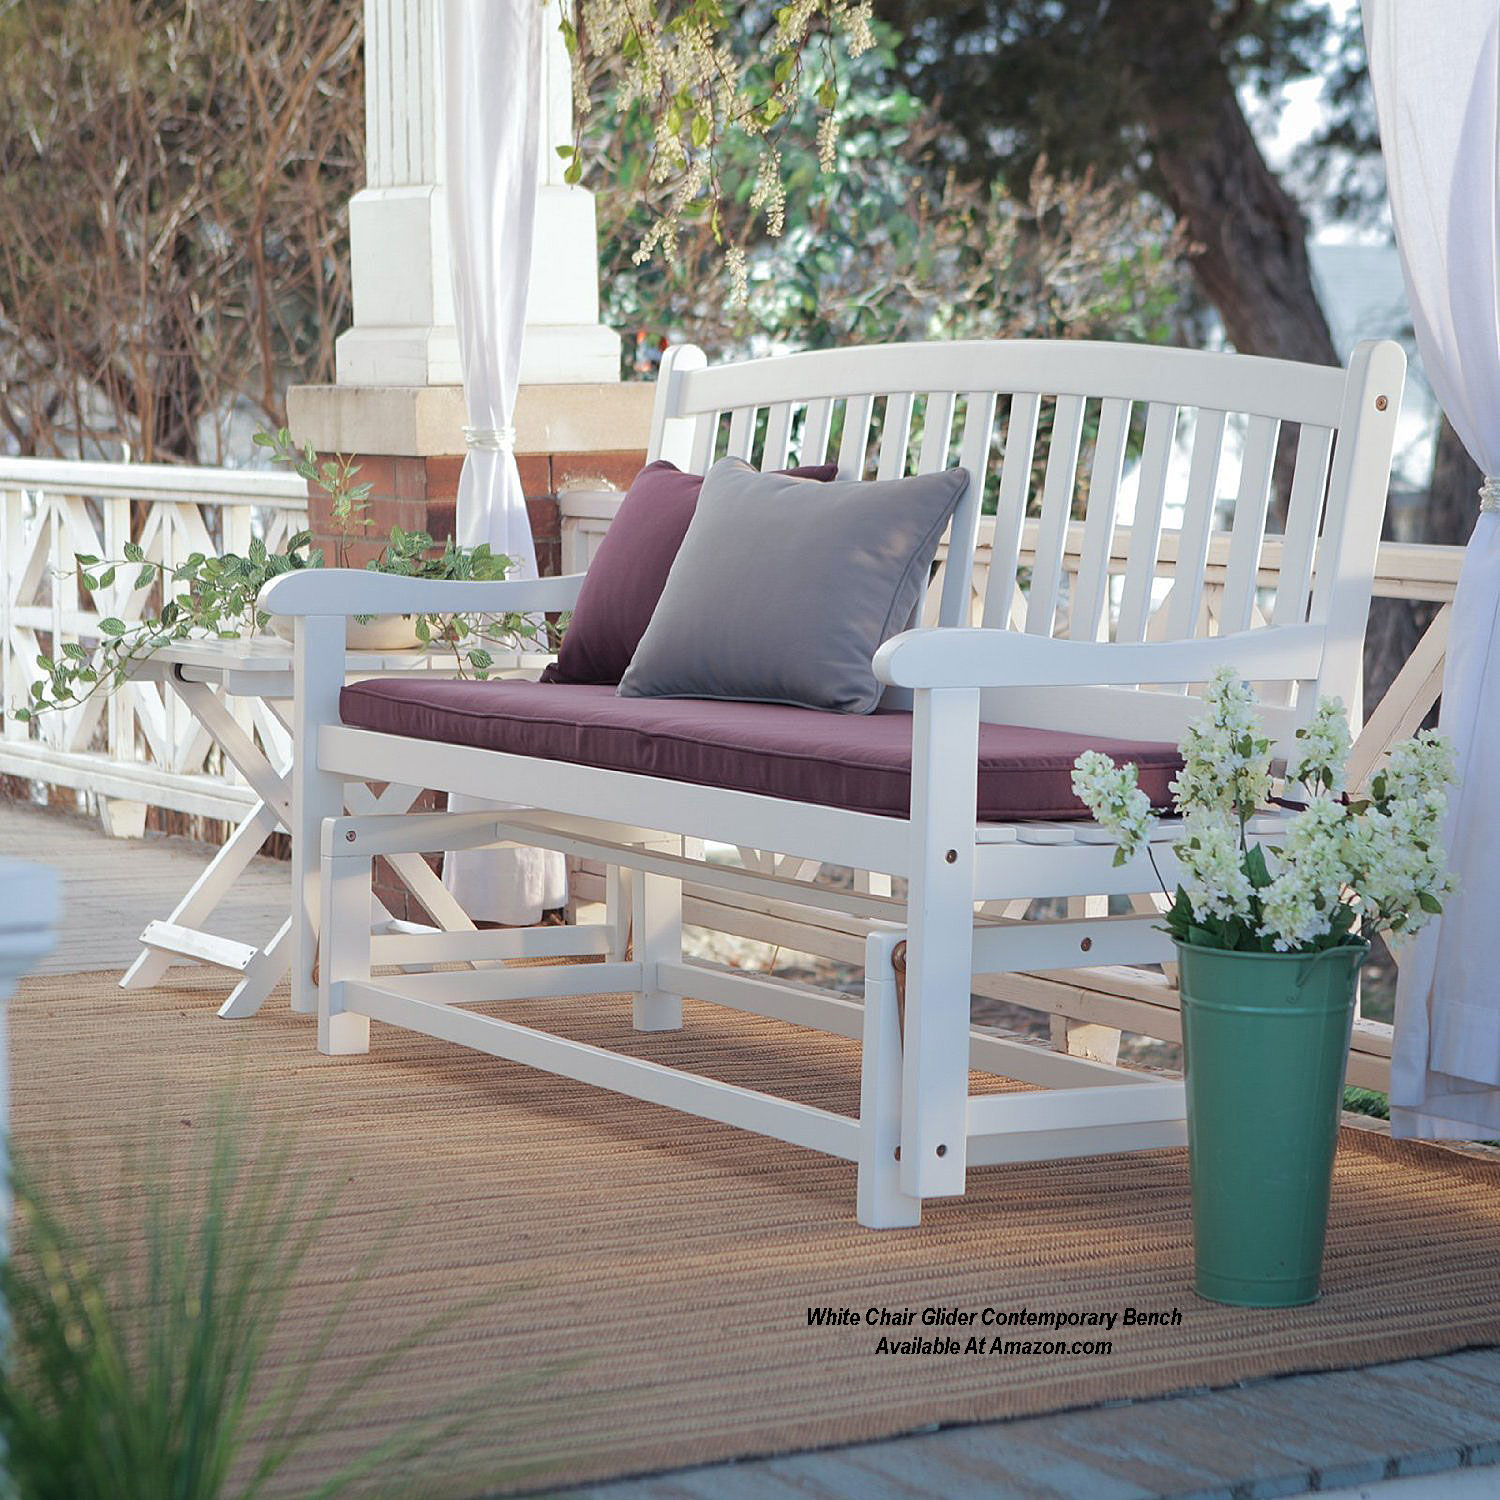
Outdoor Furniture Gliders Relax in a comfortable glider on your porch, deck, or in your yard... 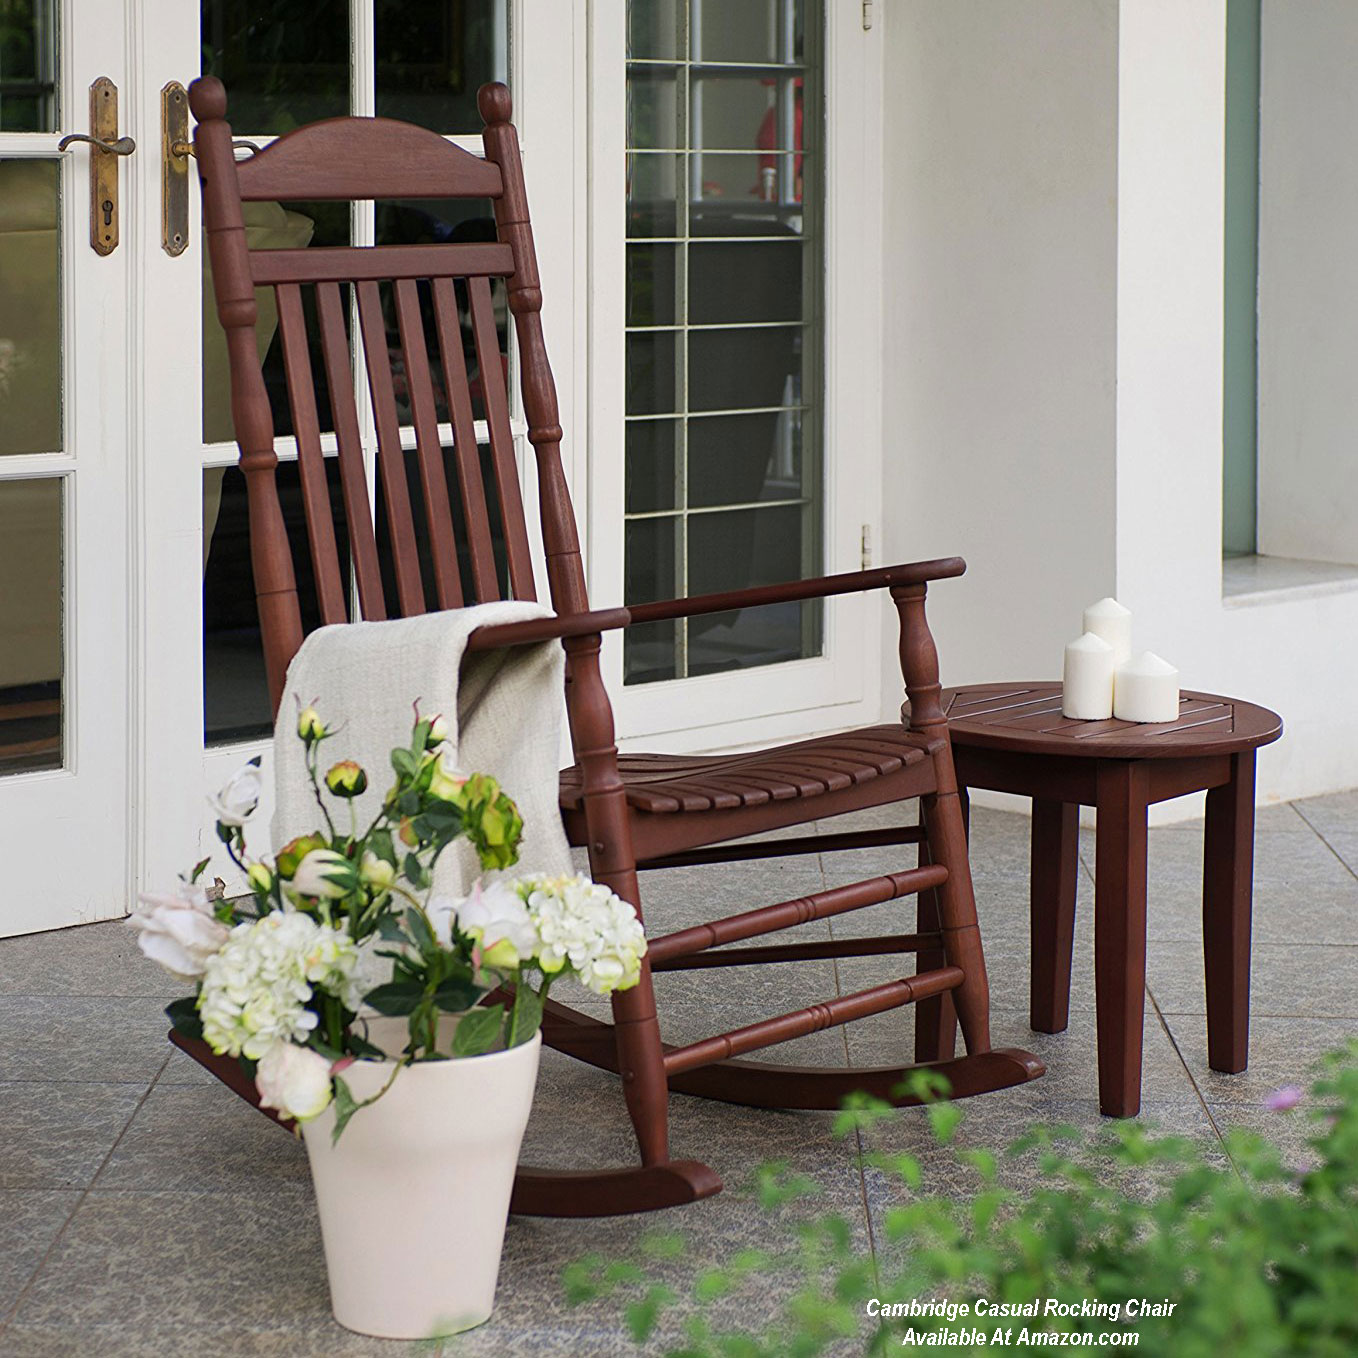
Porch Rocking Chairs There's nothing more comfortable than relaxing in a porch rocking chair - anytime. 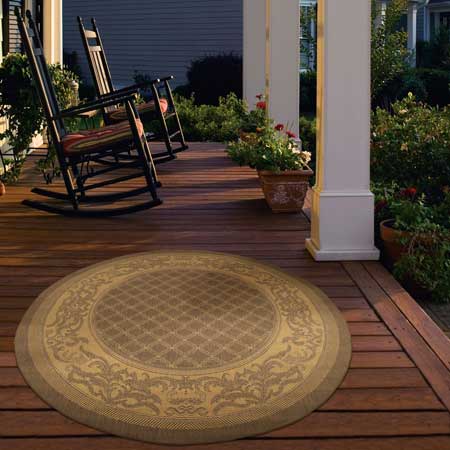
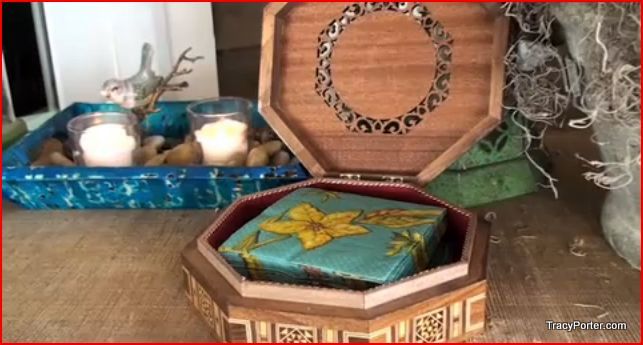
Indoor or Outdoor Rugs Rugs not only add comfort to your porch, but also charm and appeal as well.... 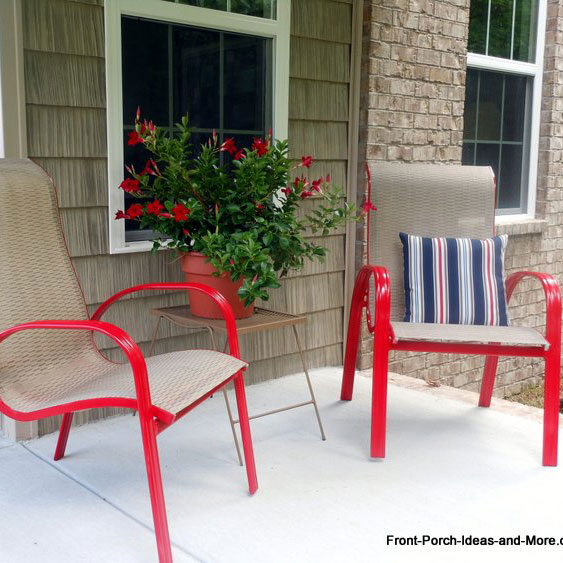
Spray Paint Chair Ideas See what you can do for the price of 1 can of spray paint 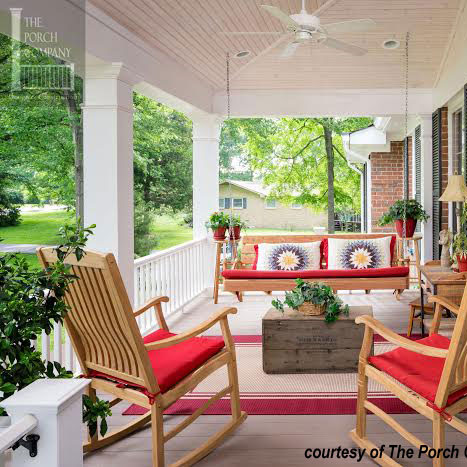
Porch Swings Discover all of your porch swing options - and there are many!! 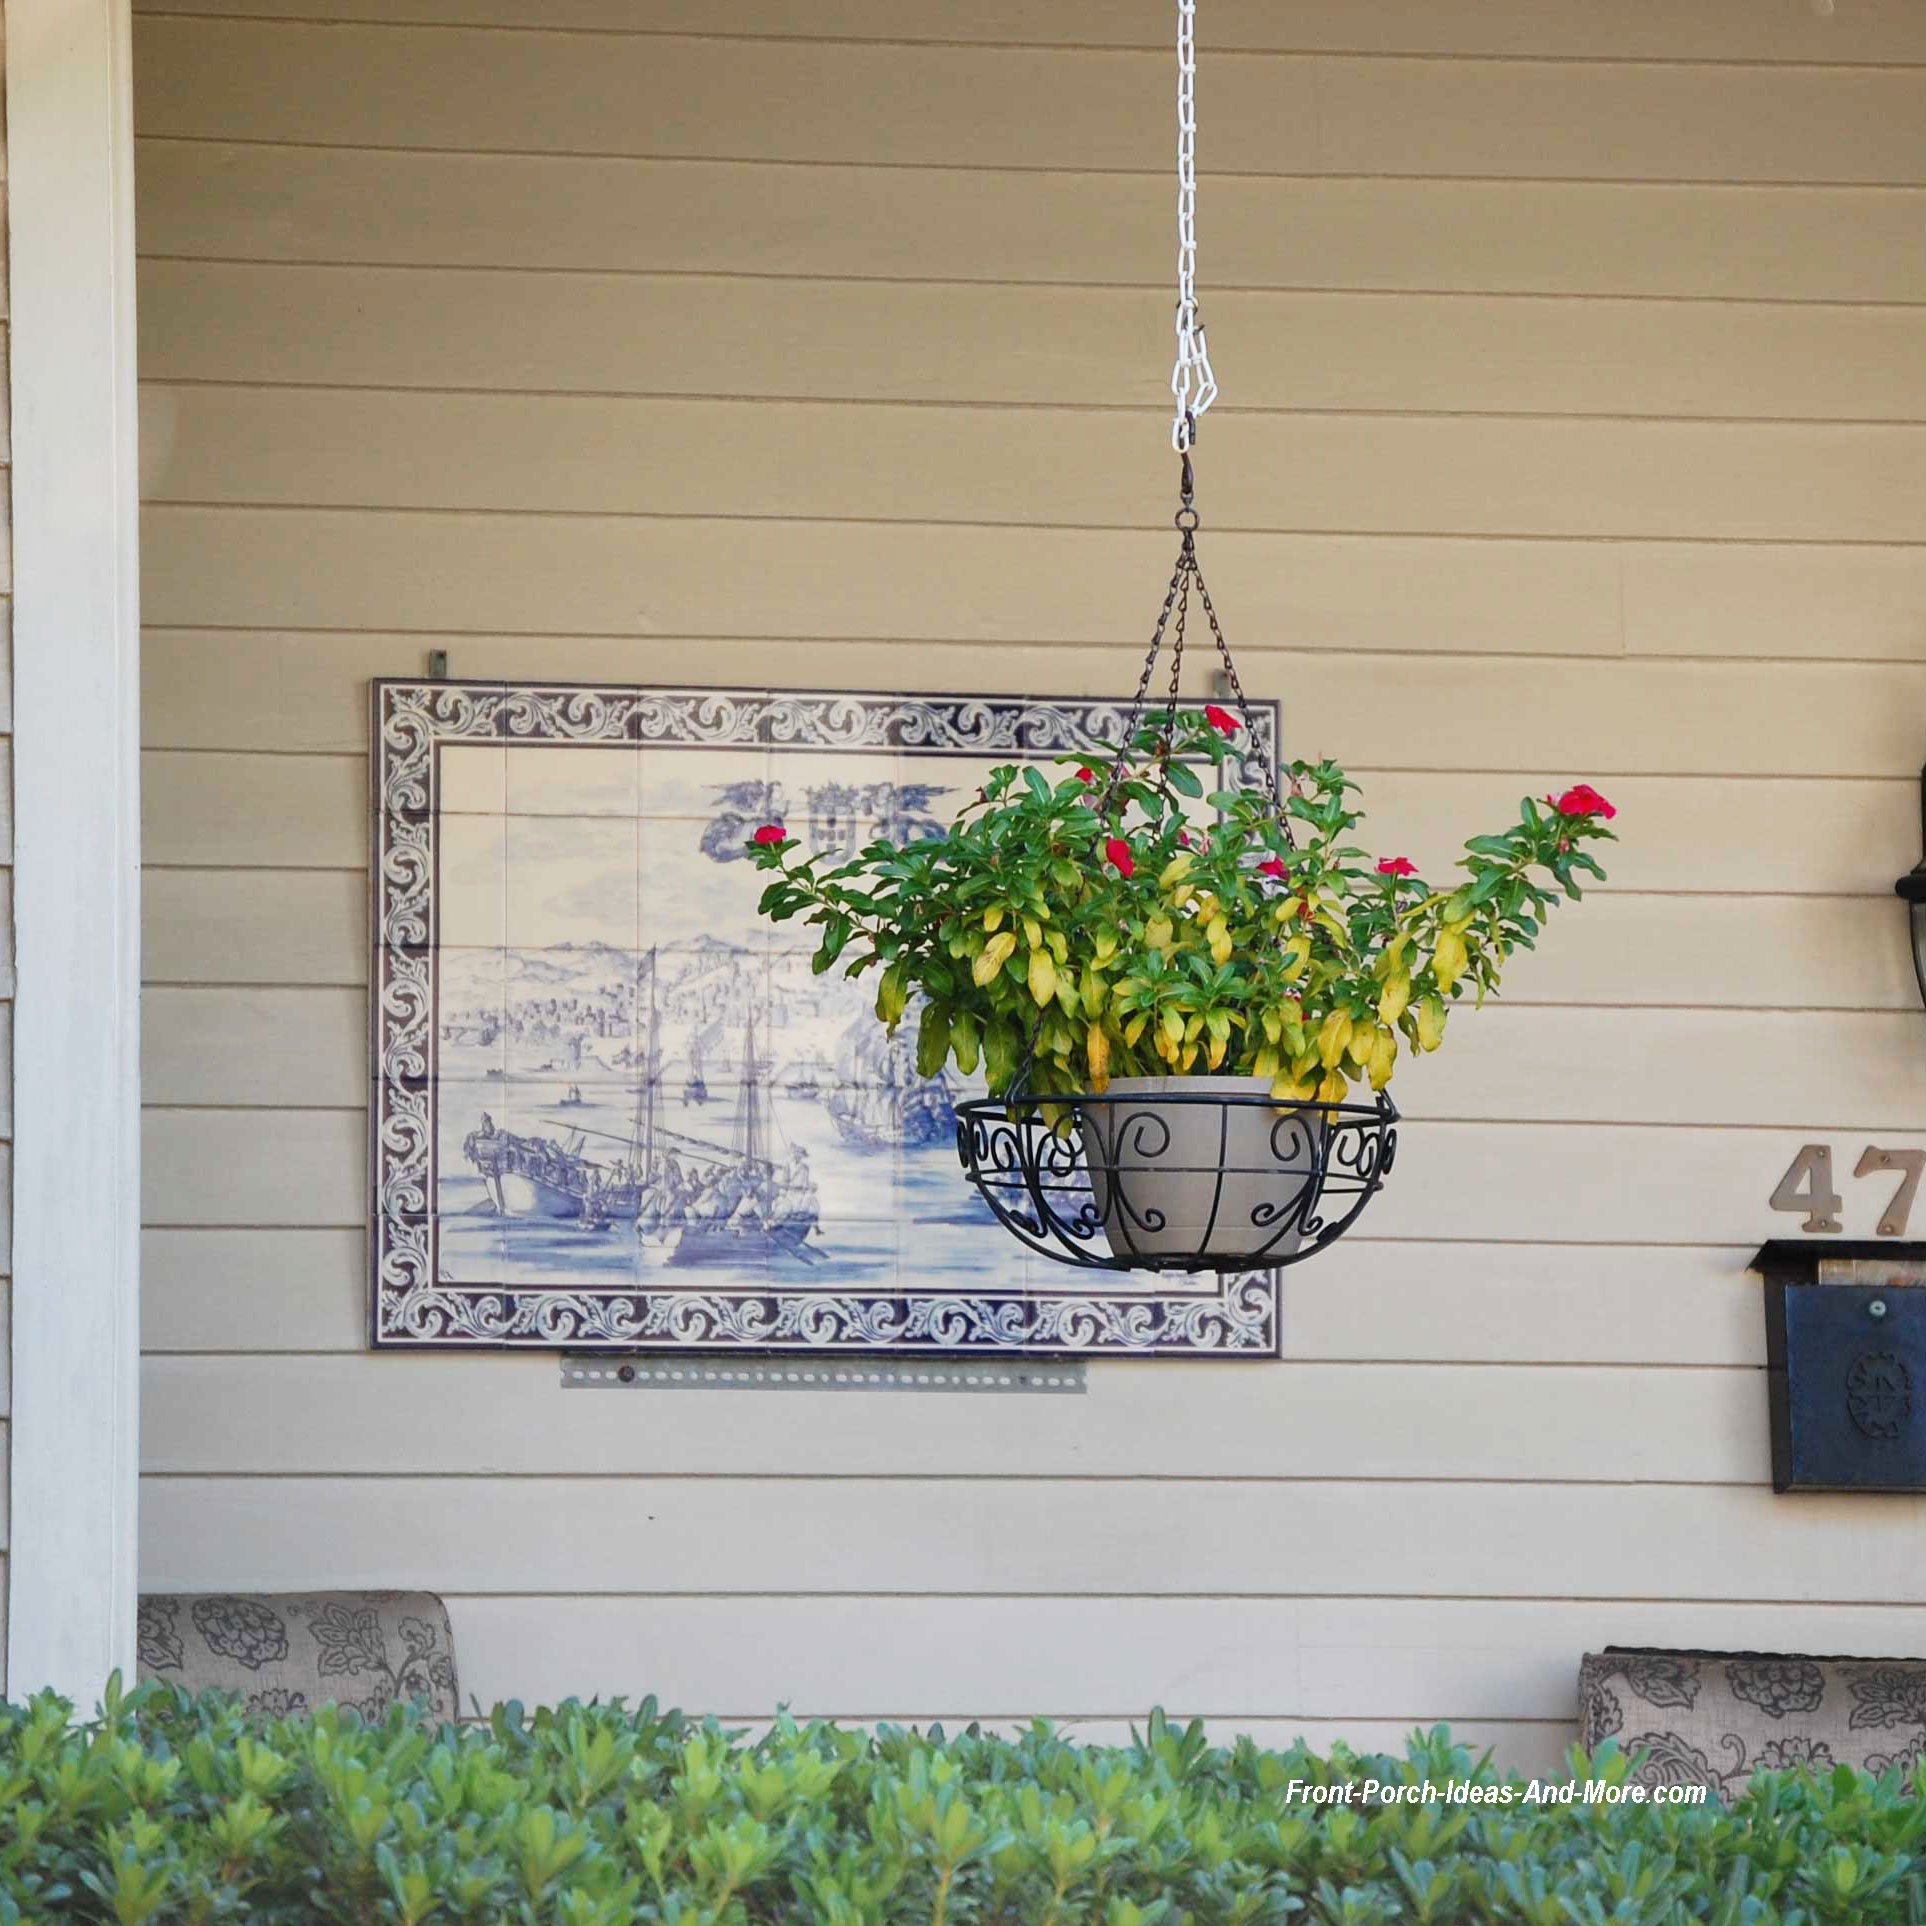
Porch Wall Art Ideas See how easy it is to use wall art to add charm and appeal to any porch.... 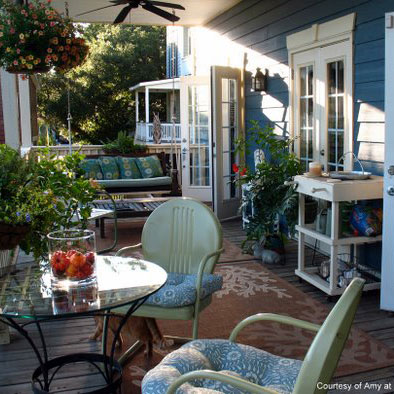
Amy's Vintage Metal Furniture Almost everyone has a memory of vintage metal furniture - so retro! 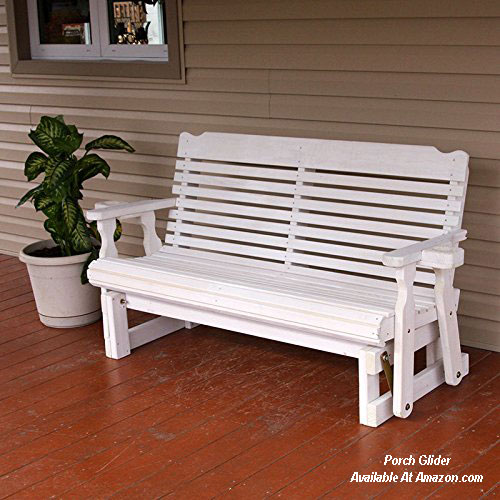
Gliders for Porches See the natural beauty and comfort of porch gliders; they can fit almost any size porch! 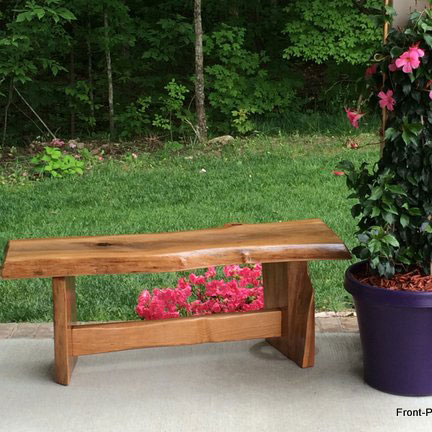
Porch Bench Project You too, can make this lovely garden bench for your porch... 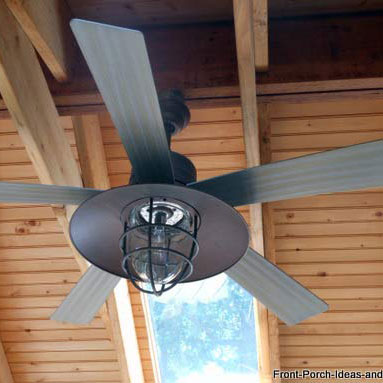
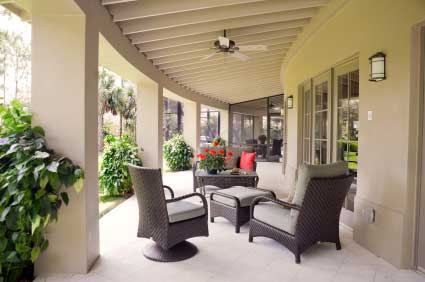
Outdoor Ceiling Fans Add cooling comfort and appeal at the same time with an outdoor ceiling fan.... 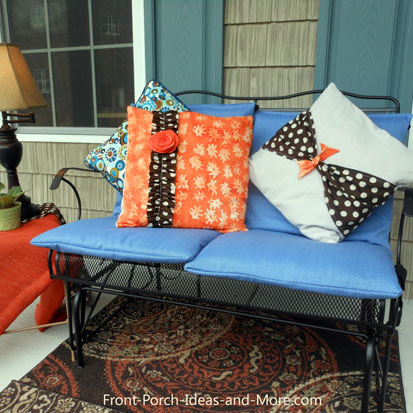
Recover Your Outdoor Cushions Learn how to recover your outdoor cushions to save money, add longevity and appeal... 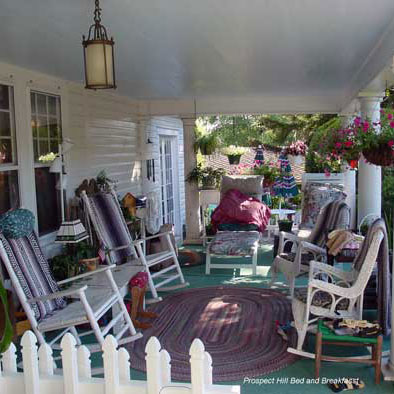
Country Furniture Ideas Country furniture works on any porch, large or small. See these ideas! 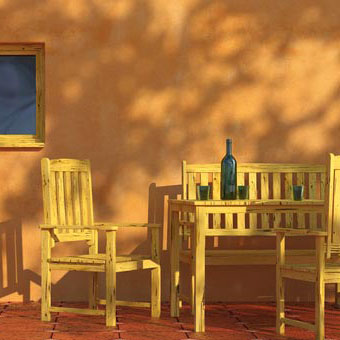
Tucsan Decorating Ideas Decorate your porch, deck, or patio with Tucsan outdoor furniture... 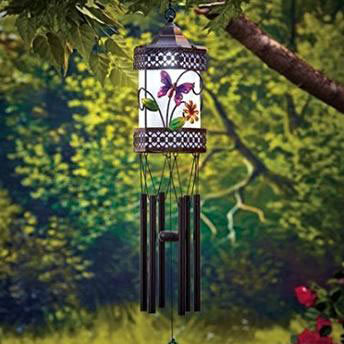
Discover These Unique Wind Chimes Wind chimes are perfect for porches, patios, or decks - make great gifts too! 
Hang an Outdoor Thermometer Clock See how to hang an outdoor thermometer clock on your porch.... 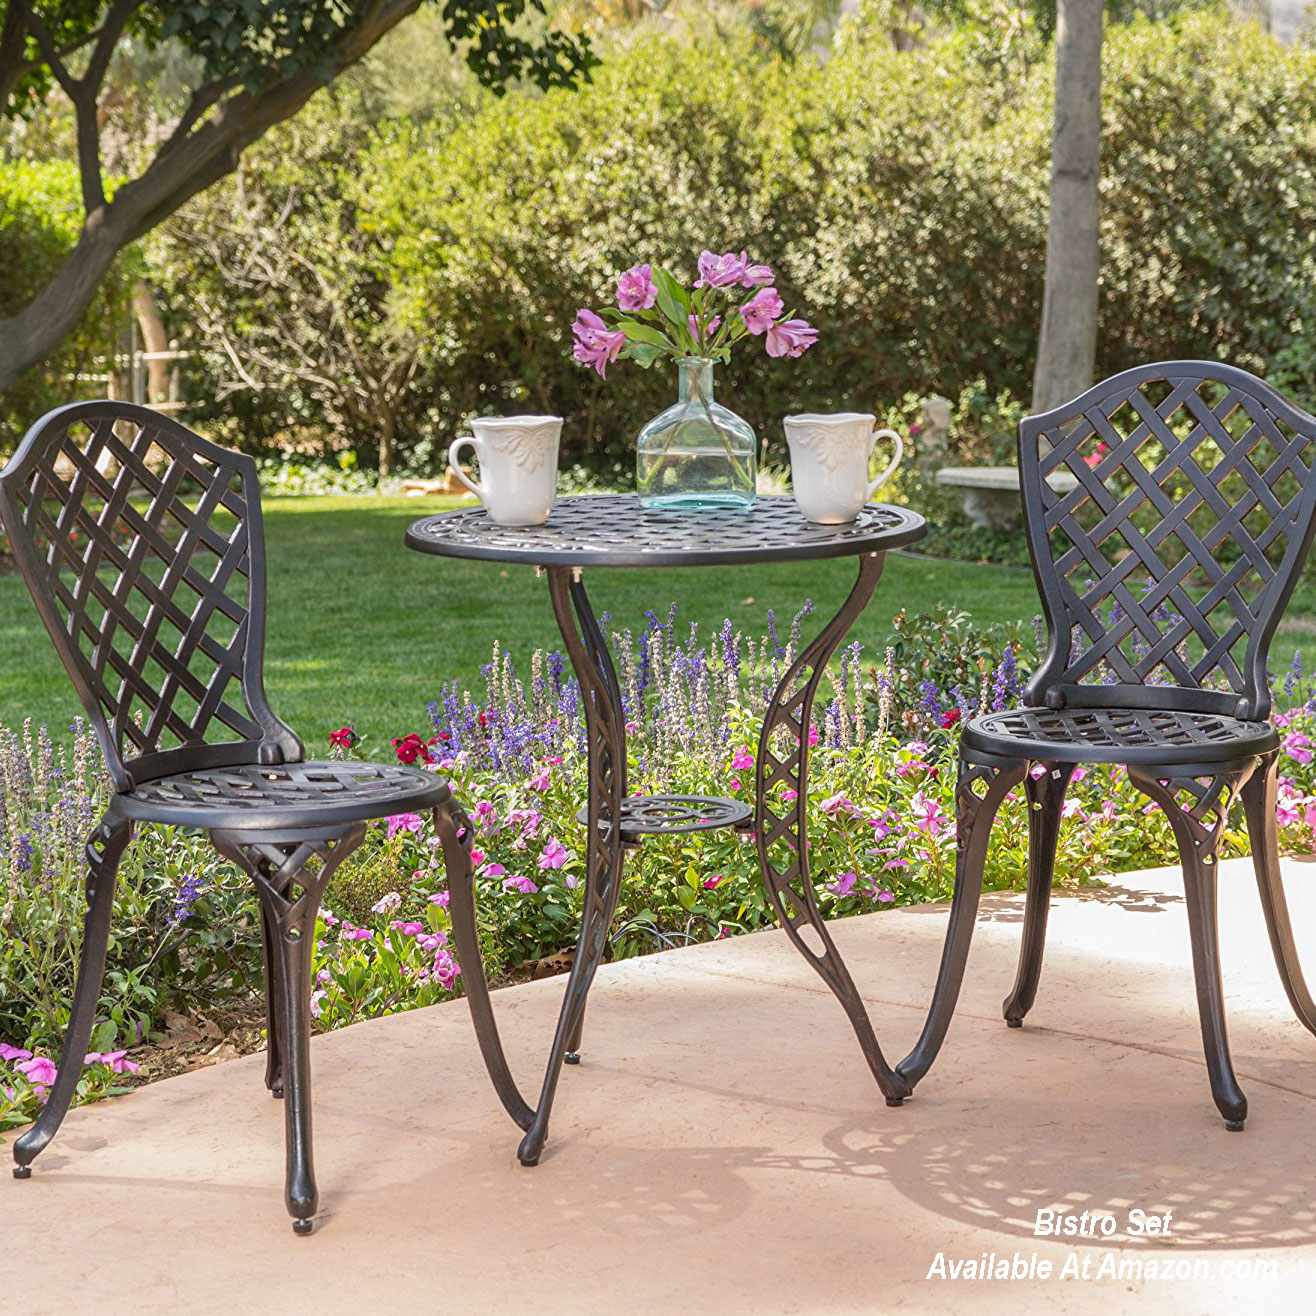
Bistro Sets Enjoy an intimate meal and conversation with a bistro set -perfect on porches too! 
Southwestern Furniture Ideas Rustic and solid appeal to add a new dimension to your porch How to Create an Outdoor Room
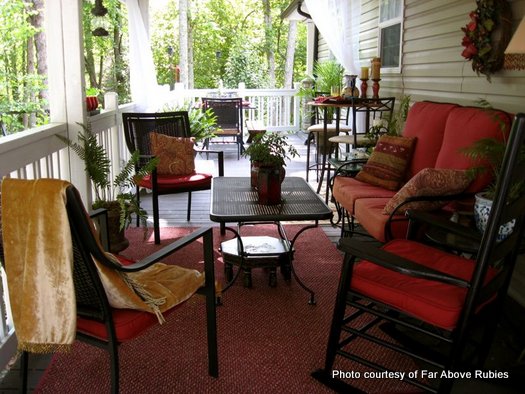
Porch furniture can not only create an oasis of comfort but can also be used to add color and design features.
|

Hi! We're Mary and Dave, lifelong DIYers, high school sweethearts, and we both love porches. You've come to the right place for thousands of porch ideas. --- Cute Mushroom Mug ---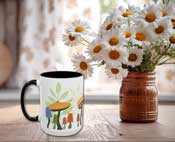
Wouldn't this be an adorable mug for your porch? It's for sale in my Etsy shop! --- Our Wonderful Sponsors ---


--- End Sponsors ---Our Newsletter, Front Porch AppealLearn more!Thank you for being here! |
|
|
At no extra cost to you, we earn a commission by referring you to some products on merchant sites. See our disclosure policy.
We, Front Porch Ideas and More, confirm, as stated on our privacy policy, that we do not sell personal information. All content here is solely for presenting ideas. We recommend consulting with a licensed, experienced contractor before you begin your project. We make no guarantees of accuracy or completeness of information on our site or any links to other websites contained here. Front Porch Home | Return to Top Contact Us | About Us | Advertise with Us | Search | Site Map Media | Privacy Policy | Disclosure | Legal Notice | What's New 
|
||
|
No content or photos may be reproduced or copied in any way without our express written permission. | ||